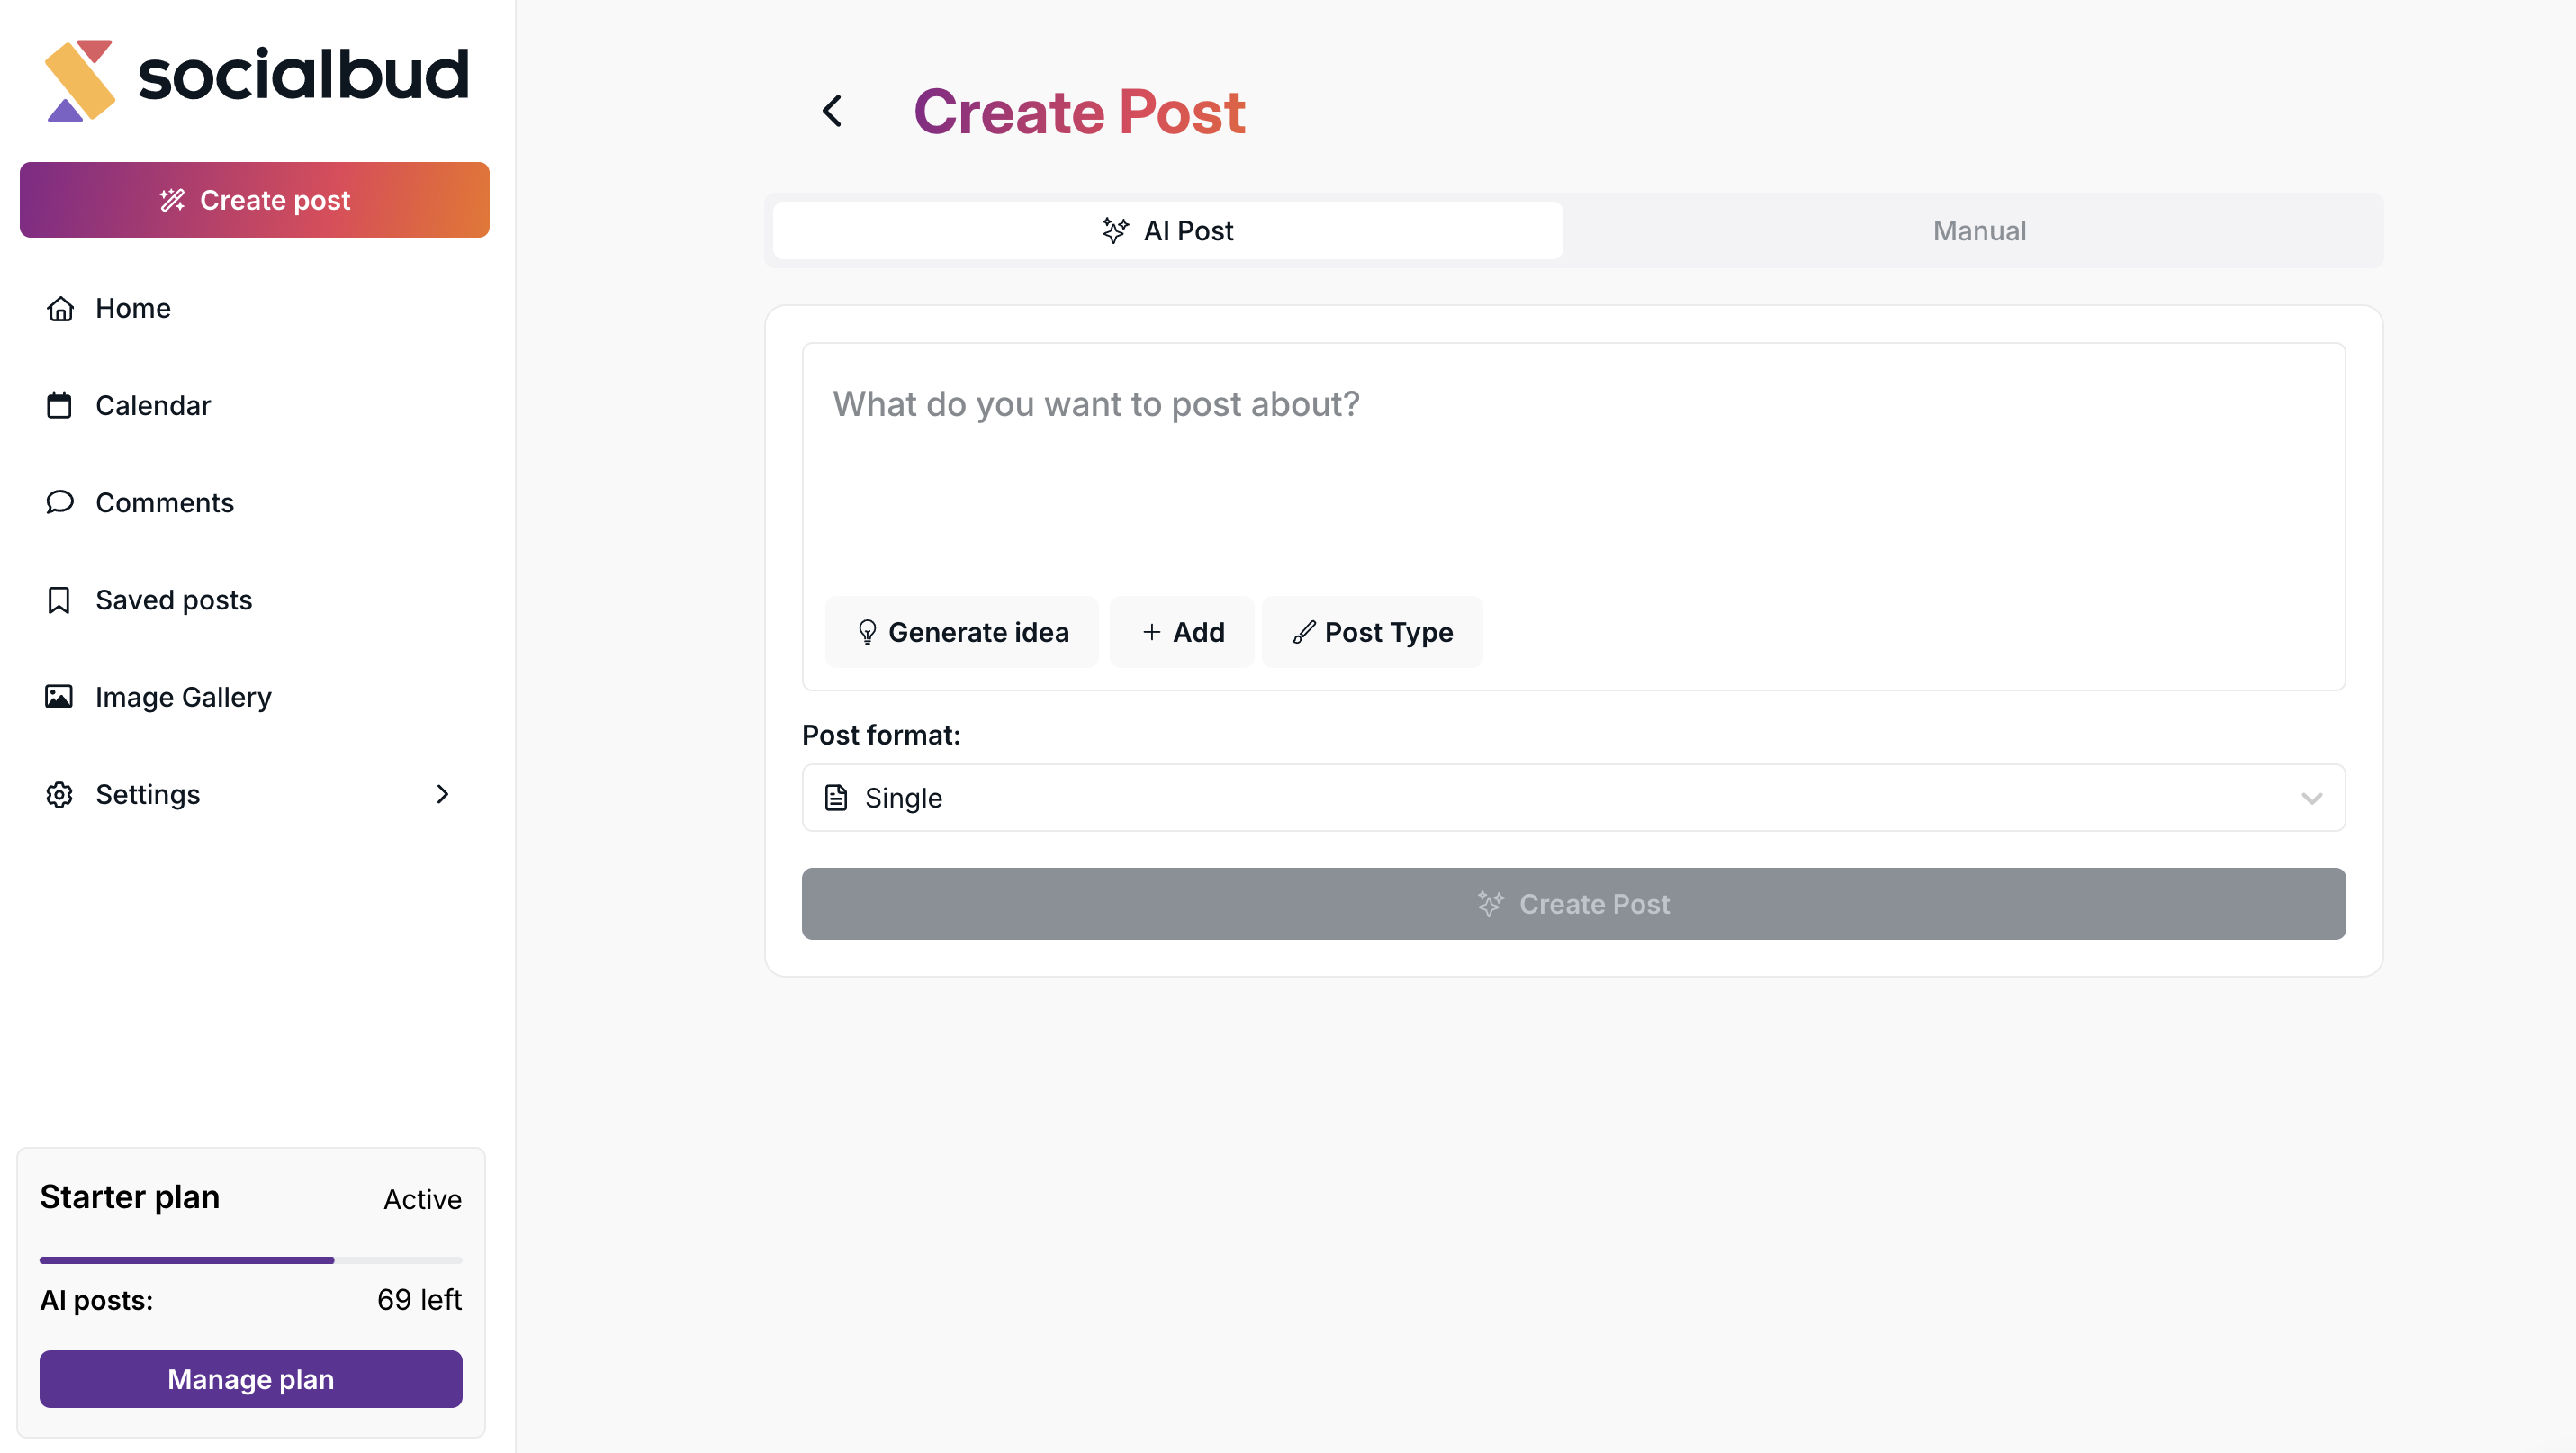
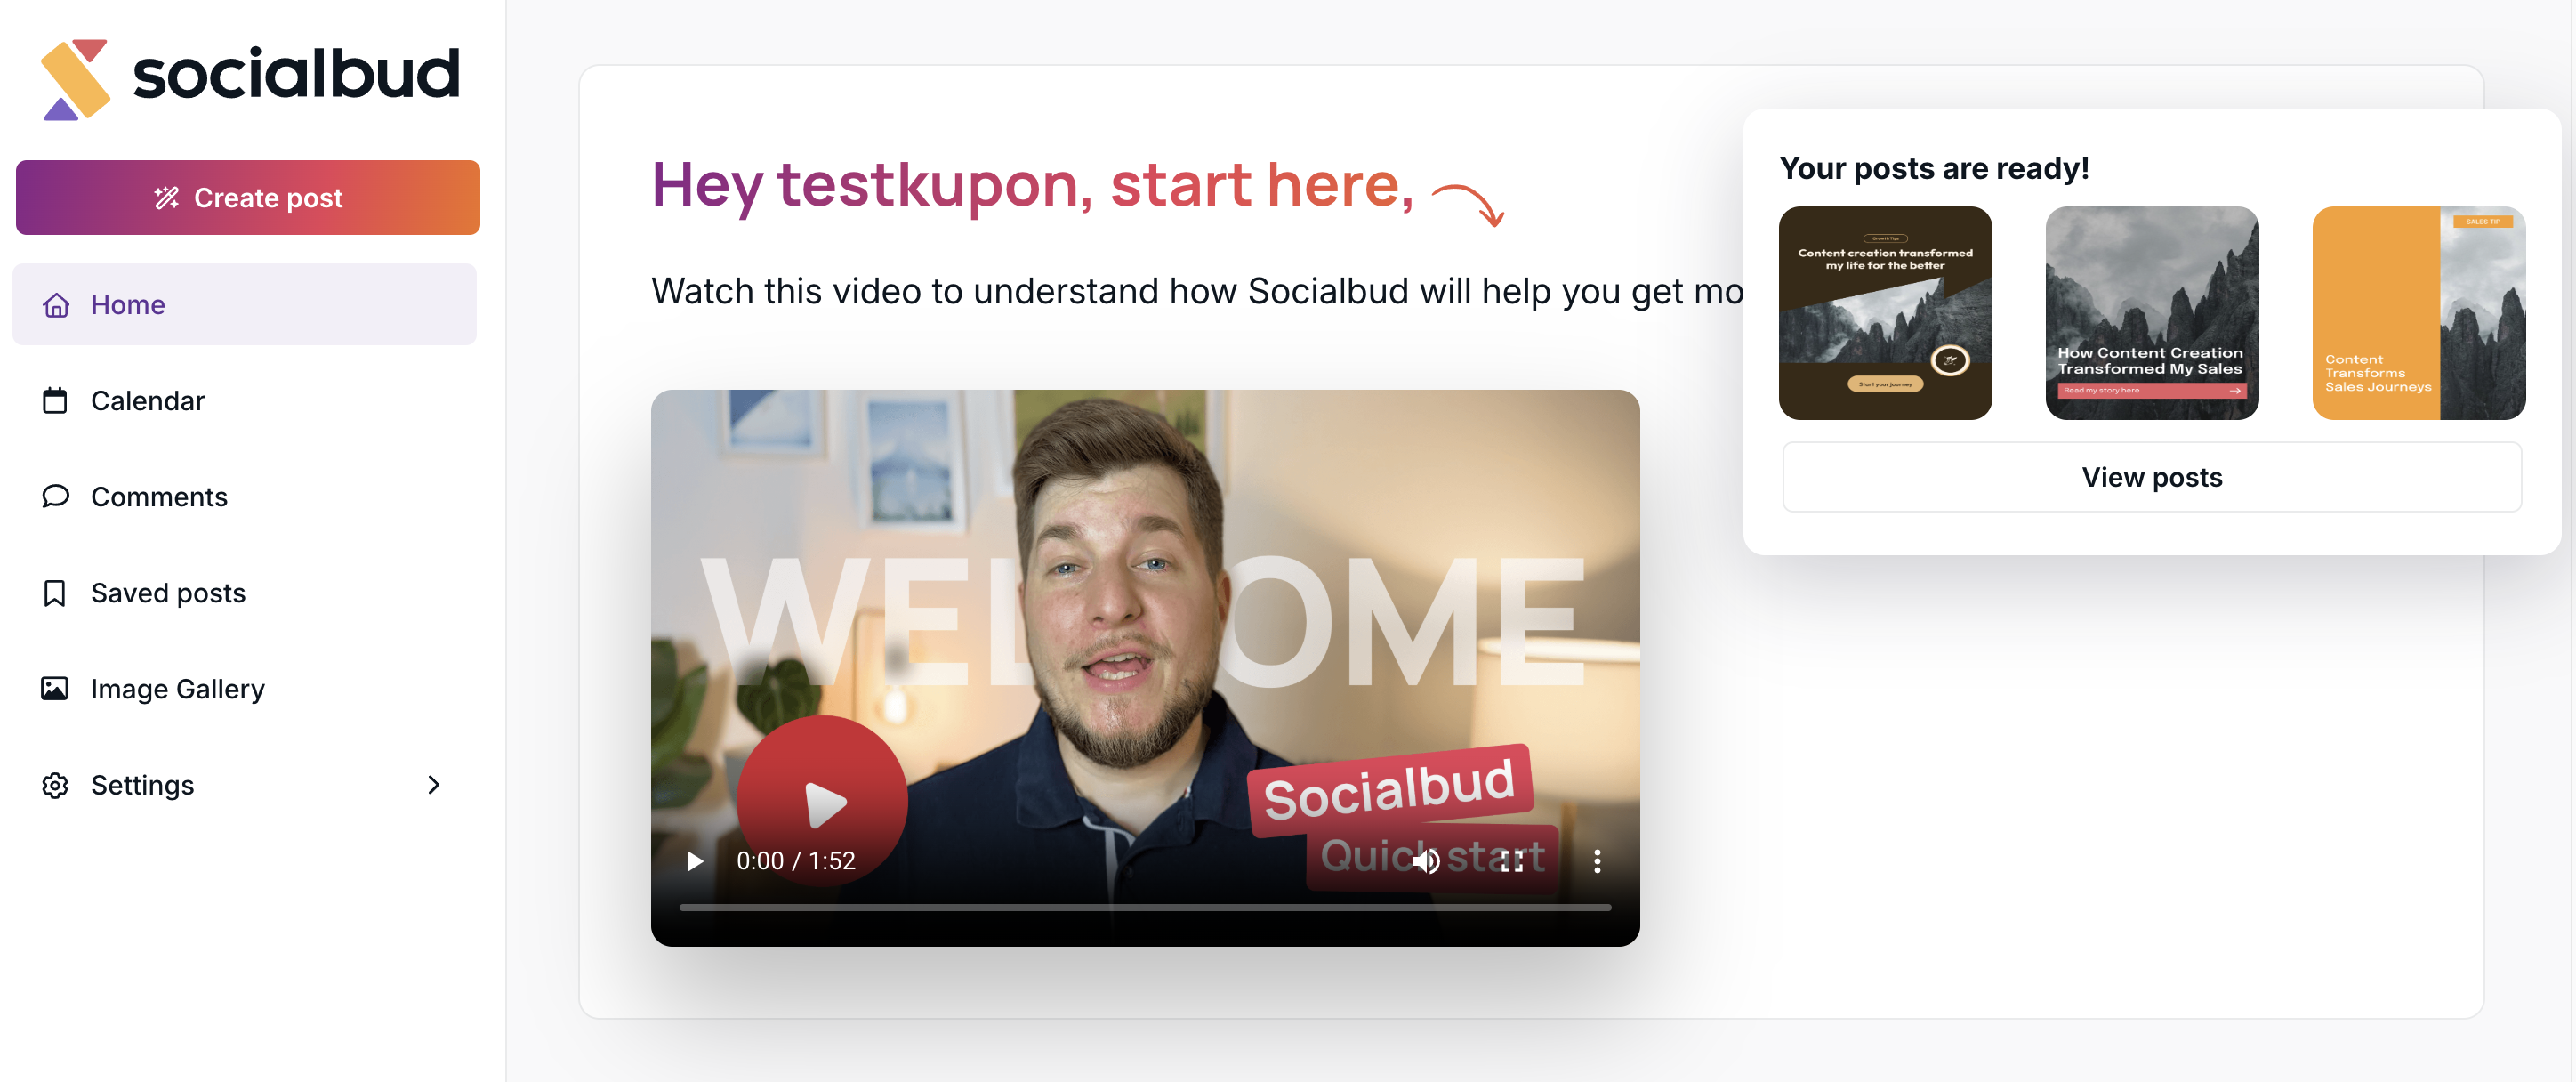
To create a new post, click the Create Post button located at the top of the left-hand menu.

Once you click it, you’ll have two options:
AI Post
Manual Post
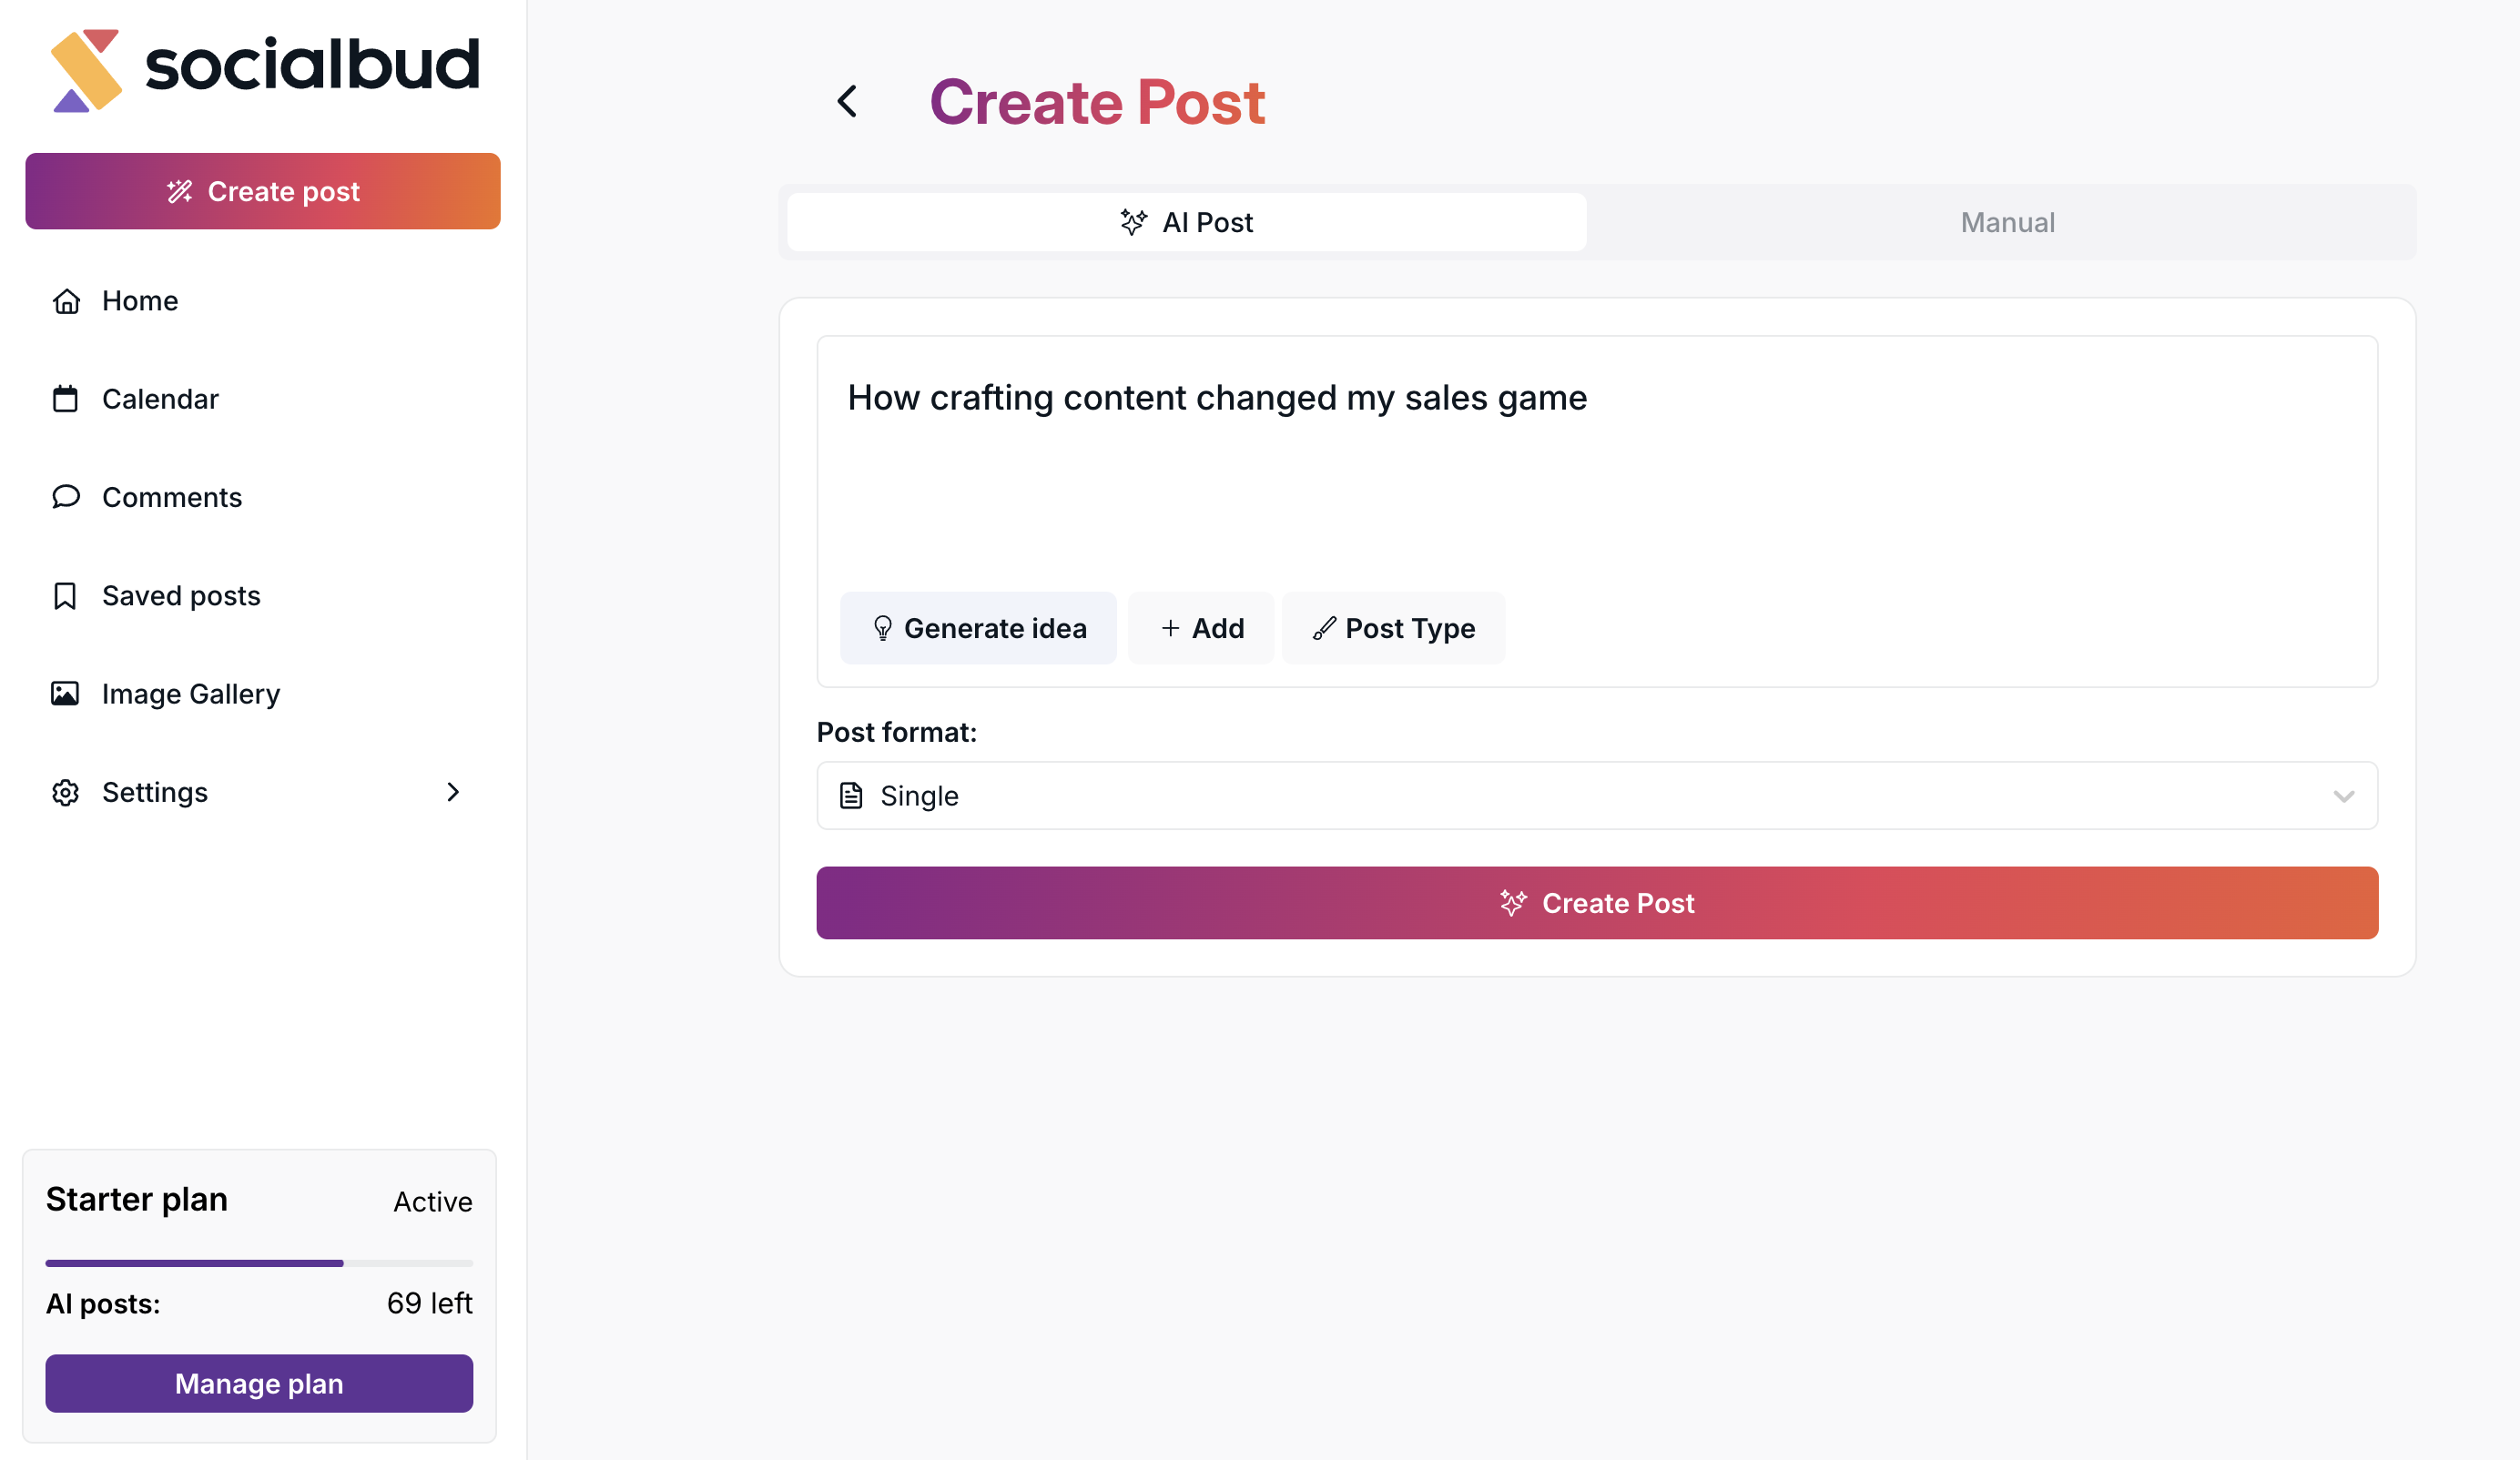
If you choose AI Post, you’ll see a field where you can describe what you’d like your post to be about.
If you don’t have a specific idea in mind, click the ‘Generate idea’ button. The AI will then generate a post idea tailored to your business.

You can also add an image by clicking the Add button next to the Generate Idea button. When you do this, you’ll have several options:
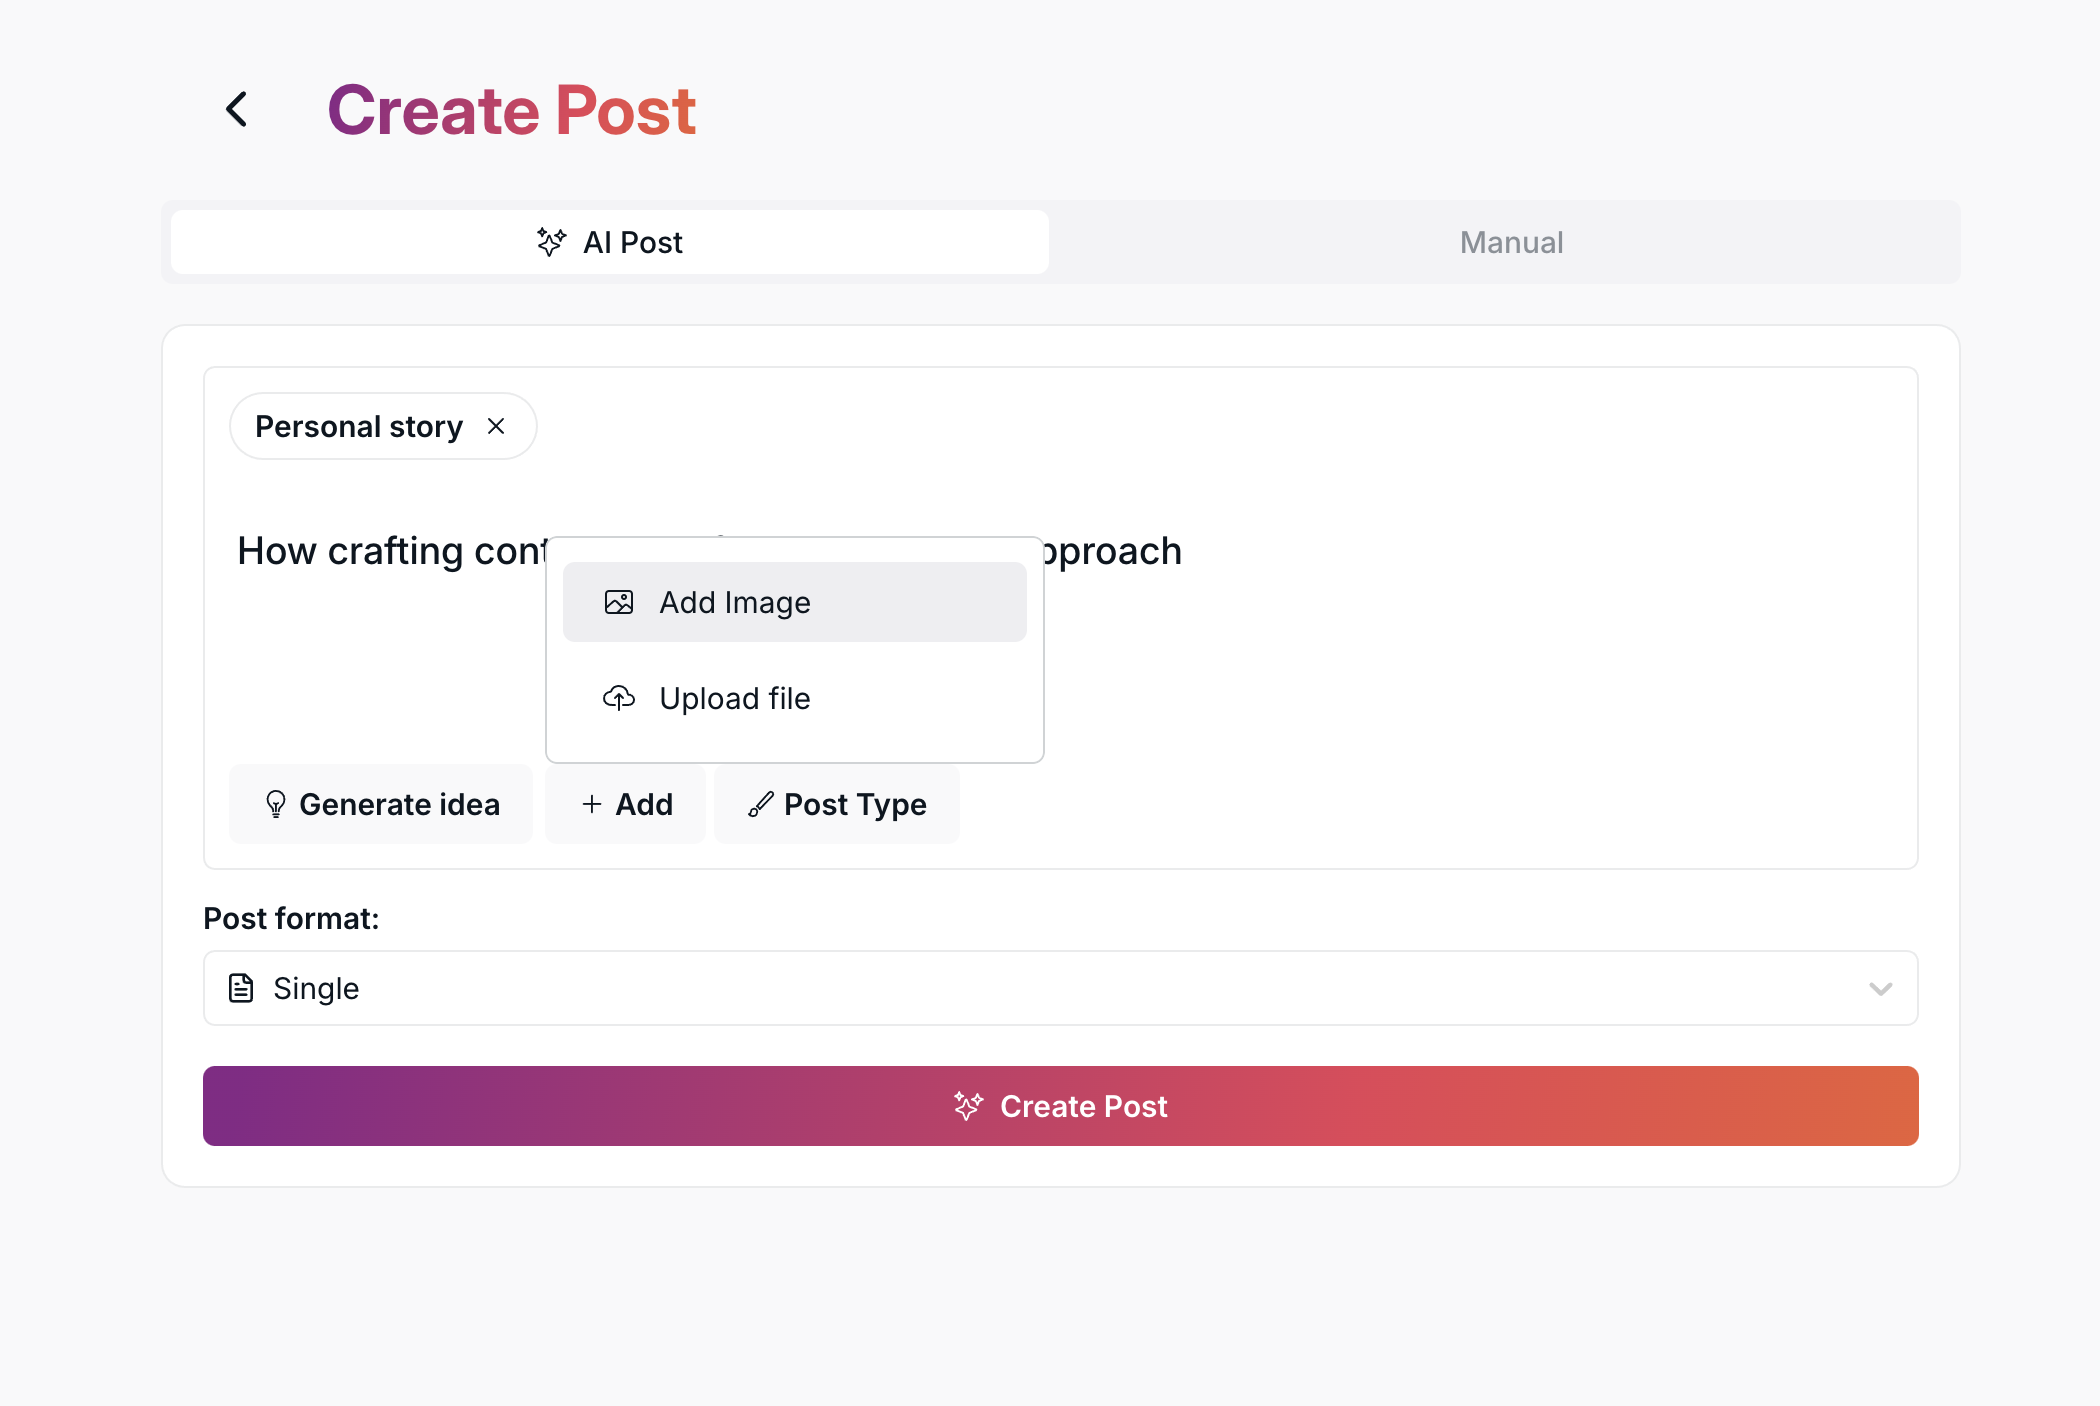
Upload an image from your computer or phone.
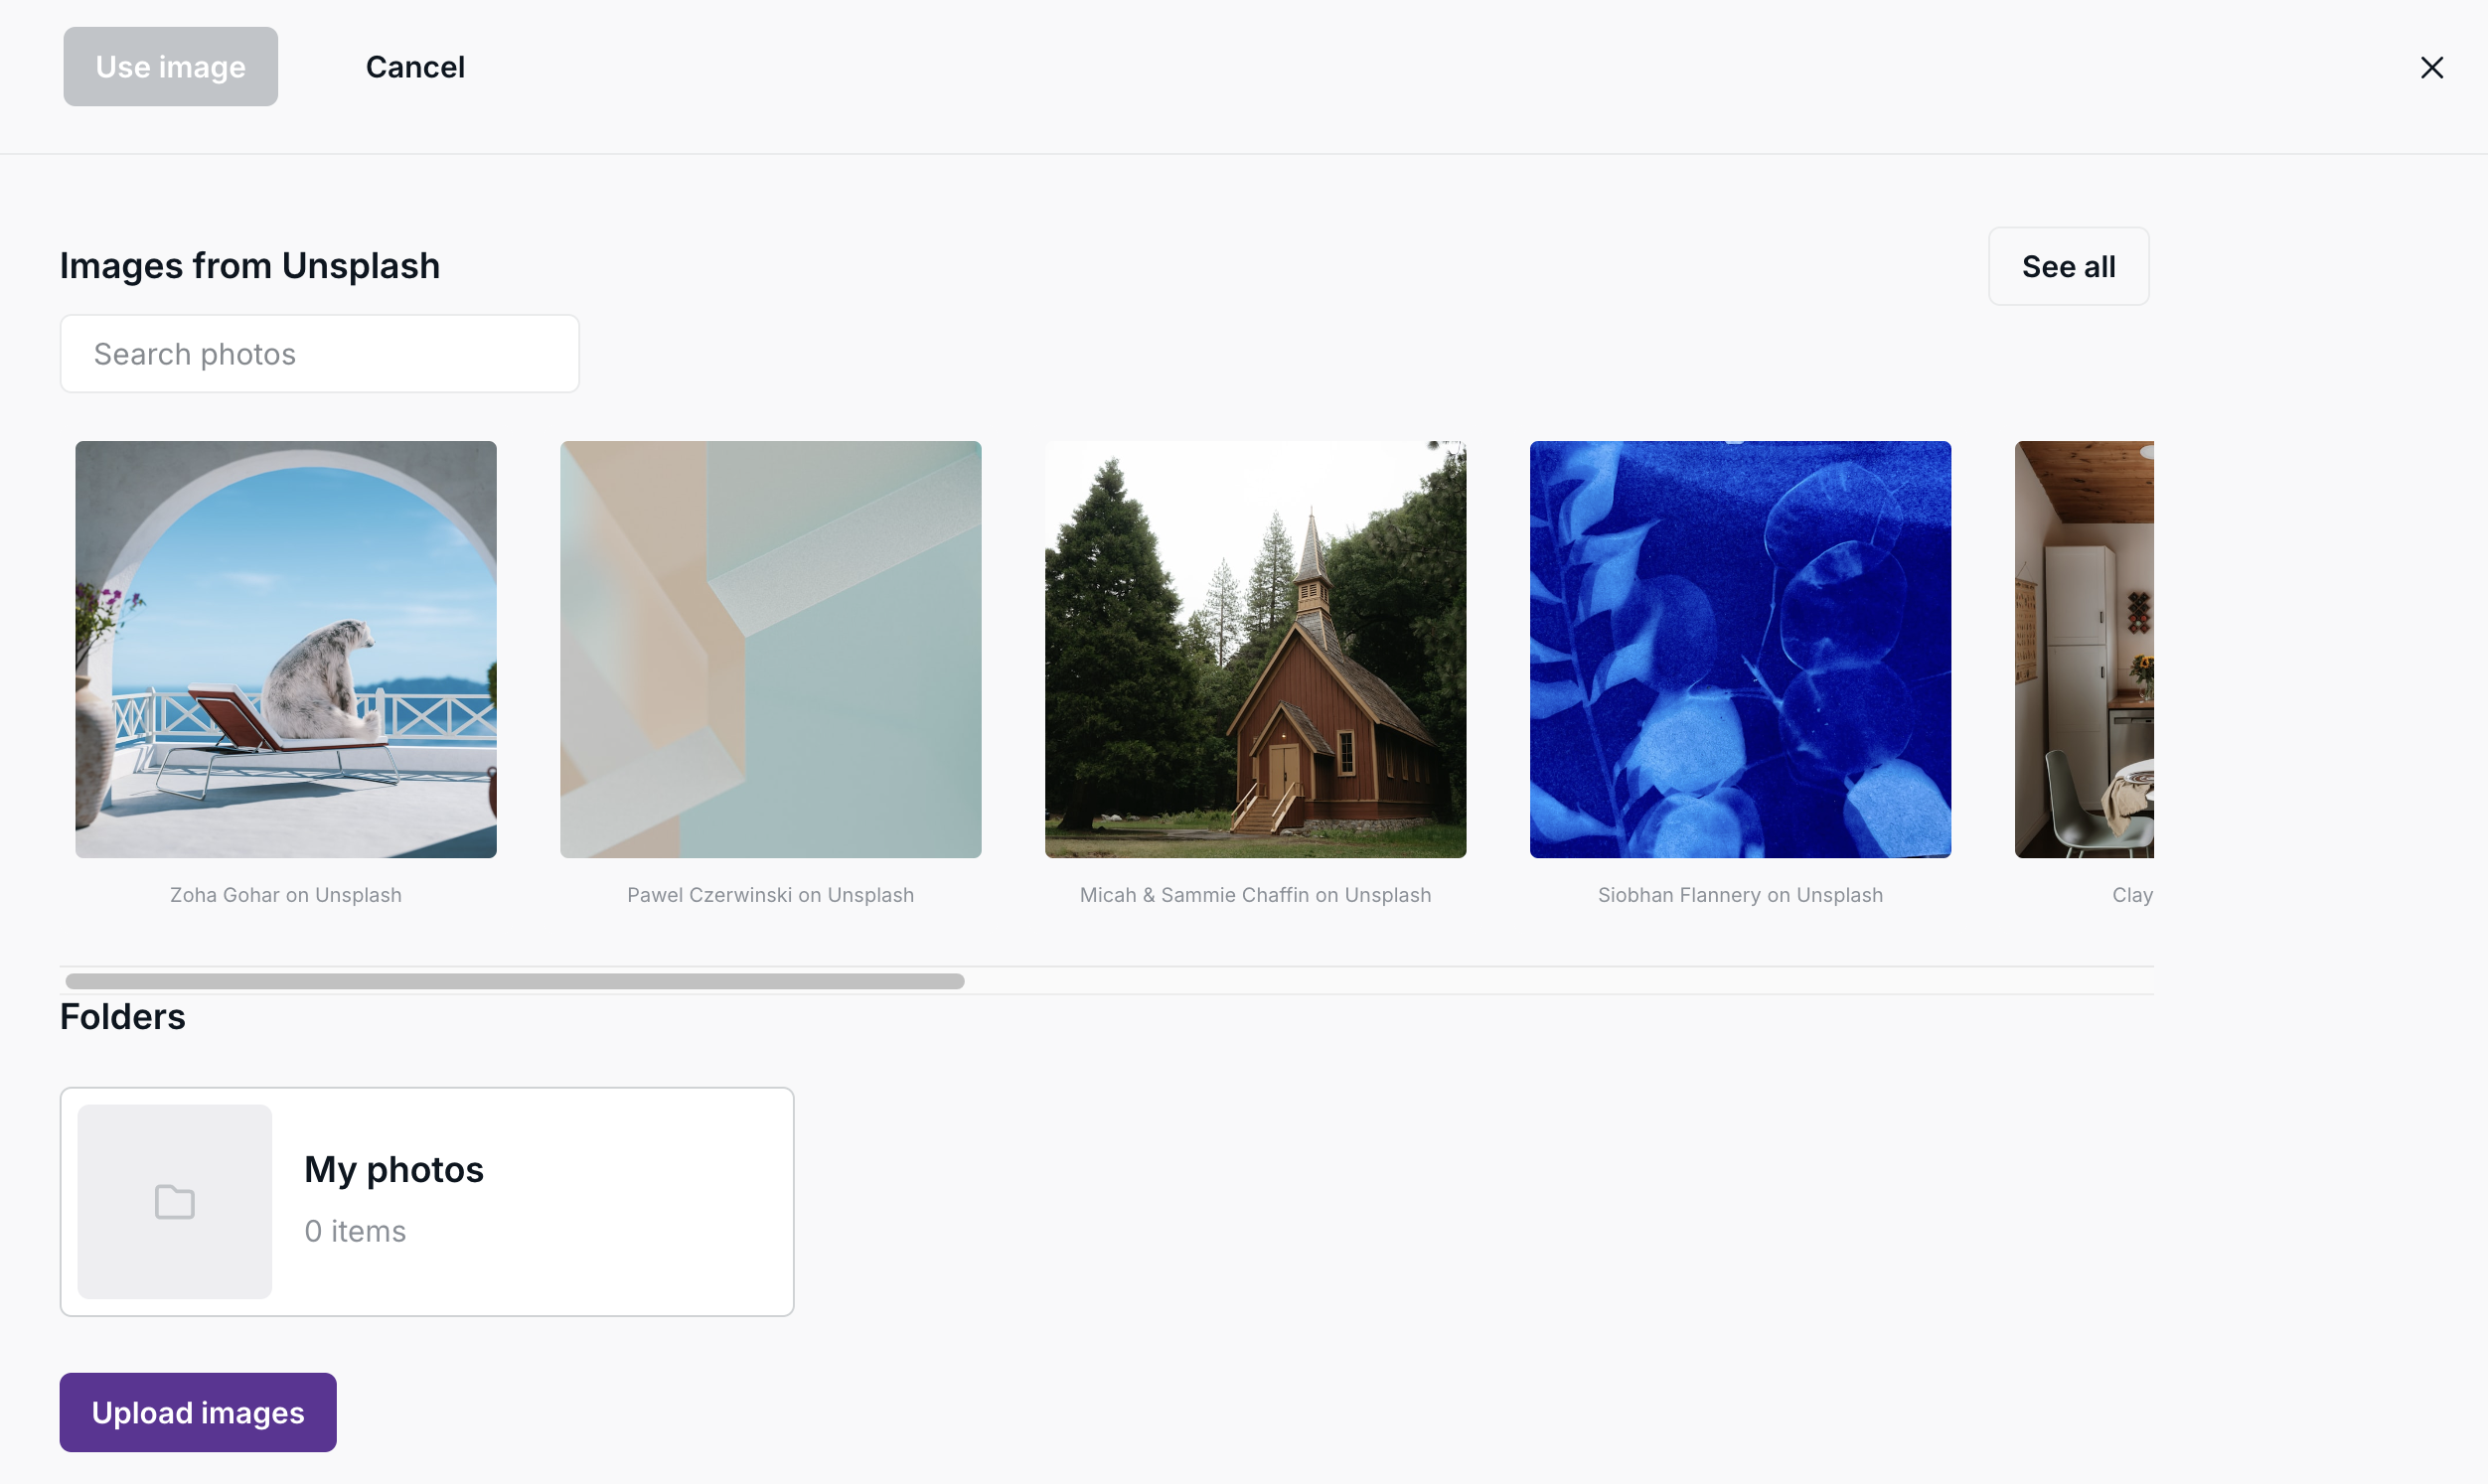
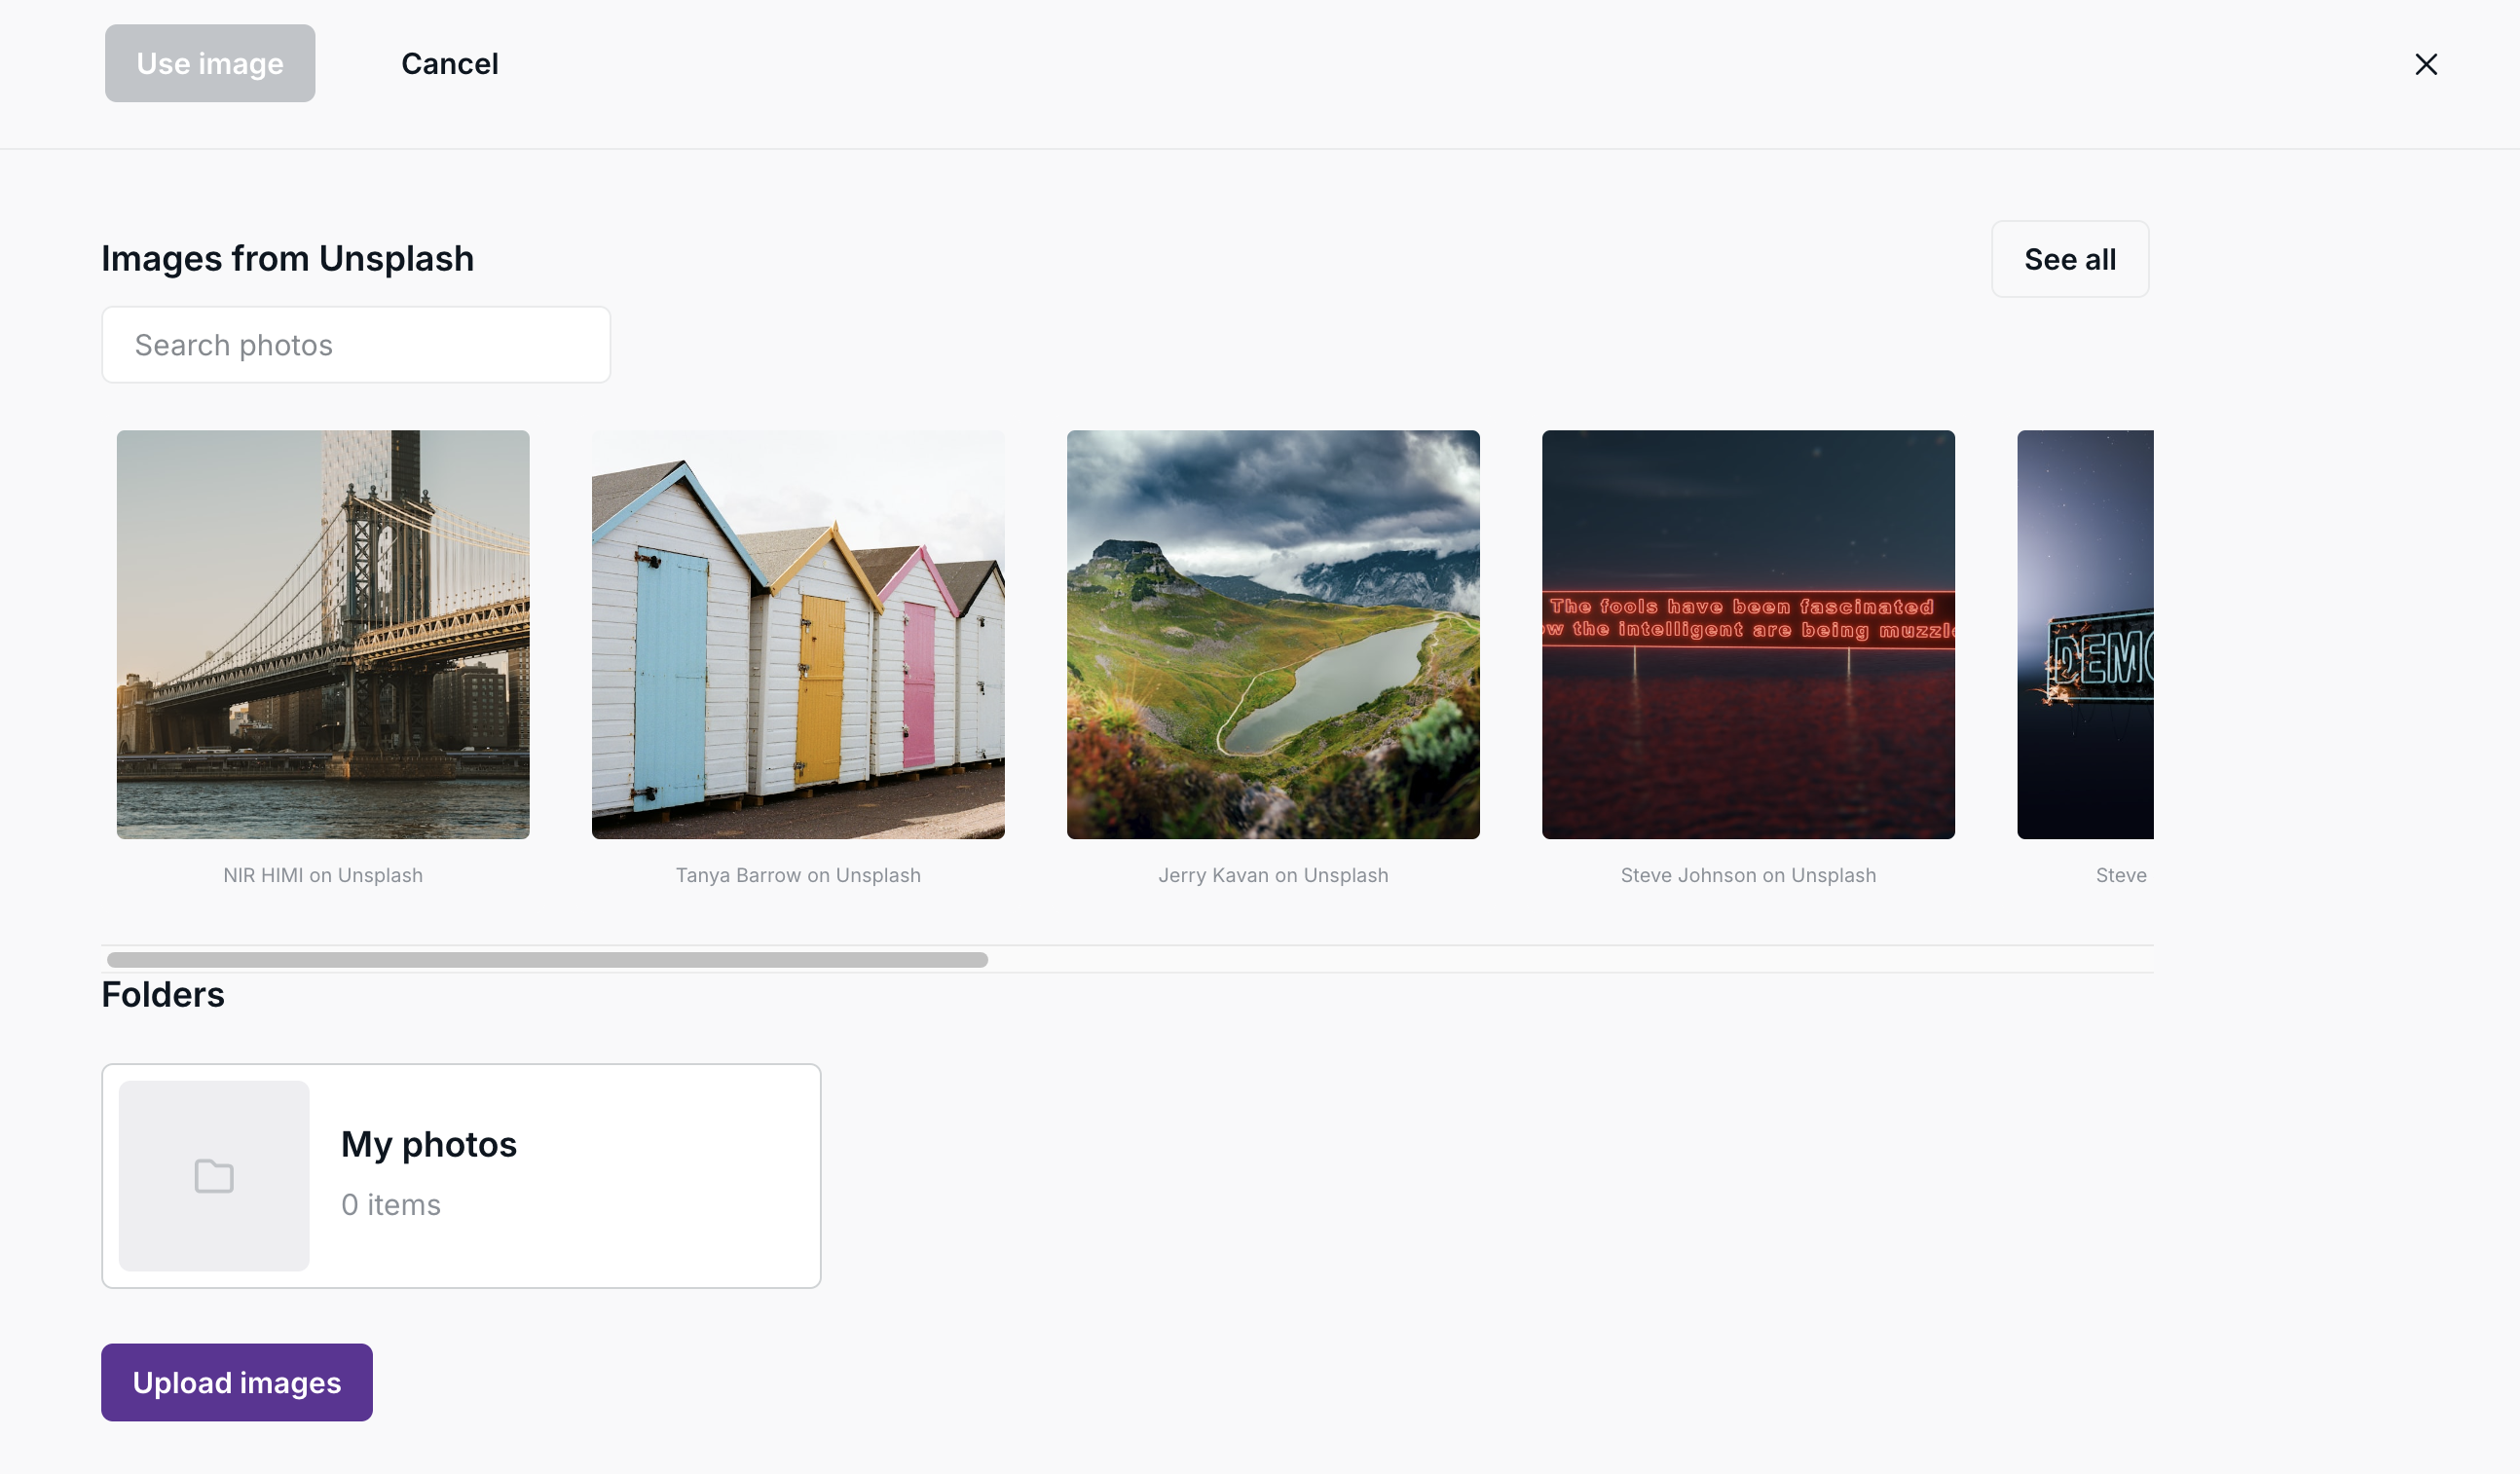
Select an image from Unsplash or select one from your Image Gallery by clicking the Add Image option.
Here, you can use the search bar to find images by topic, or browse through your custom folders containing your own uploaded photos. From these, you can select one image to use in your post.
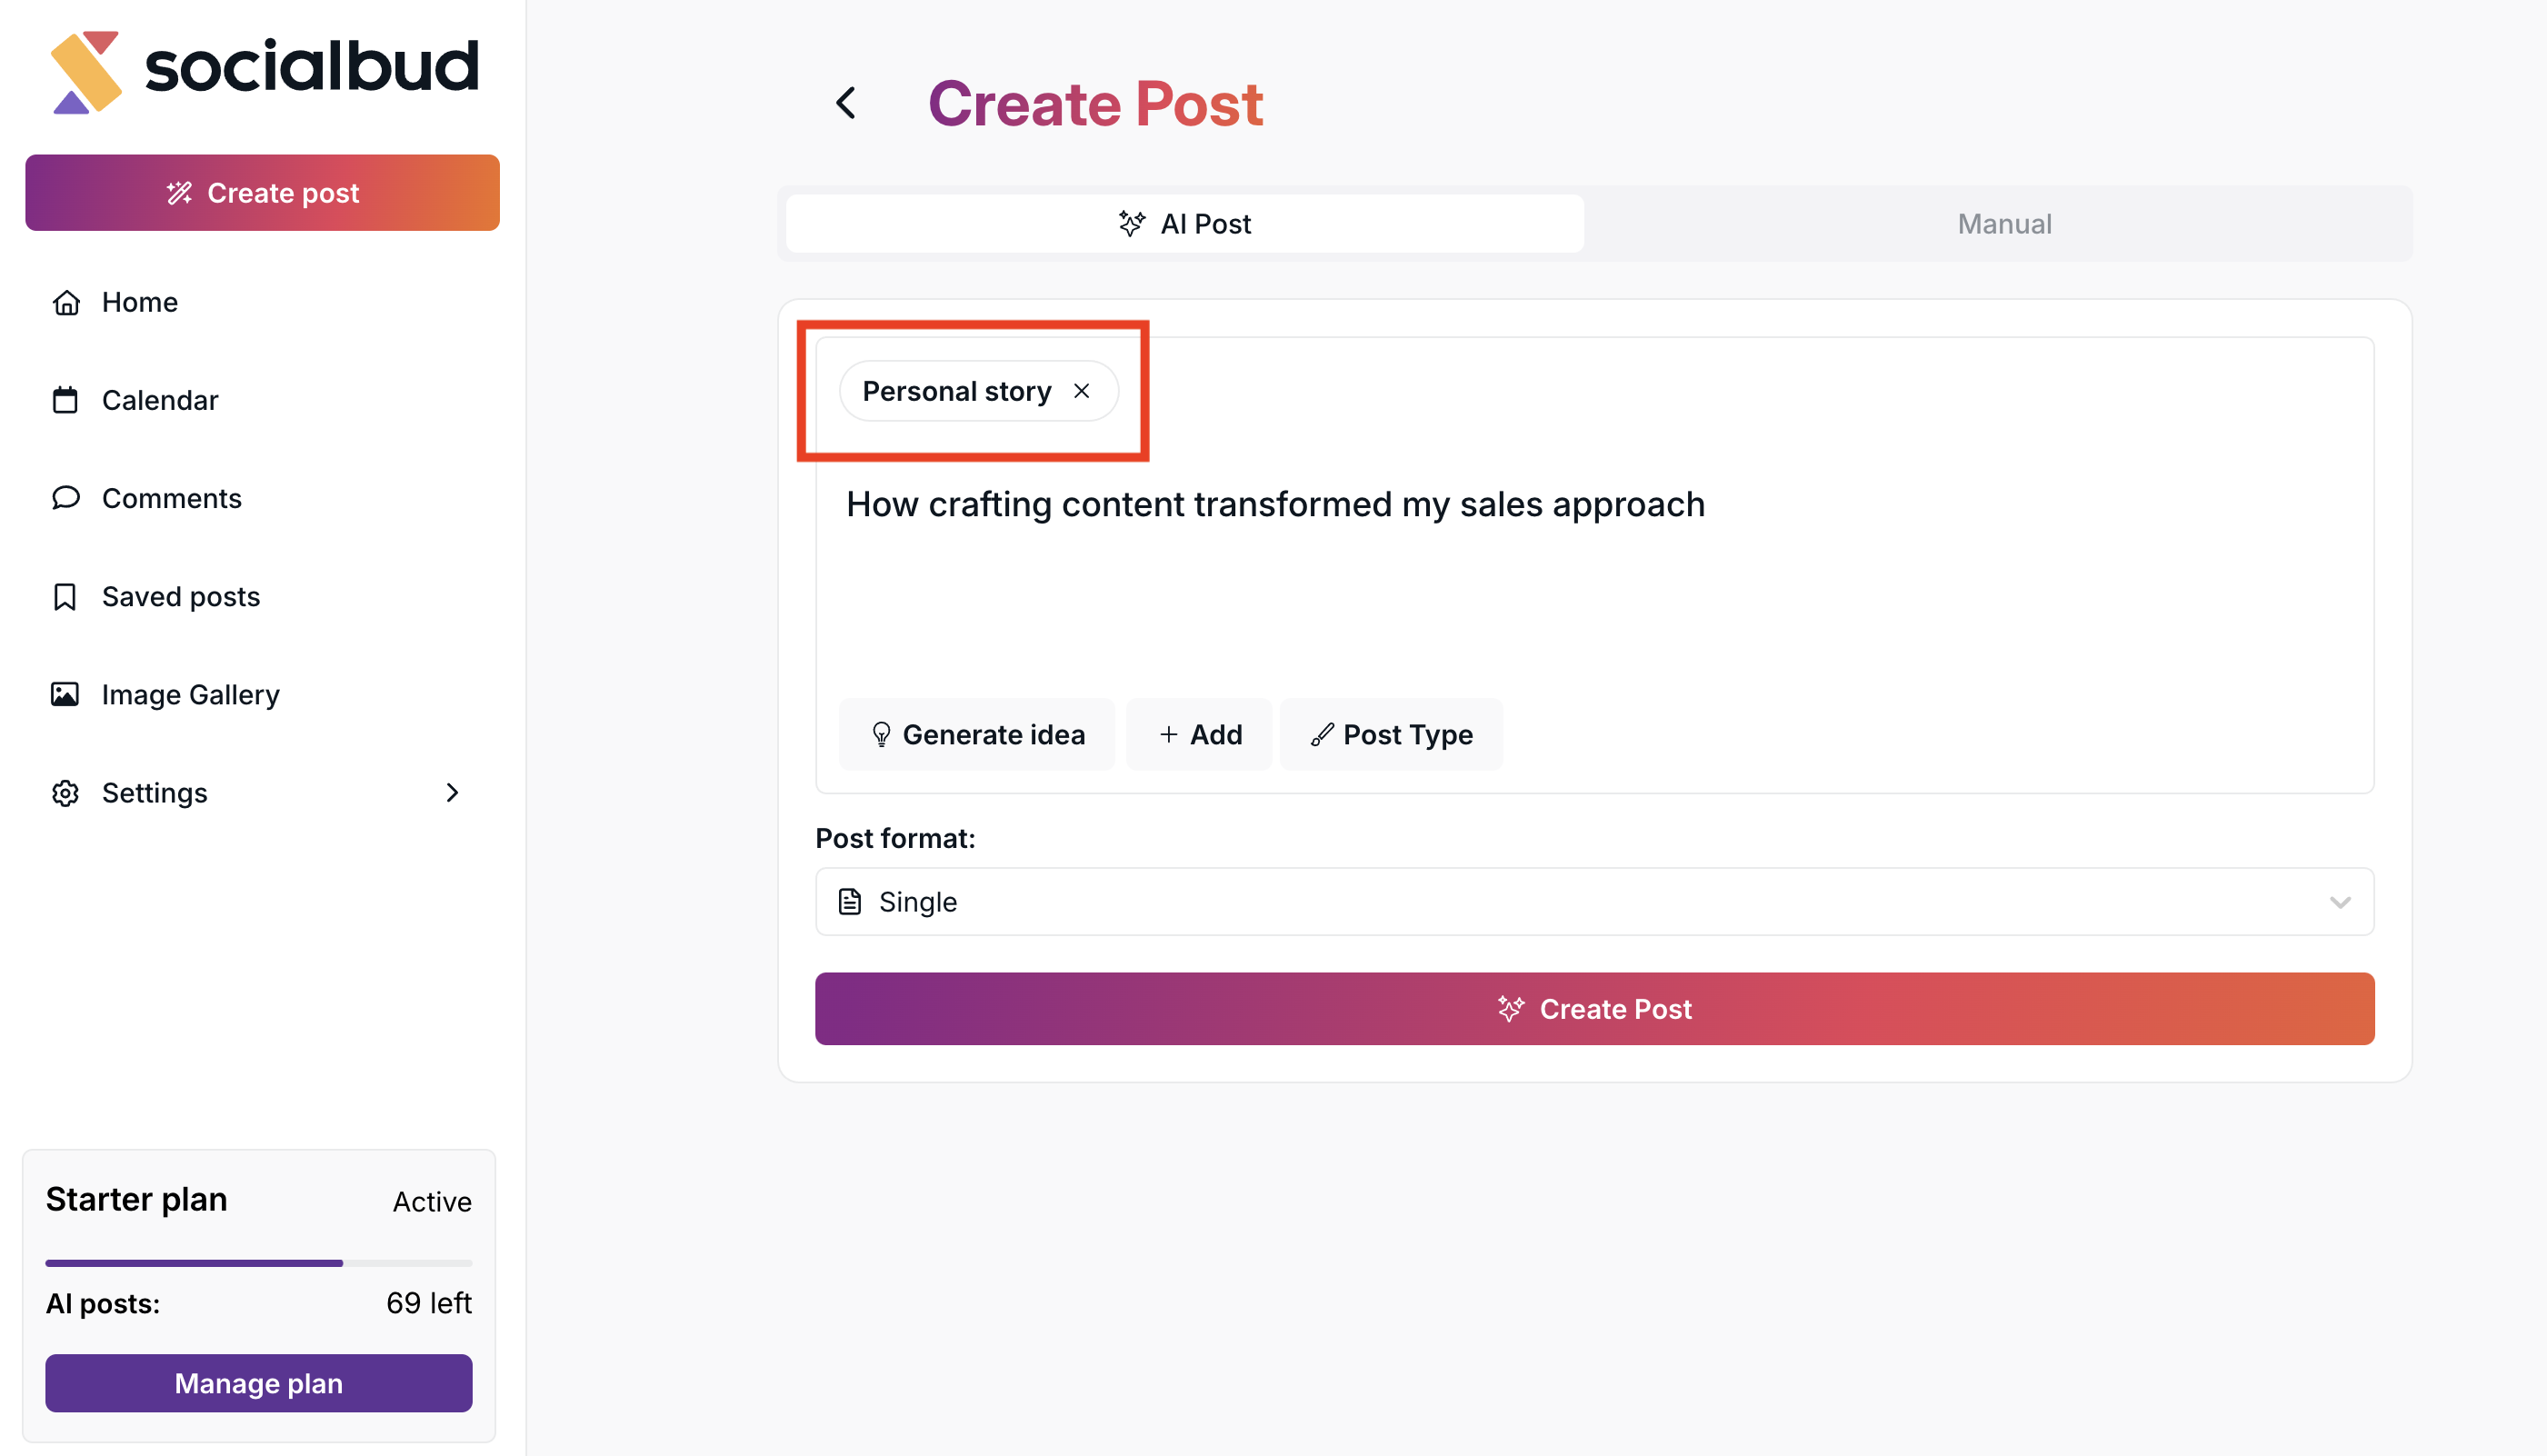
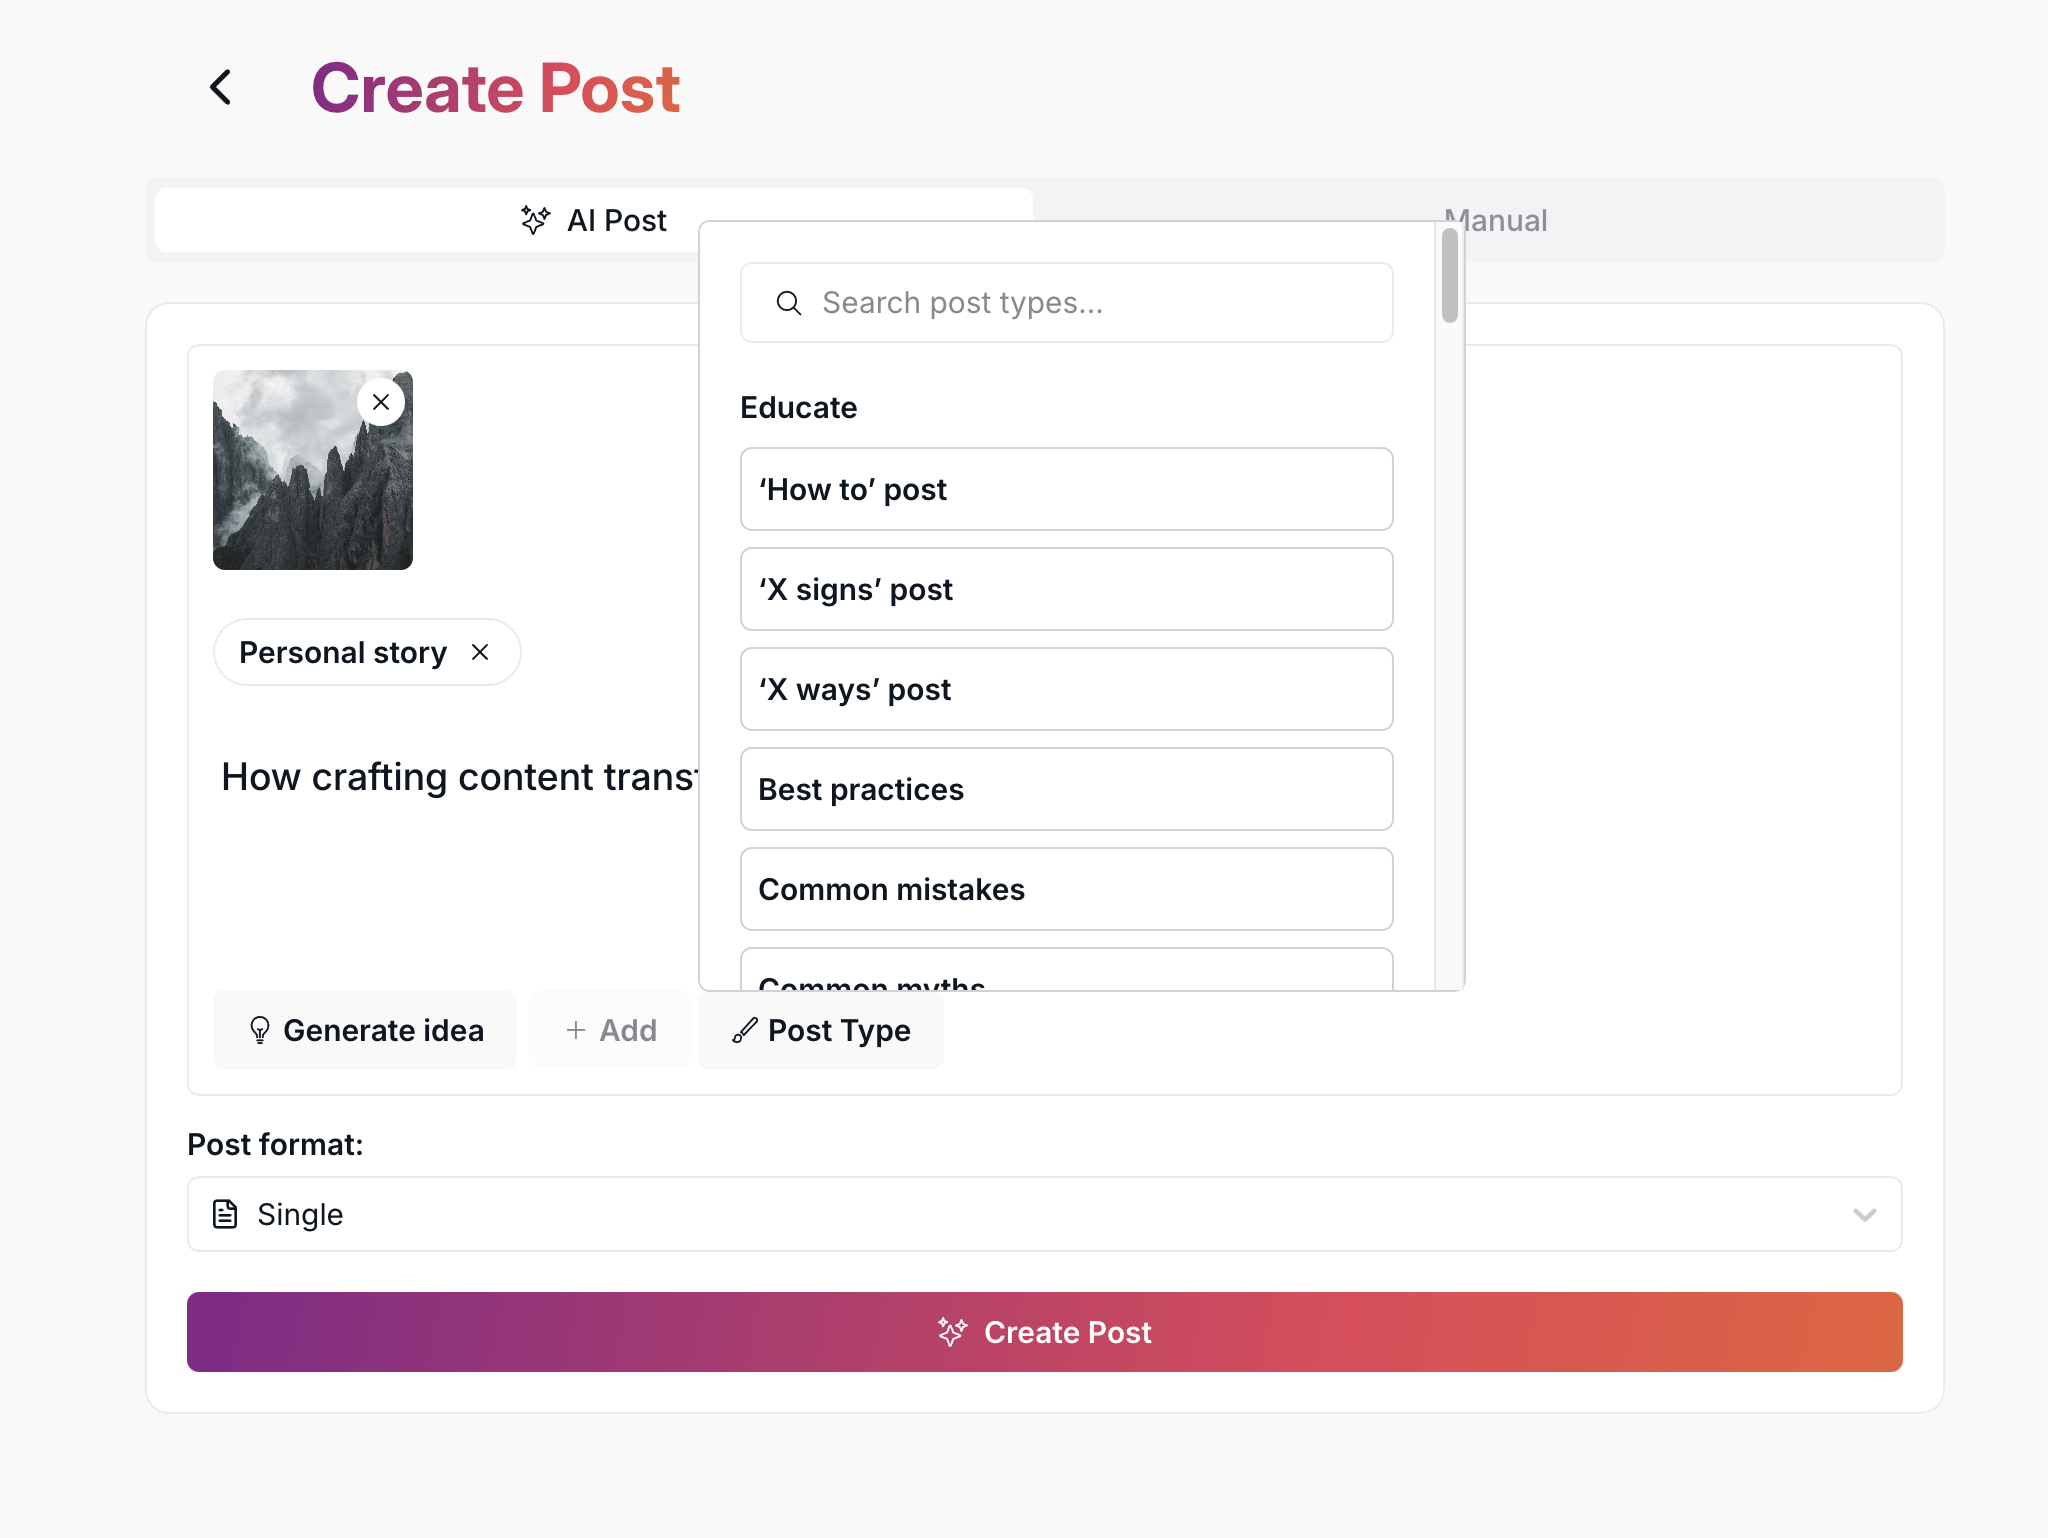
Next, you can select your Post Type. There are several types to choose from, and you can also search for a specific one using the search field.
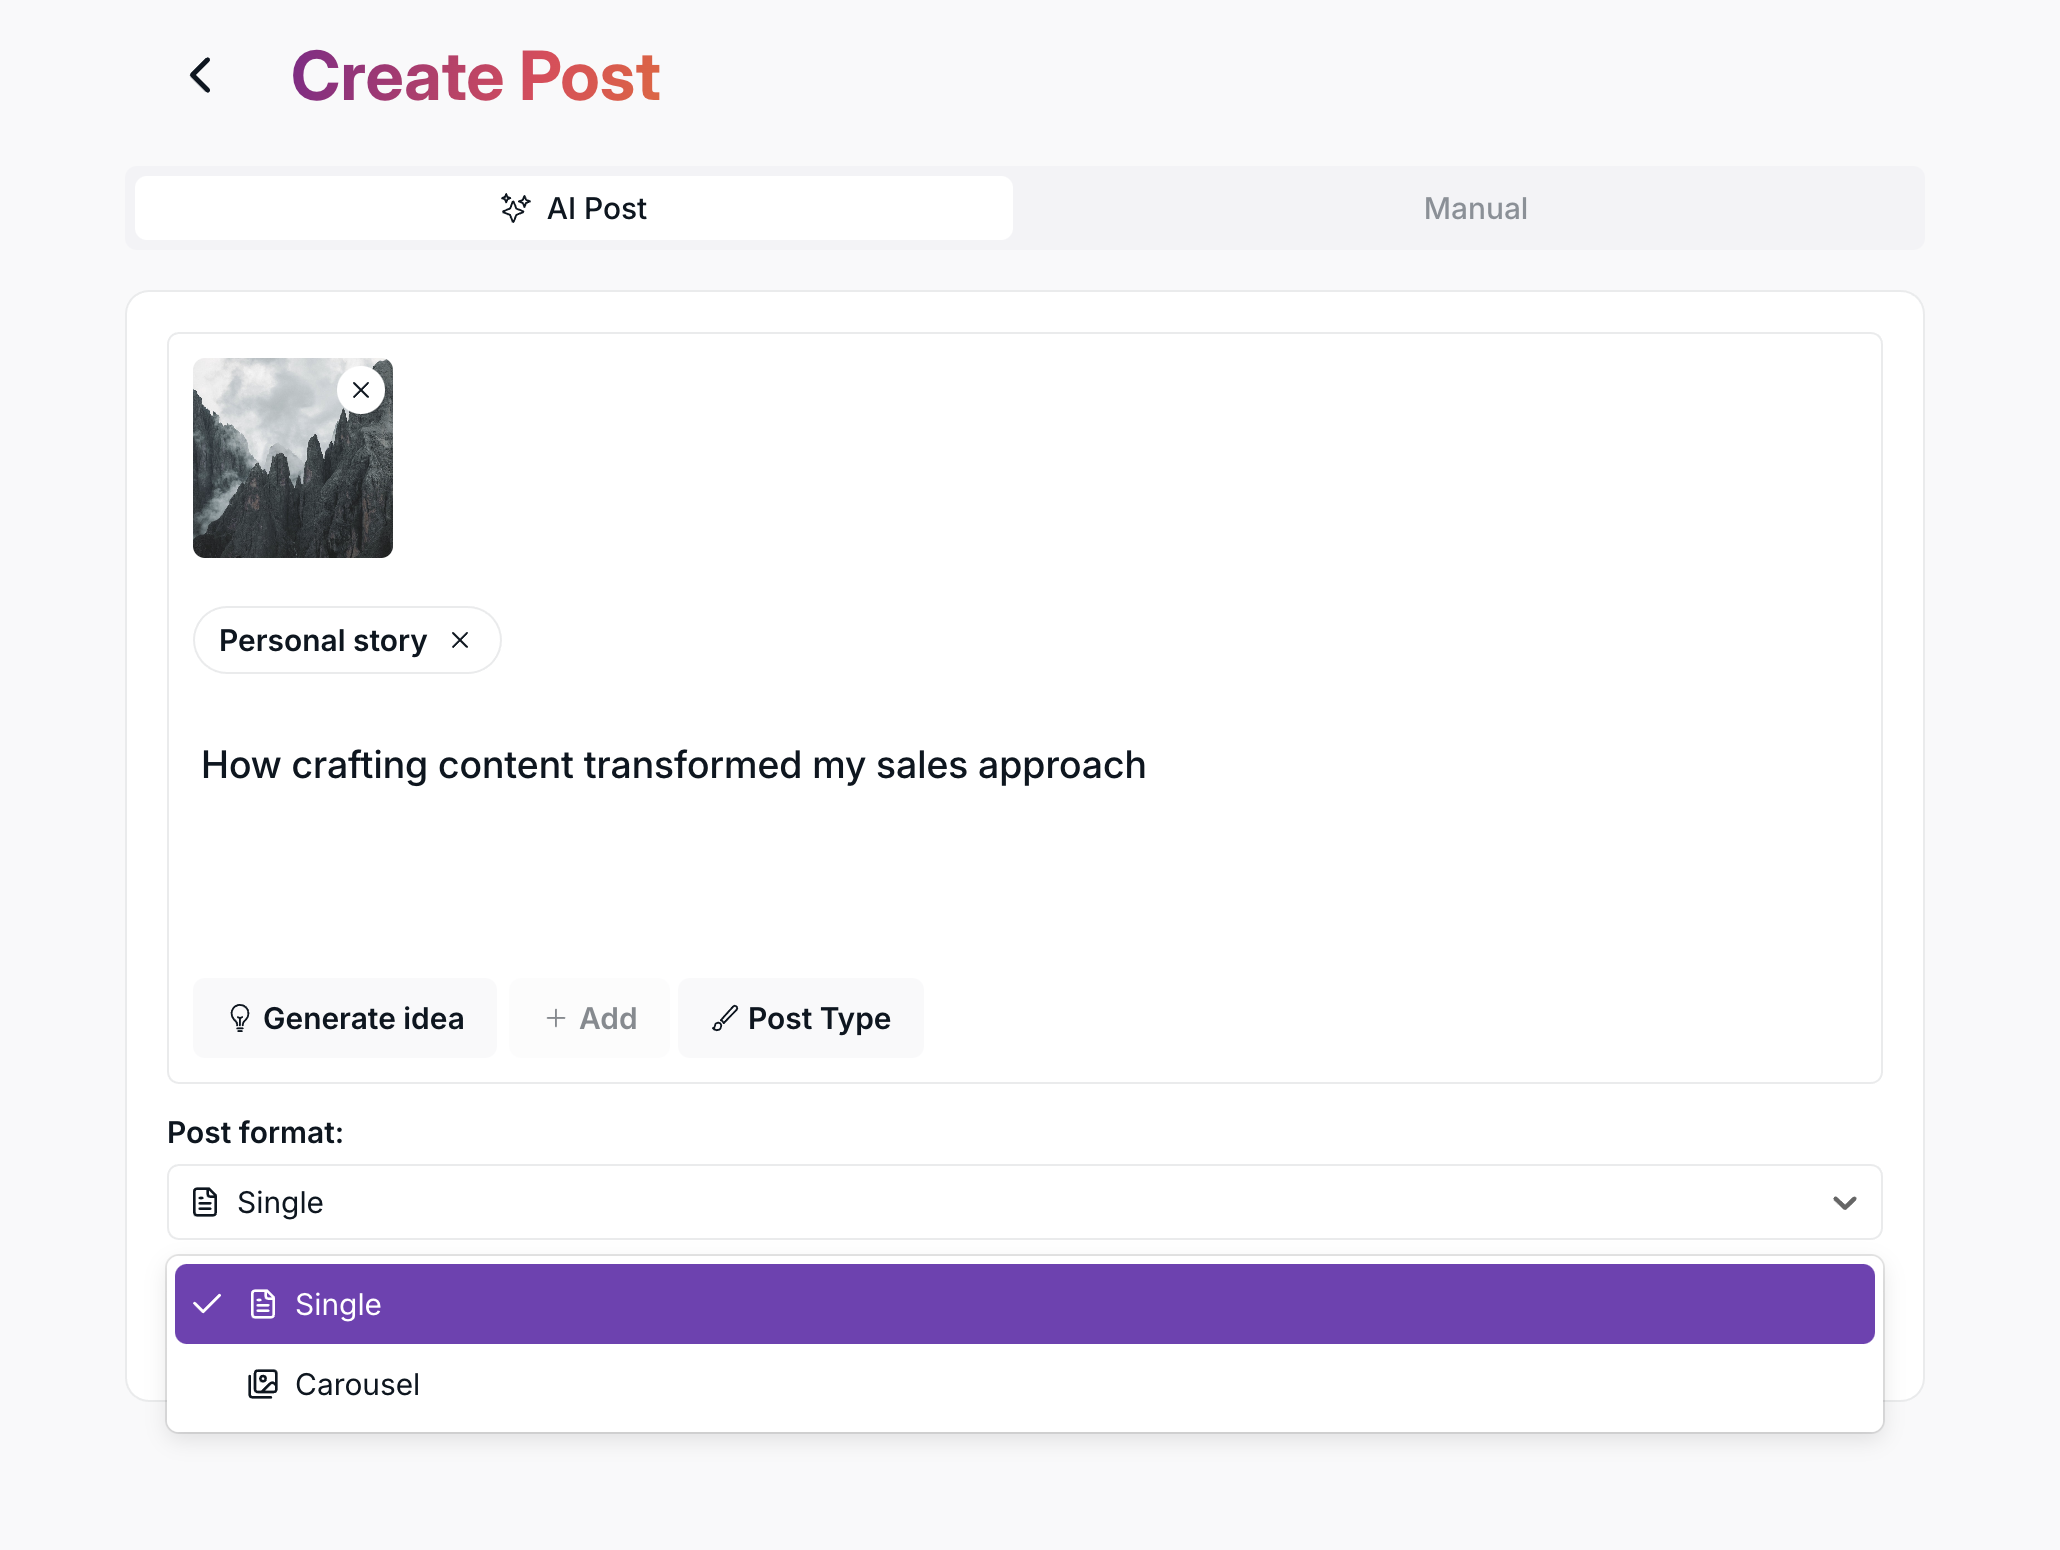
Then you can select a Post Format, - if you want - there are two options:
Single Post.
Carousel Post.
After setting up your post with your chosen options and content, click the Create Post button.
You’ll then be redirected to the Home page. When your post is ready, you’ll see a notification appear in the top-right corner of the screen. From there, you’ll be able to open your generated posts with ‘View posts’ option— and once opened, you can edit, schedule, or manage them however you like.
If you choose the Manual Post Creation option, you’ll have full control over the design and content of your post.
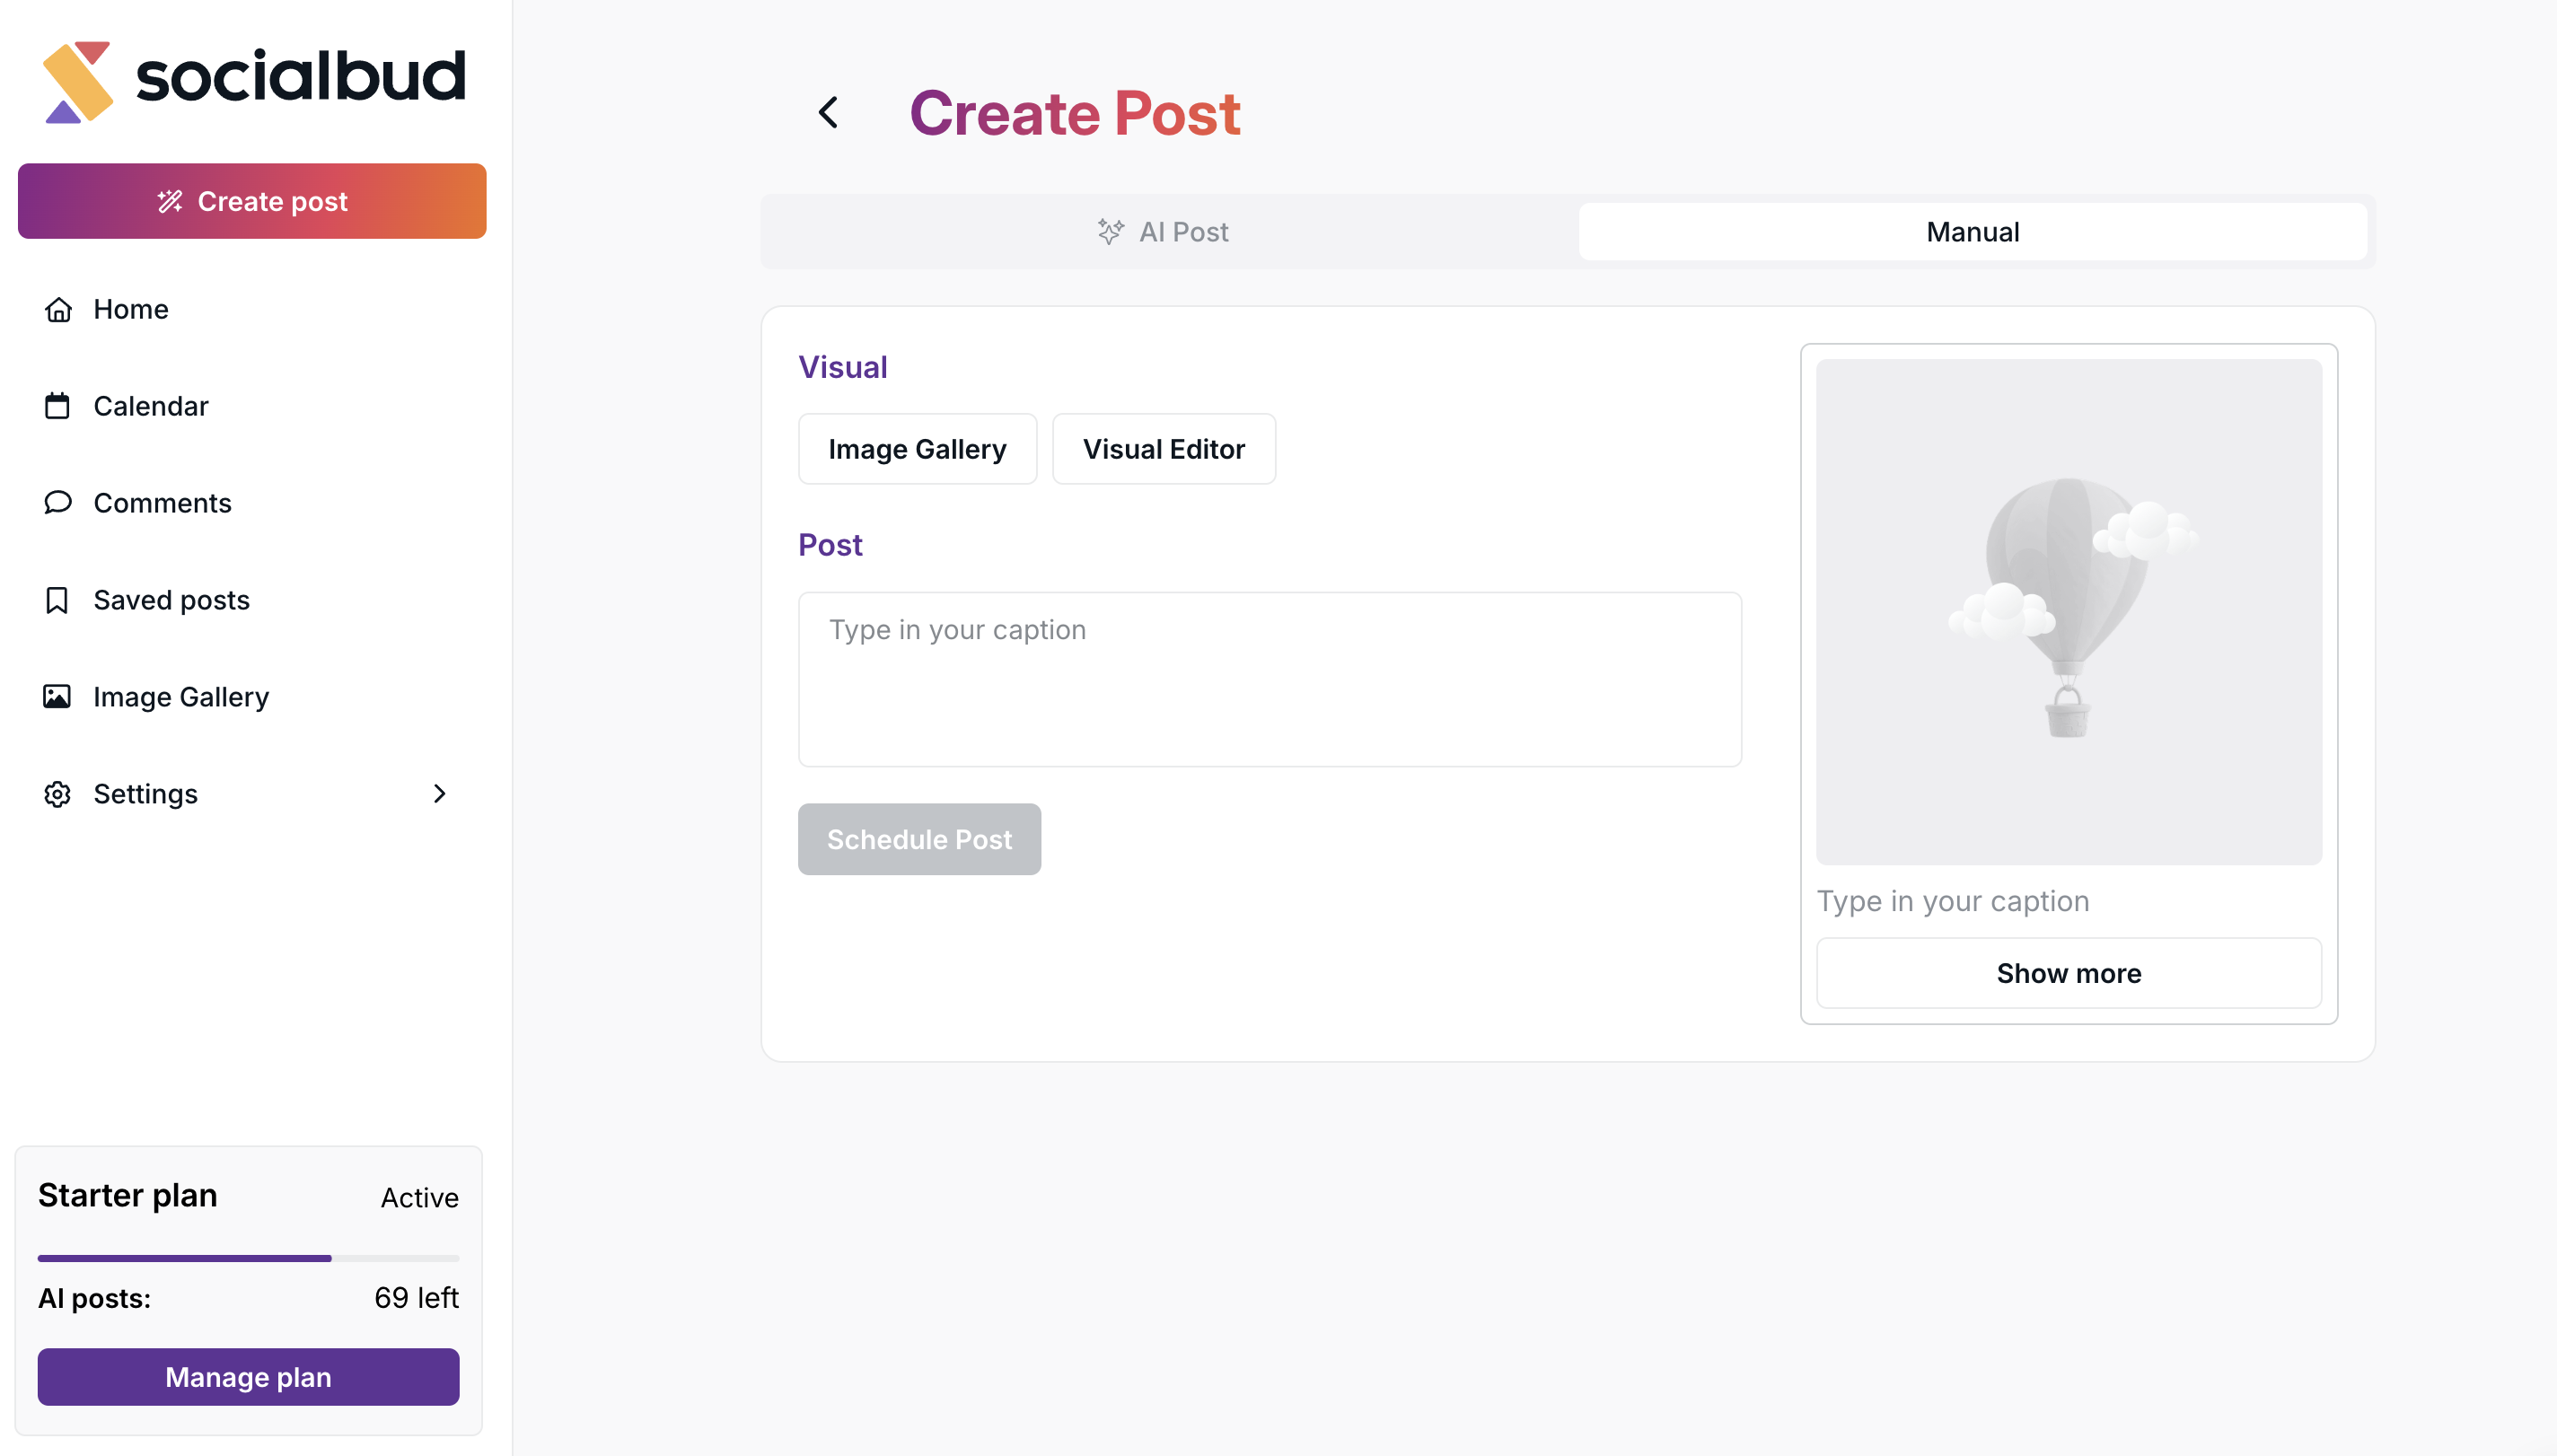
First, you can open the Image Gallery, where you can:
Select an image from Unsplash, or
Choose one from your own image gallery.
You can upload an image from your device
Alternatively, you can go straight into our Visual Editor, where you can freely design the post layout according to your preferences.
Here, you can also write your own caption manually — exactly the way you want it to appear in your post.
On the right-hand side, a preview panel shows how your post will look once published, including both the visual and the caption.
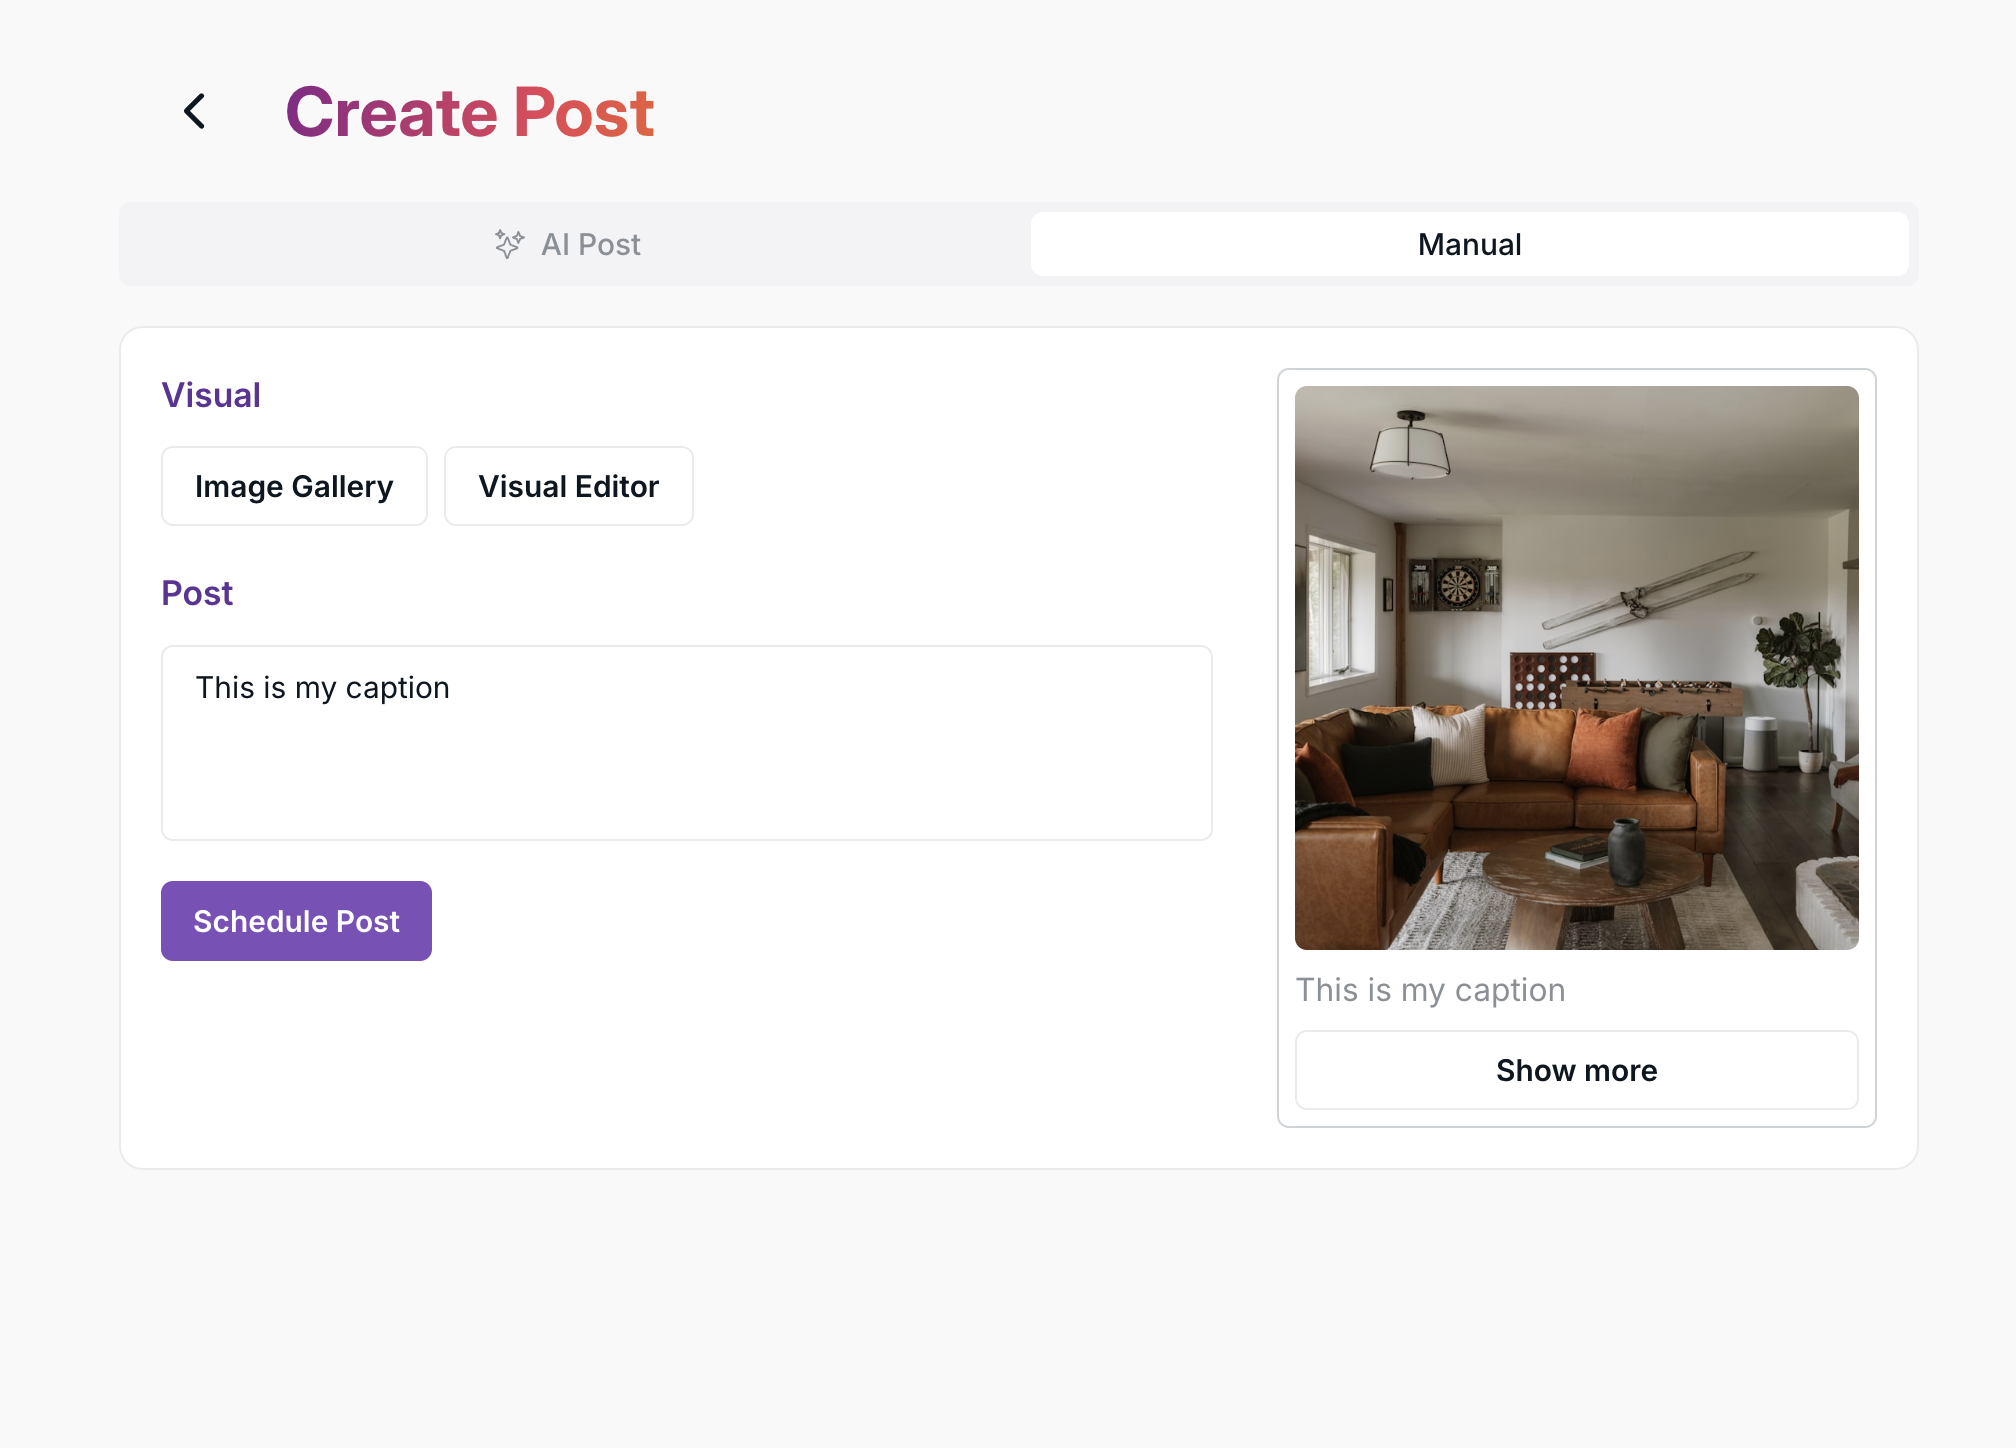
When you’re satisfied with the result, click the Schedule Post button to add it directly to your calendar.

