In this article, you’ll learn how automatically generated posts work in Socialbud, what influences them, and how you can review, edit, and schedule them.
The number of automatically generated posts depends on your subscription plan:
Smaller plan: You’ll receive 3 posts per week
Larger plan: You’ll receive up to 30 posts per month
Posts are generated in advance, typically covering a 30-day period, so you always have content ready to review and schedule.
Automatically generated posts are created based on the information you provide during onboarding about your brand.
This includes:
Your brand name
Your website URL
Your social handle
Your brand colors
Your logo
Details from your Business Profile
Your selected post styles.
Socialbud uses this information to generate content that matches your brand identity and communication style.
These inputs help Socialbud generate content that matches your brand, tone, and business goals.
You can access your automatically generated posts in two places:
Go to the Posts option in the left sidebar.
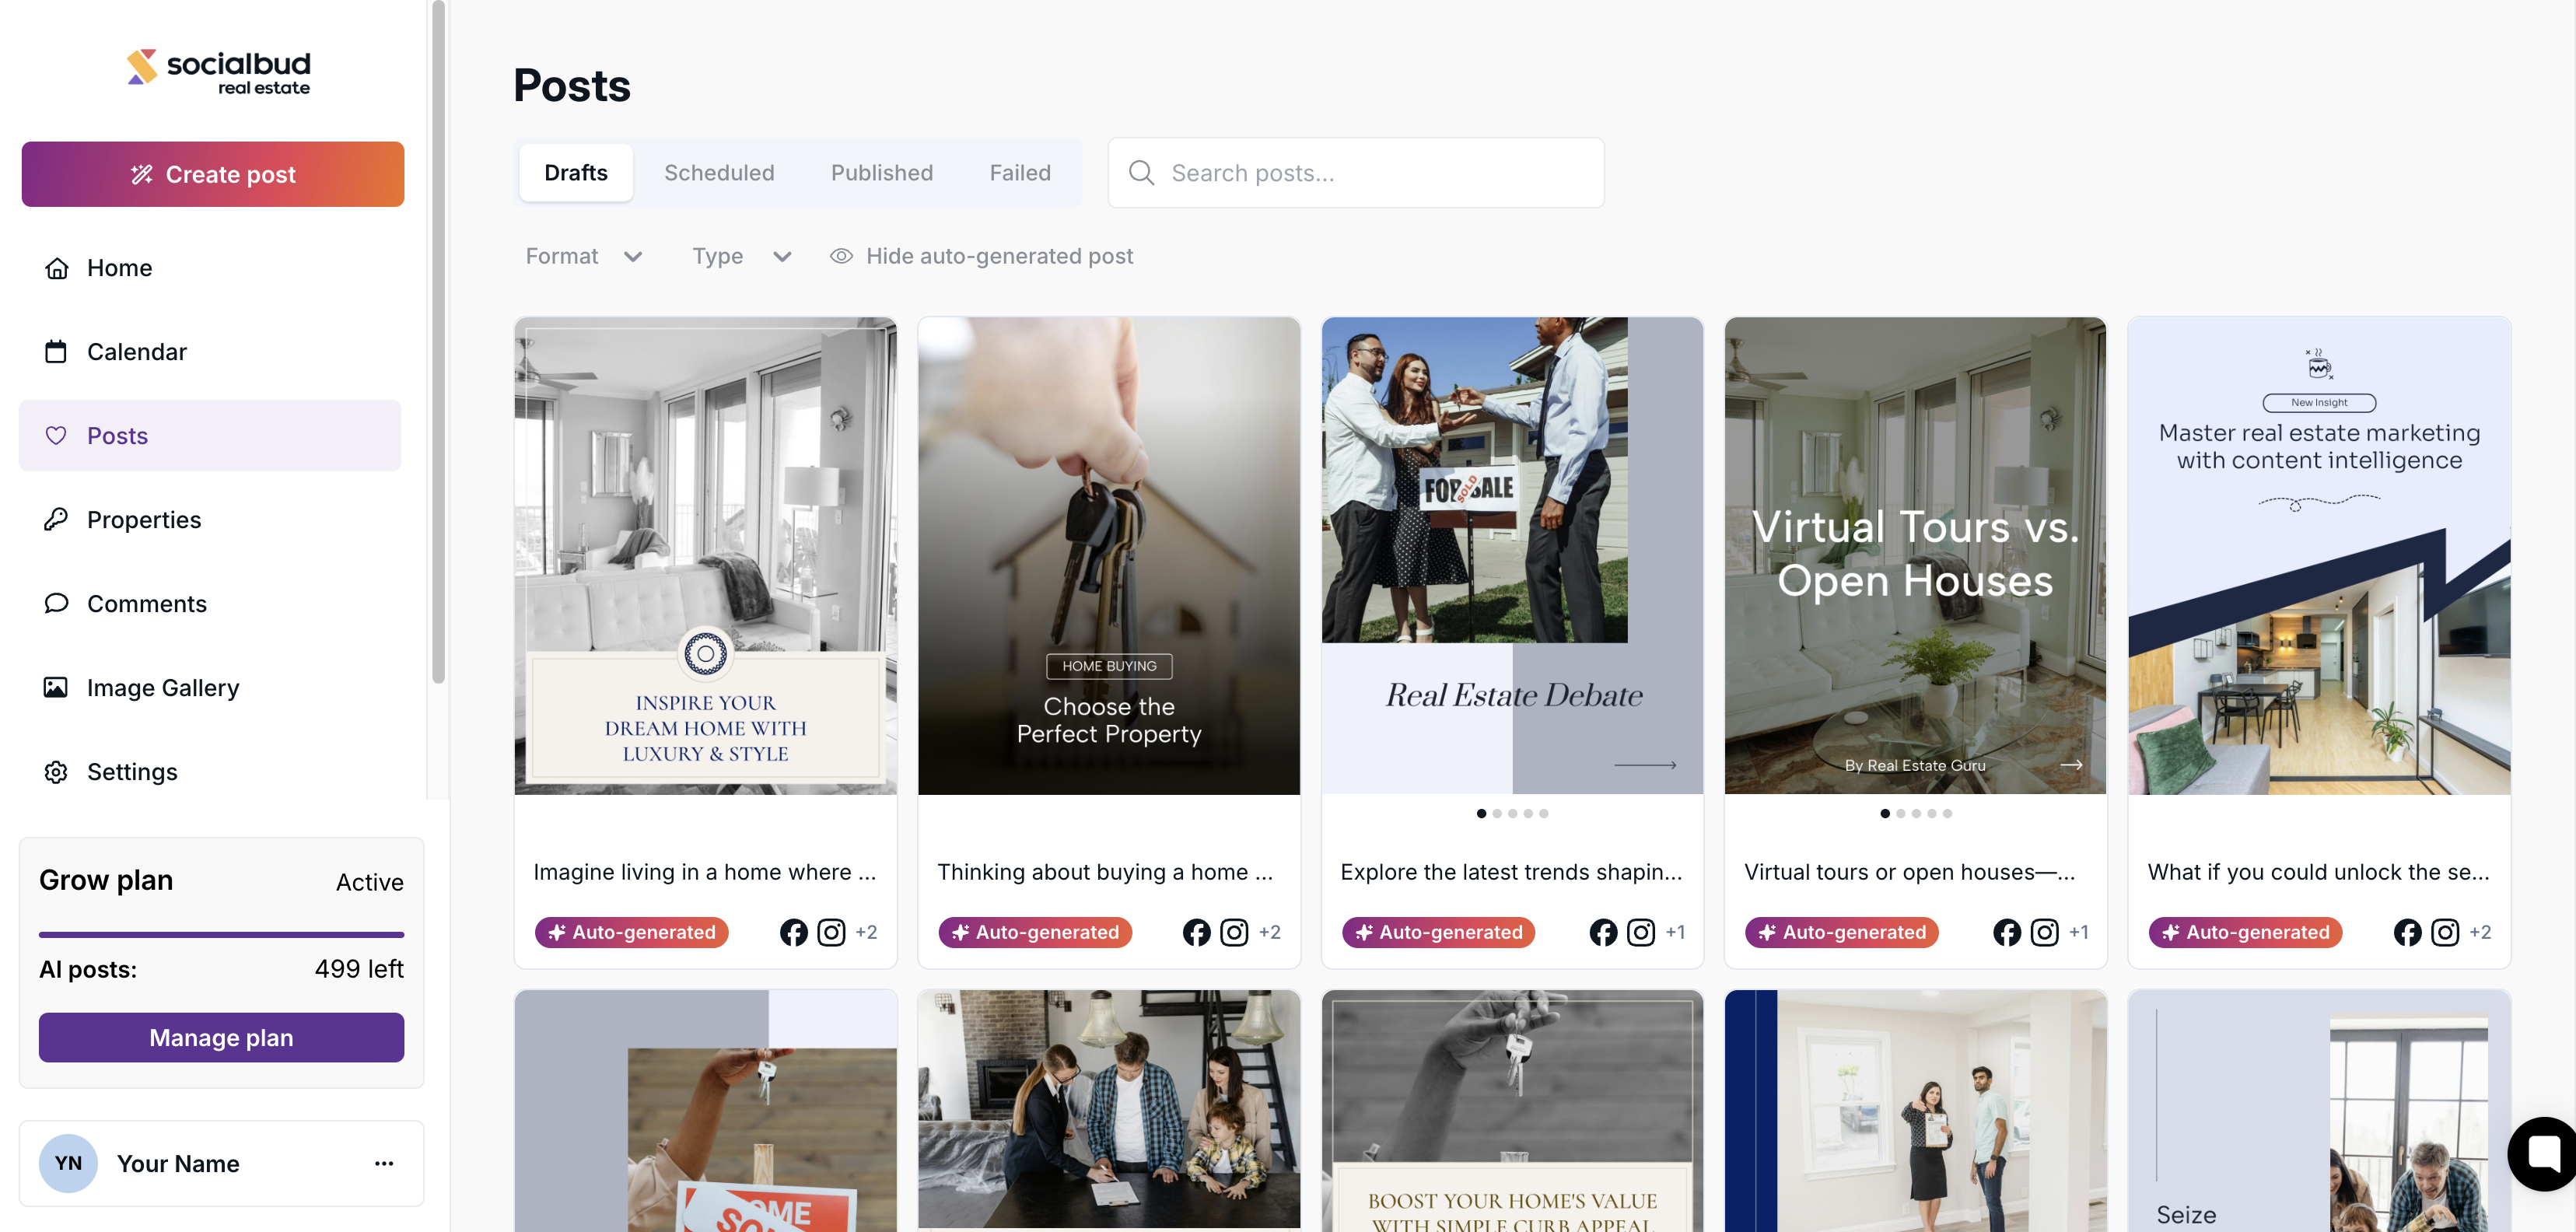
Open the Drafts tab
Here you can:
Review posts
Edit content
Download the visual
Schedule posts
Delete posts
You can identify auto-generated posts by the “Auto-generated” label displayed on the post card.
Once you schedule or publish a post, this label will be removed, since the post is no longer in its original generated state.
You can also find your posts in the Calendar (available from the left sidebar).
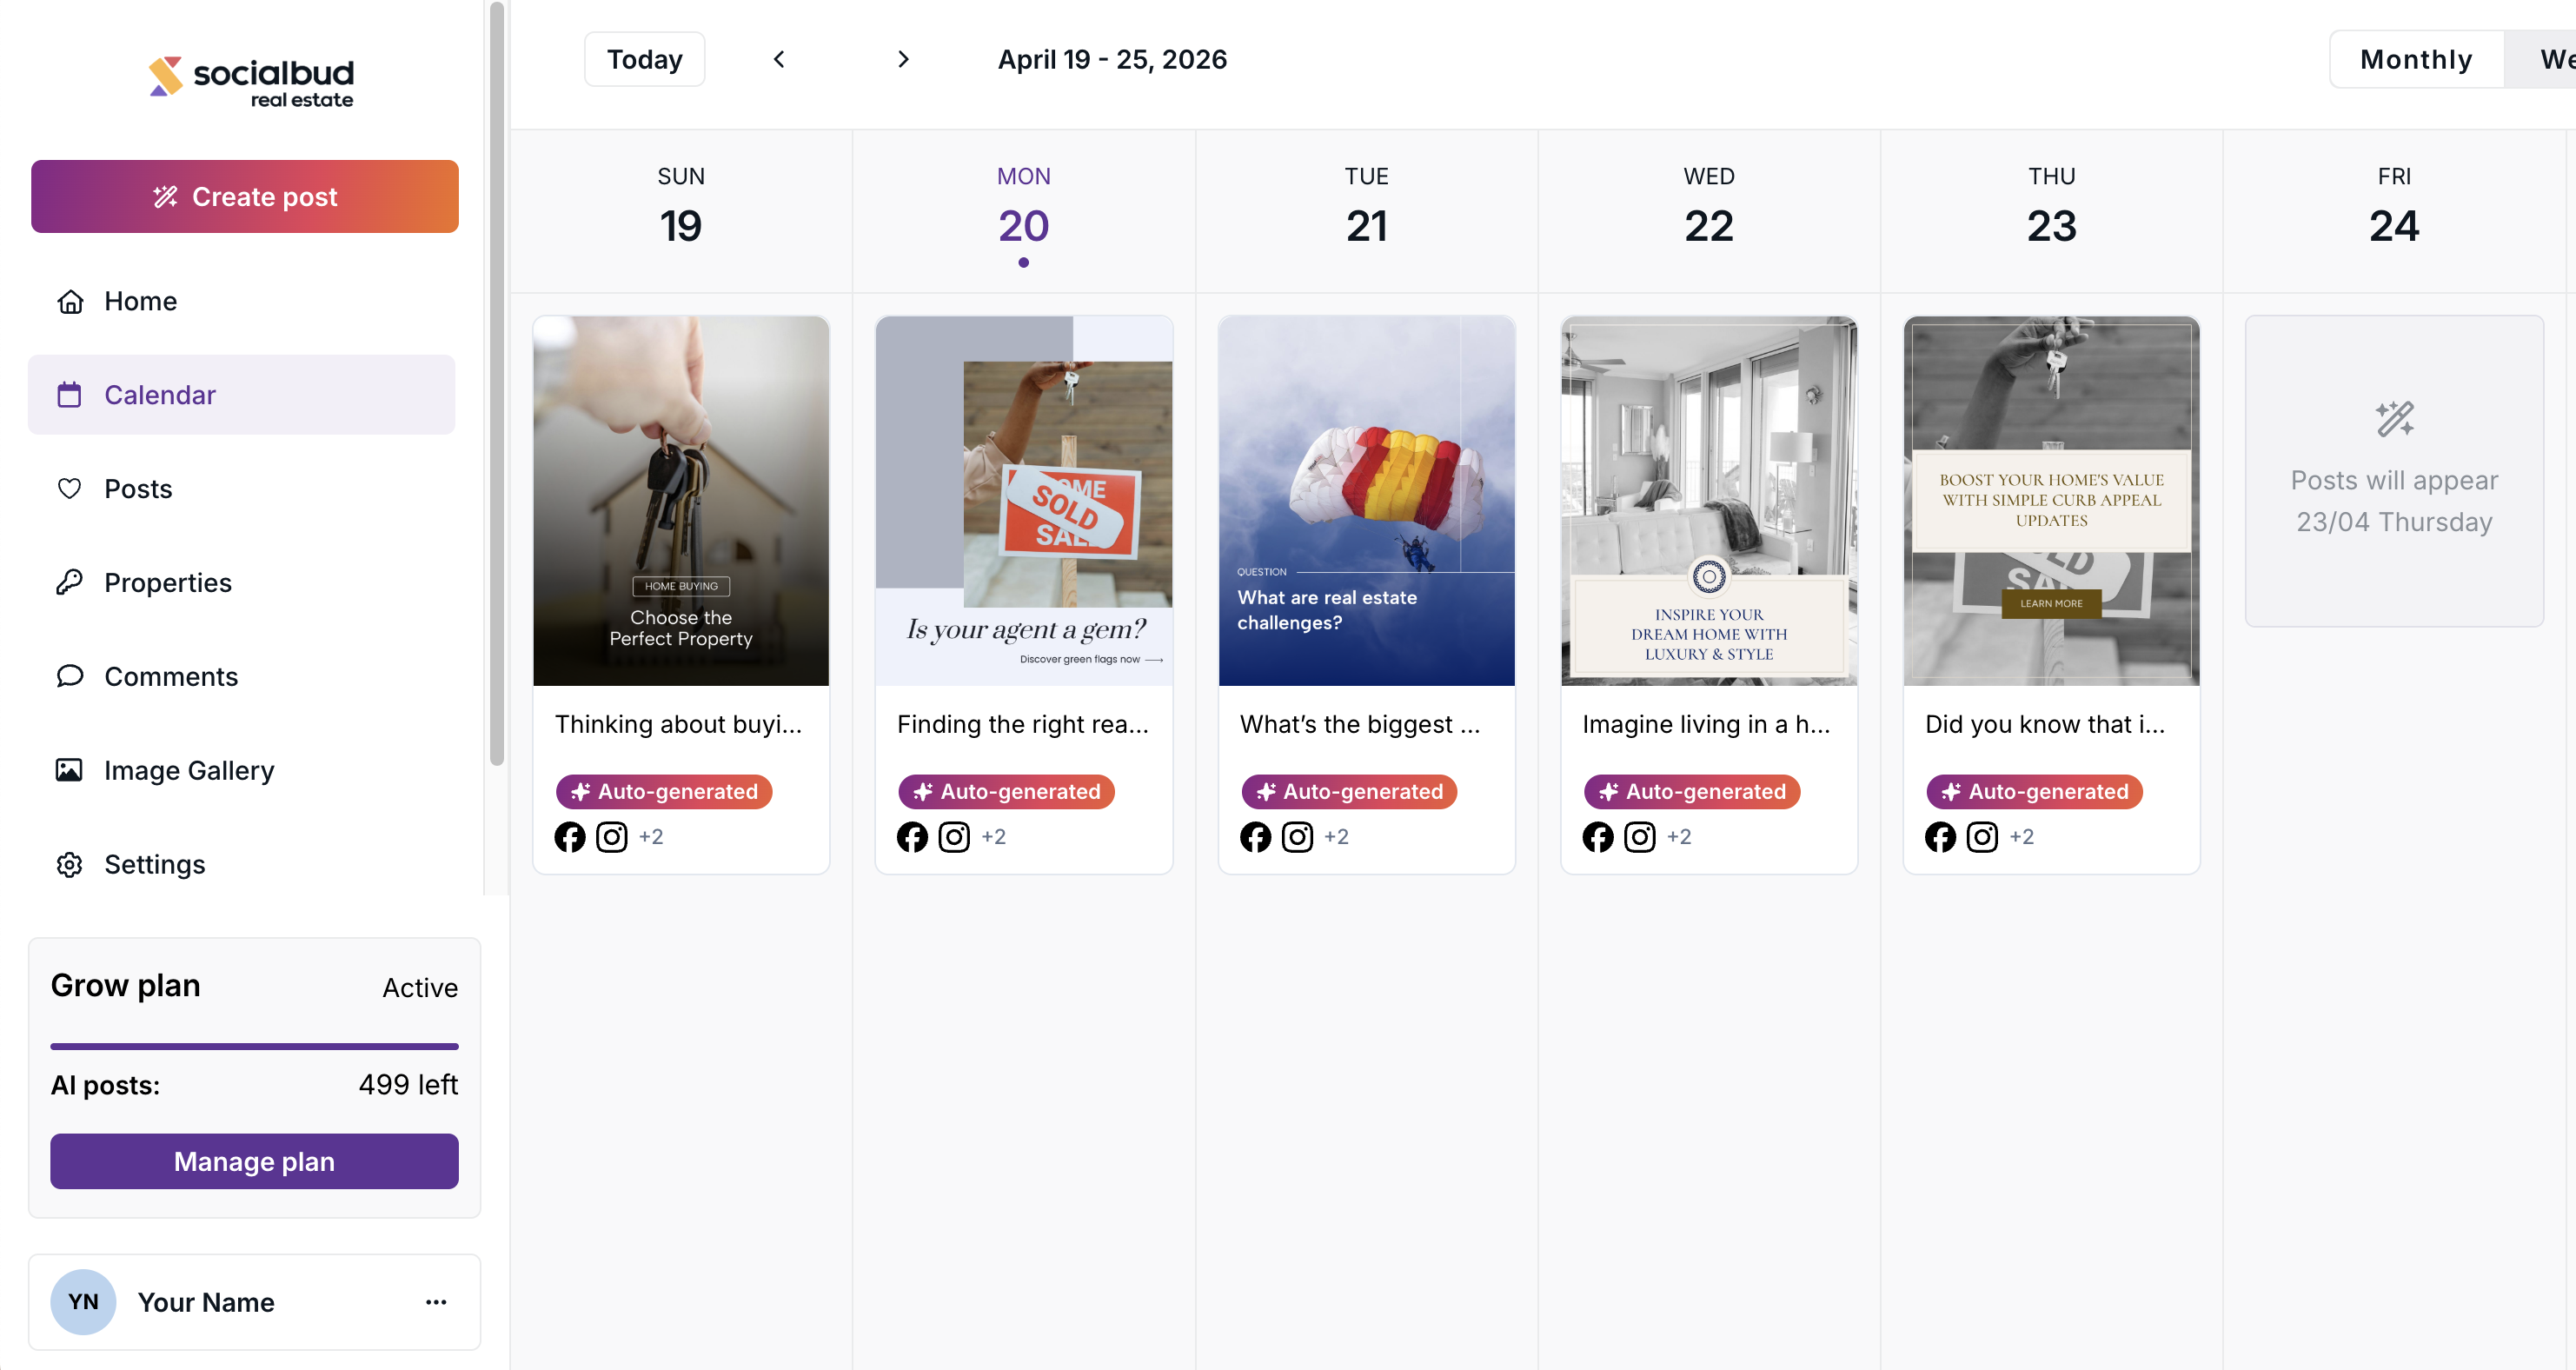
Available in monthly, weekly, and daily views
You can:
Review posts
Schedule them
Edit content
Download the visual
Delete posts
Auto-generated posts are easy to recognize and are placed directly into your calendar for convenience.
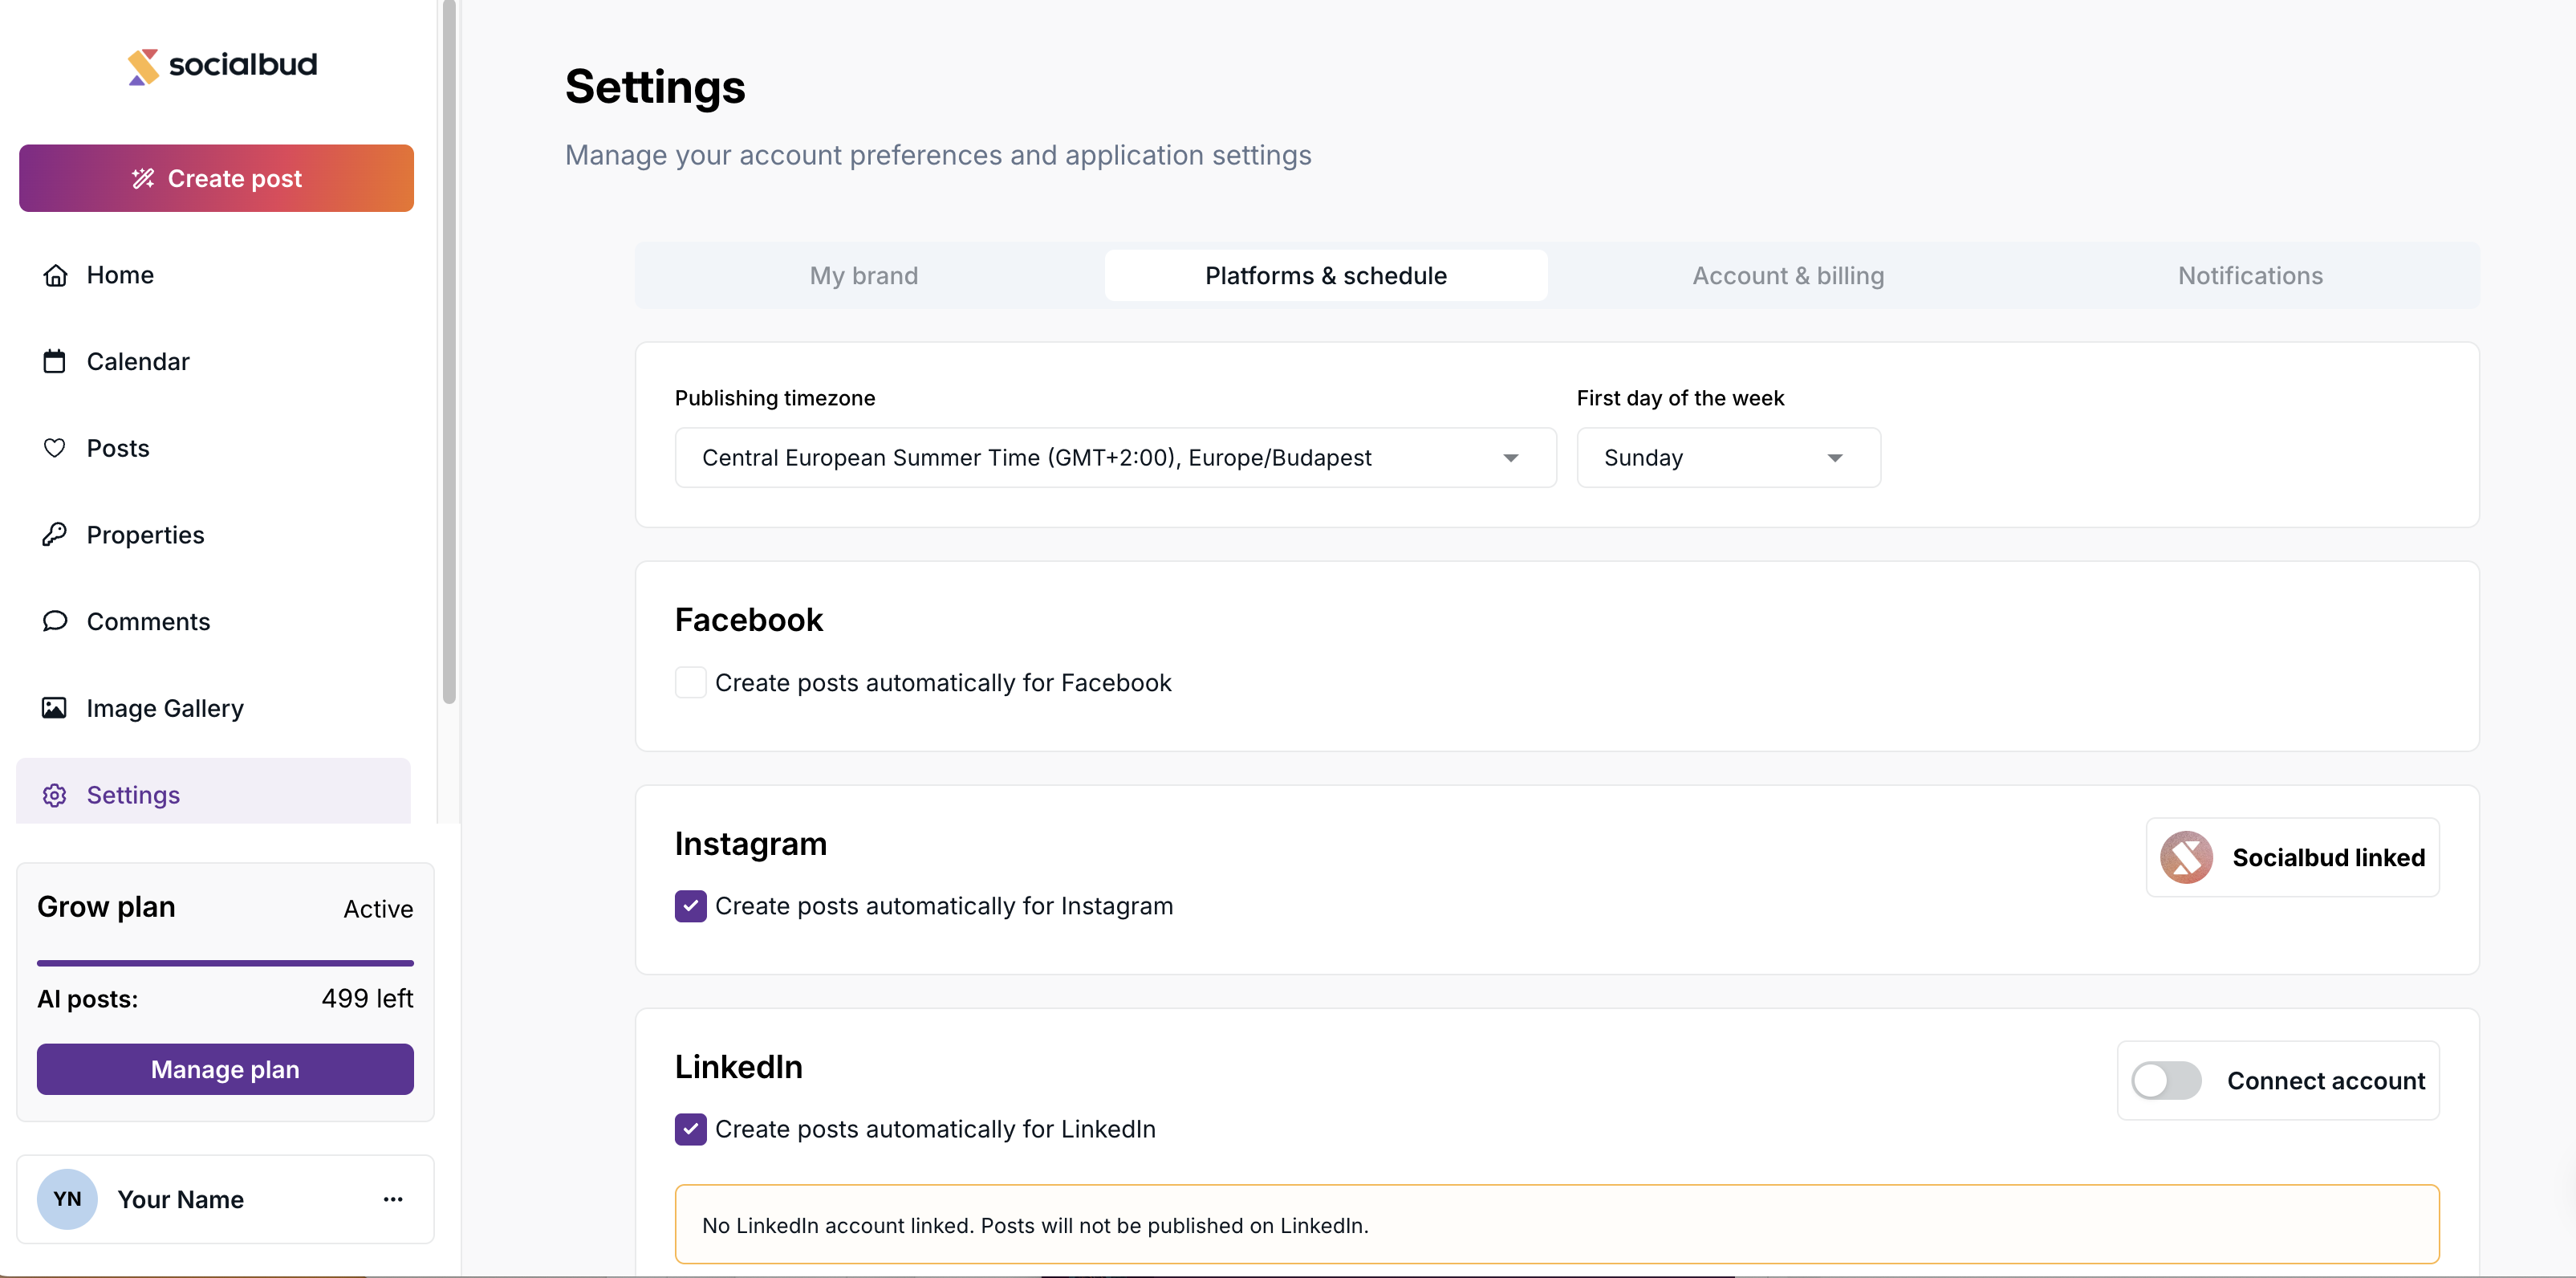
Before scheduling, make sure your social media accounts are connected
If a post is not connected to a platform, you’ll see an alert
If you don’t connect your accounts before the scheduled time:
The post will fail
It will not be published
If you cancel scheduling, the post will remain in your calendar with a warning indicator showing that it is not scheduled.
You can connect your socials in Settings - Plarforms and Schedule option.
Once you’ve customized the ‘My Brand’ section in settings - or during Onboarding - , your settings will automatically apply to your future auto generated posts. Here’s how each element influences the design:
Brand colors: Used for borders, highlights, and text backgrounds, text colors, and backgrounds.
Typography: Specifies the appearance of captions and text overlays on the visuals of your auto-generated posts.
Style: Adjusts the overall design and mood of your posts, aligning them with your brand identity.
Content:
To adjust visuals: Go to Settings > My brand, where you can update colors, typography, adding your default logo, and add or change style to better reflect your brand.
To modify content: Update your business information under Settings > Business profile. Be as detailed as possible, as this helps us create more relevant posts for your audience and ensures a smoother, more seamless experience for you.
We encourage you to explore our Business profile article for further insights and detailed information.

