Your brand logo lives under Settings → Brand, in the Logo section — not in the Gallery. Upload one or more logos there, optionally Optimize them into clean variants (for example transparent, black, or white), set a Default logo, and place the right version on posts from the visual editor’s Logo tool.
Open Settings, then Brand.
In the Logo section, click Upload and choose an image from your device.
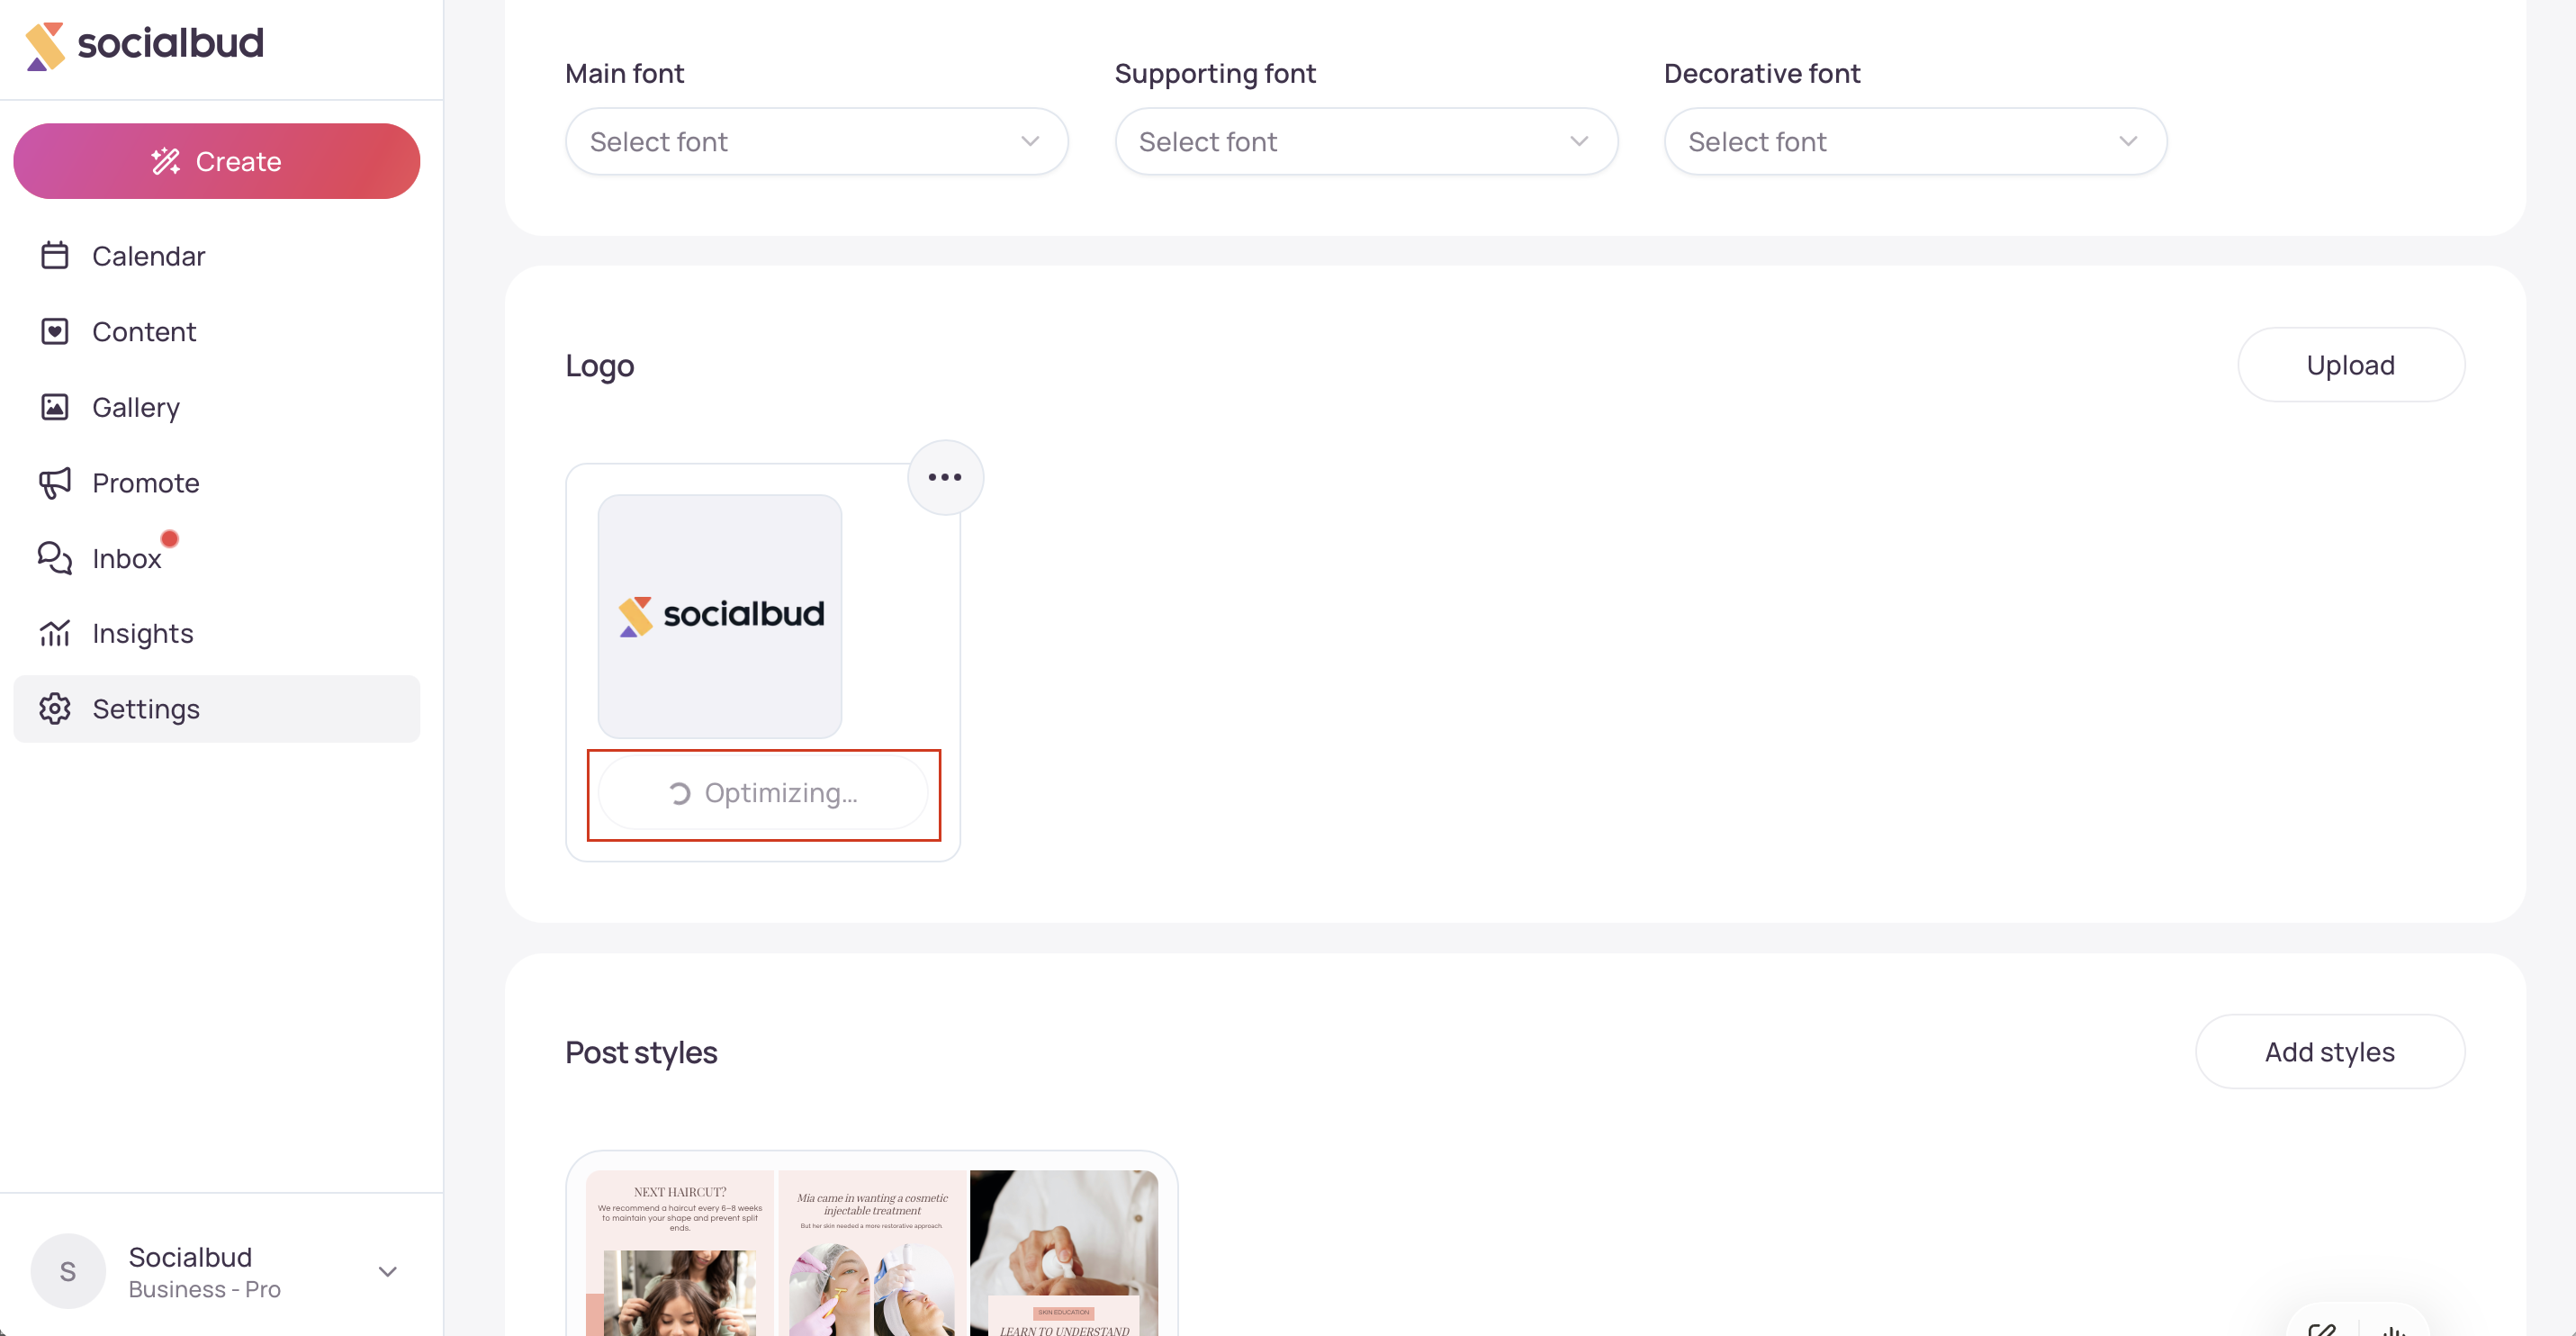
If variants are still missing, click Optimize. Socialbud prepares the versions your logo needs (this can take about a minute). You’ll see Optimizing…, then a success message when they’re ready.
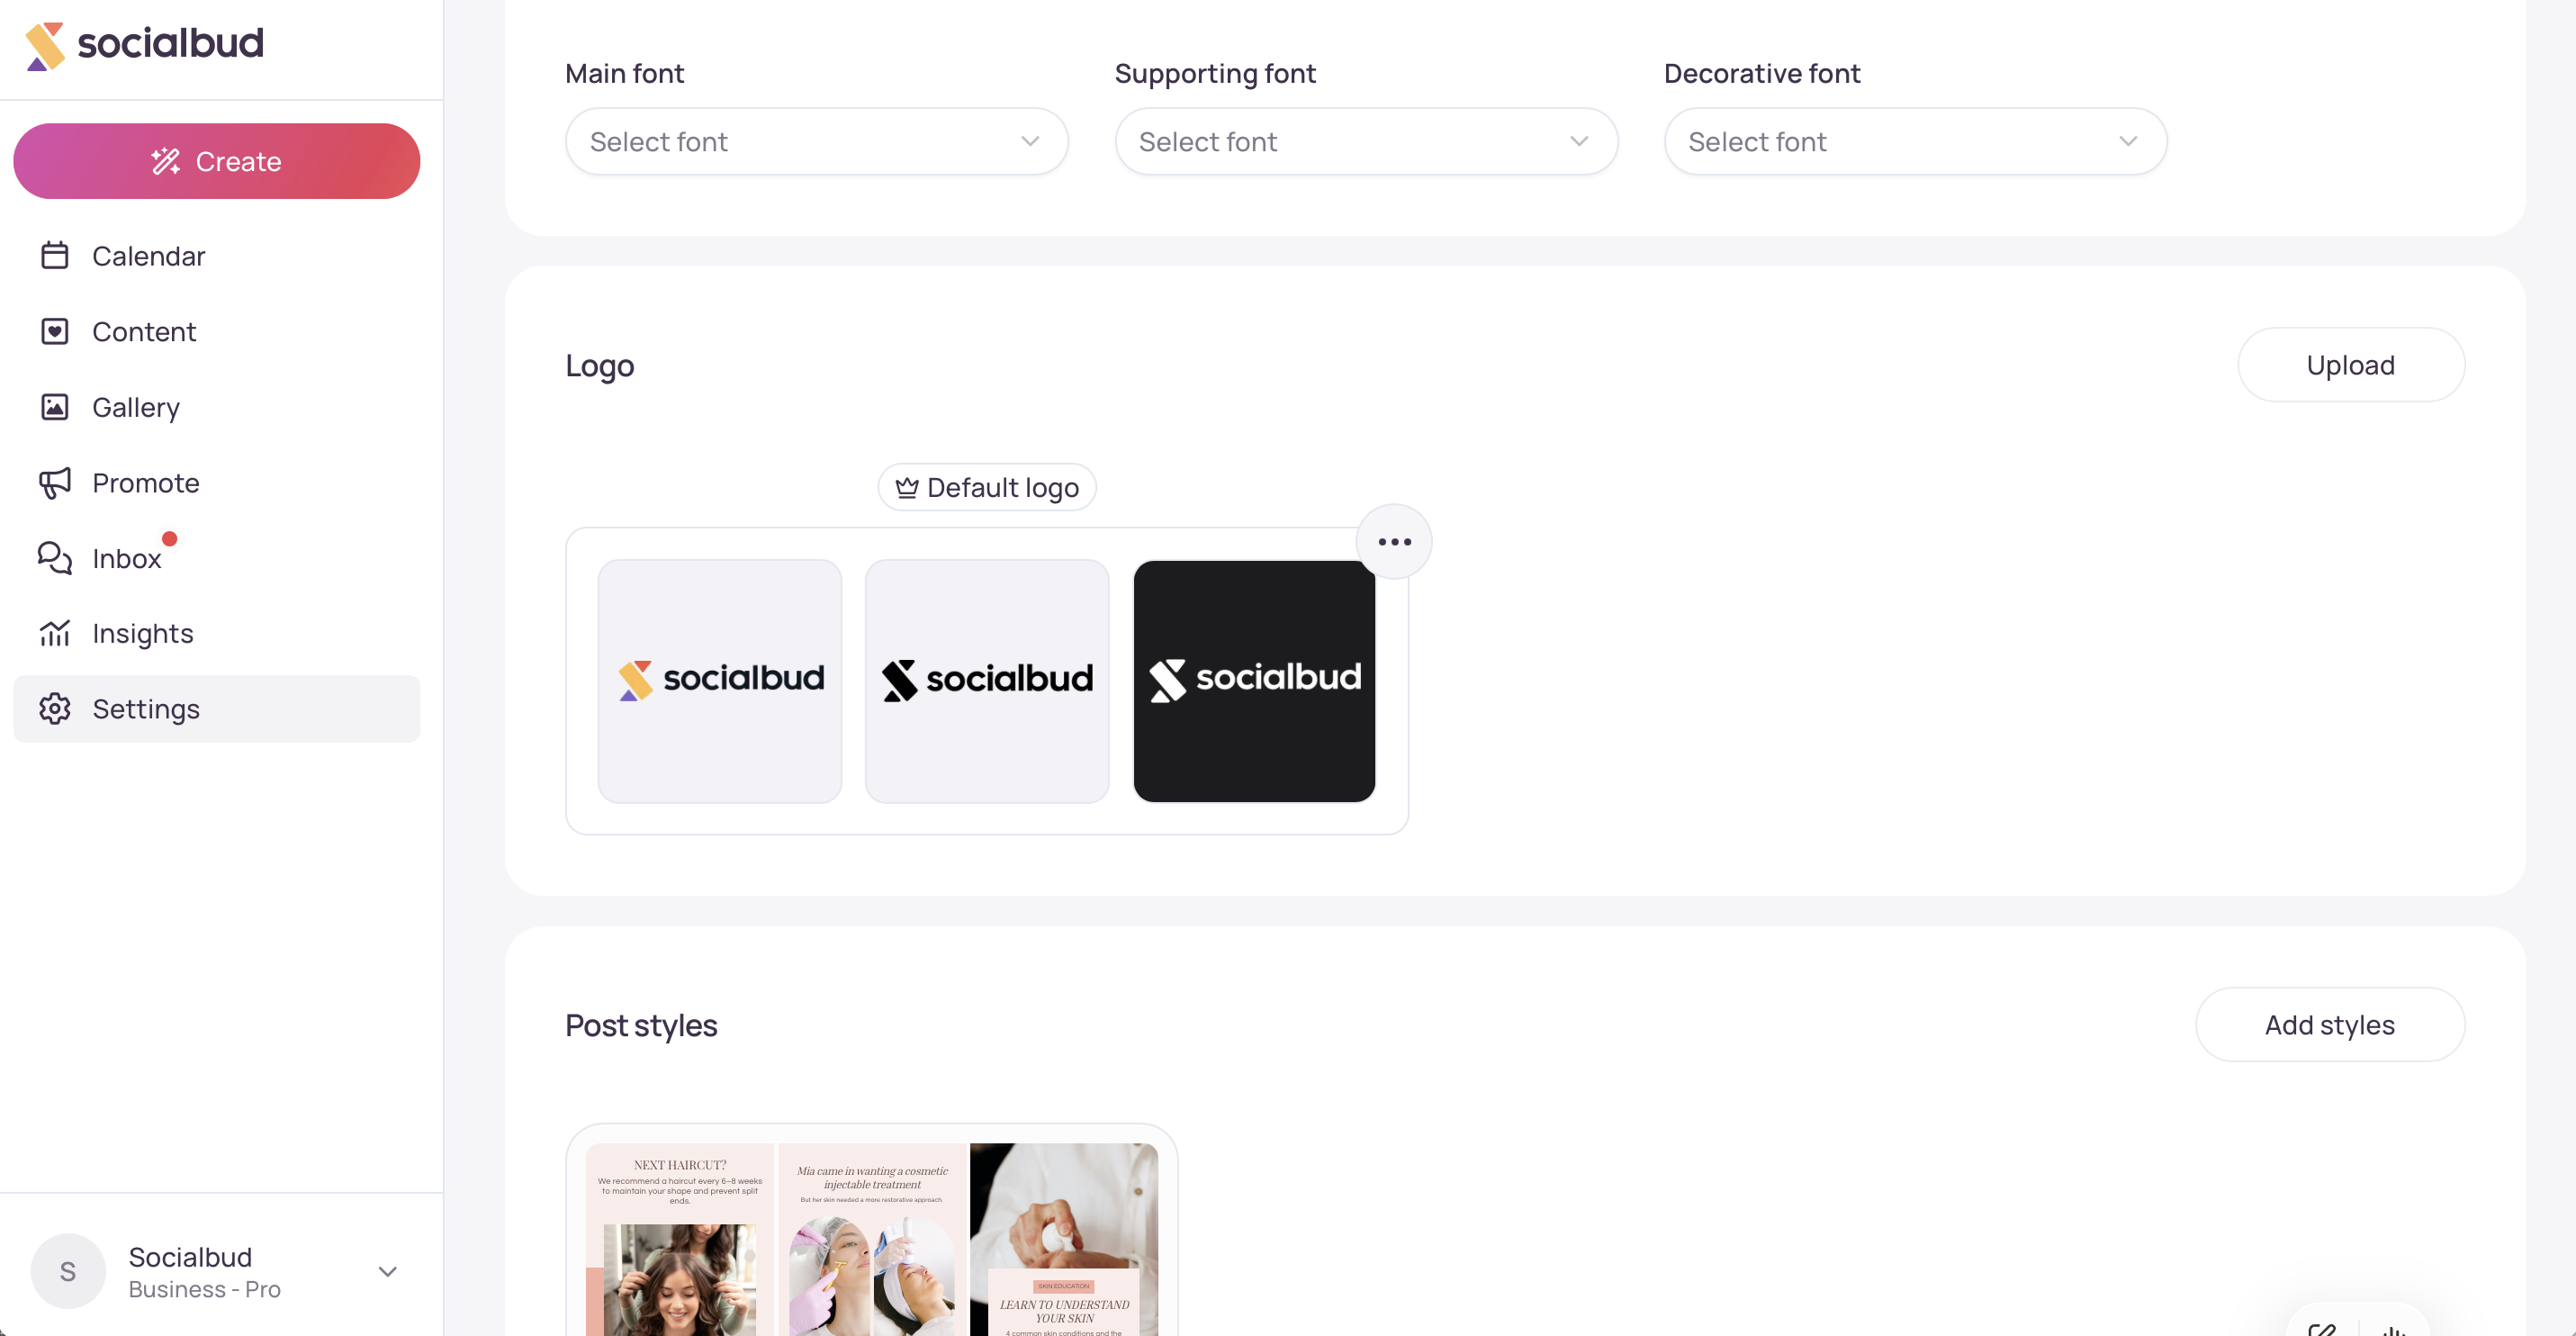
Use the ⋯ (Logo options) menu to Set as default logo or Remove logo. The default is marked with a crown and the label Default logo.
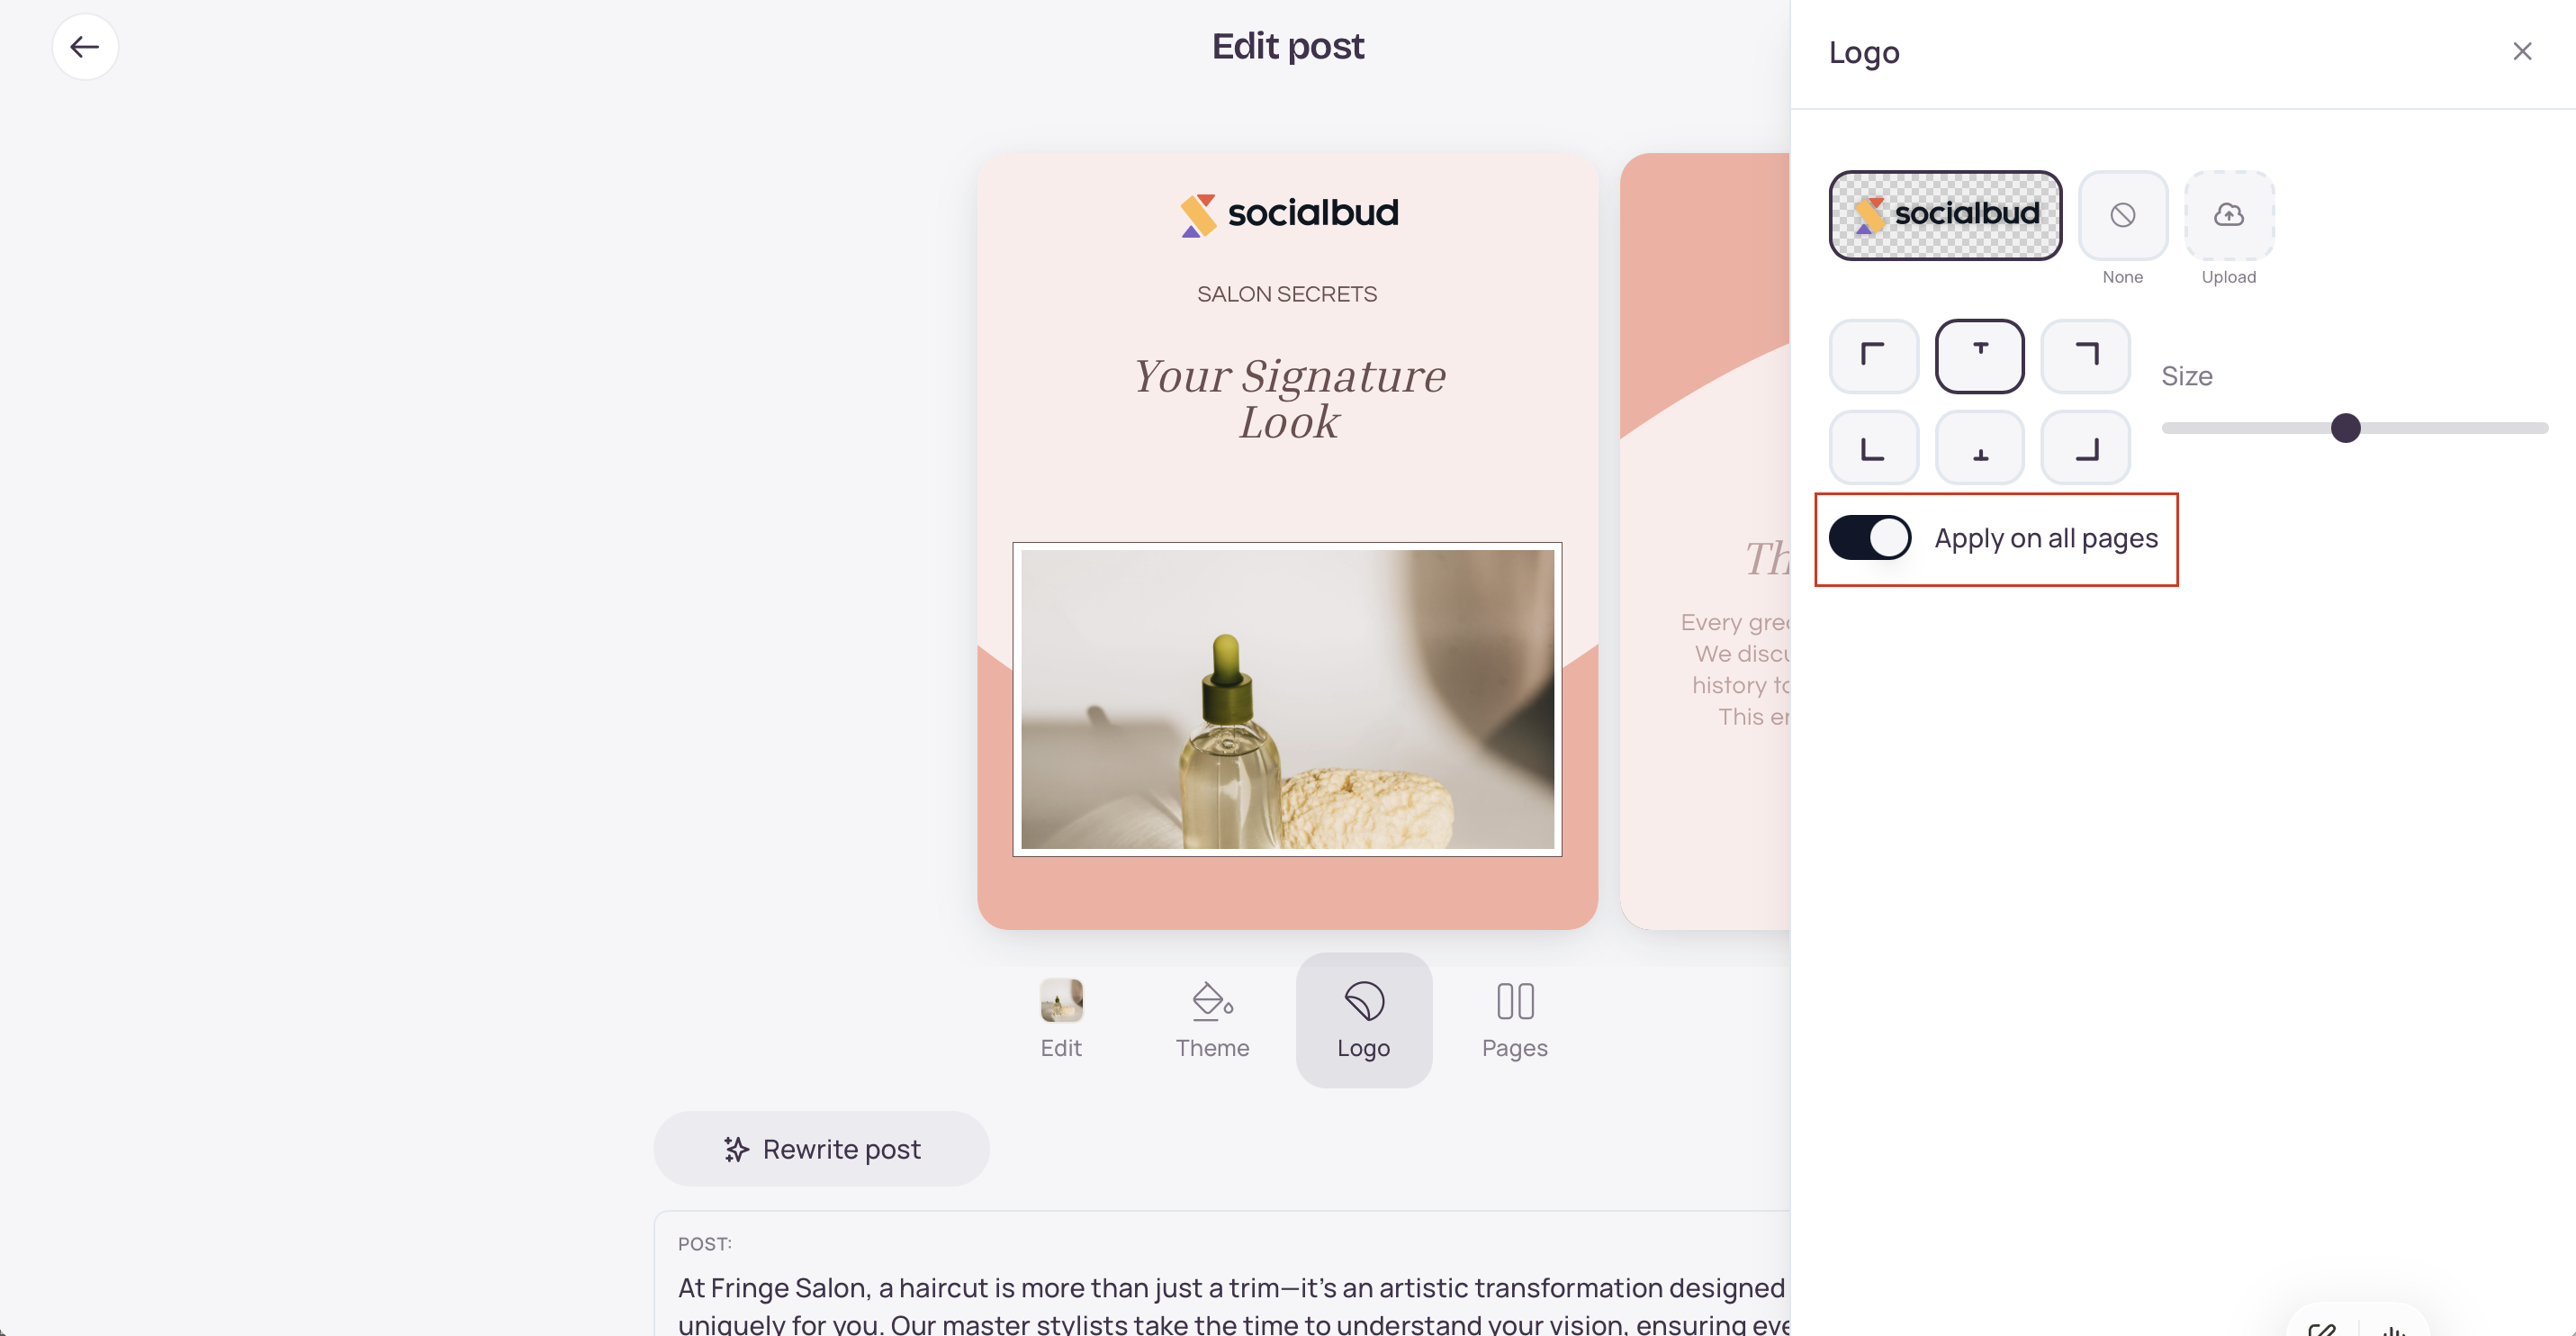
When you edit a post, open the Logo tool to Choose logo, Upload logo, move it, resize it, or turn Apply on all pages on for carousels.
Click Settings in the left navigation.
Open the Brand tab.
Scroll down to the Logo section. Click Upload button.
Choose an image (PNG, JPEG, WebP, GIF, SVG, or HEIC/HEIF). Each file must be 10 MB or smaller.
The logo appears in the Logo section. You can upload more than one.
Find a logo that still shows the Optimize button (it appears when Socialbud still needs variants for that file).
Click Optimize.
Wait while the button shows Optimizing…. When it finishes, toast text confirms Logo variants generated, and the new versions appear next to the original.
What you get depends on the logo you uploaded. Typical results include:
A transparent-background version
A black version on a transparent background
A white version on a transparent background
You don’t always get all three — for example, a logo that is already black and transparent may only need a white variant.
On a logo that is not already the default, open ⋯ (Logo options).
Click Set as default logo.
That logo shows the Default logo badge.
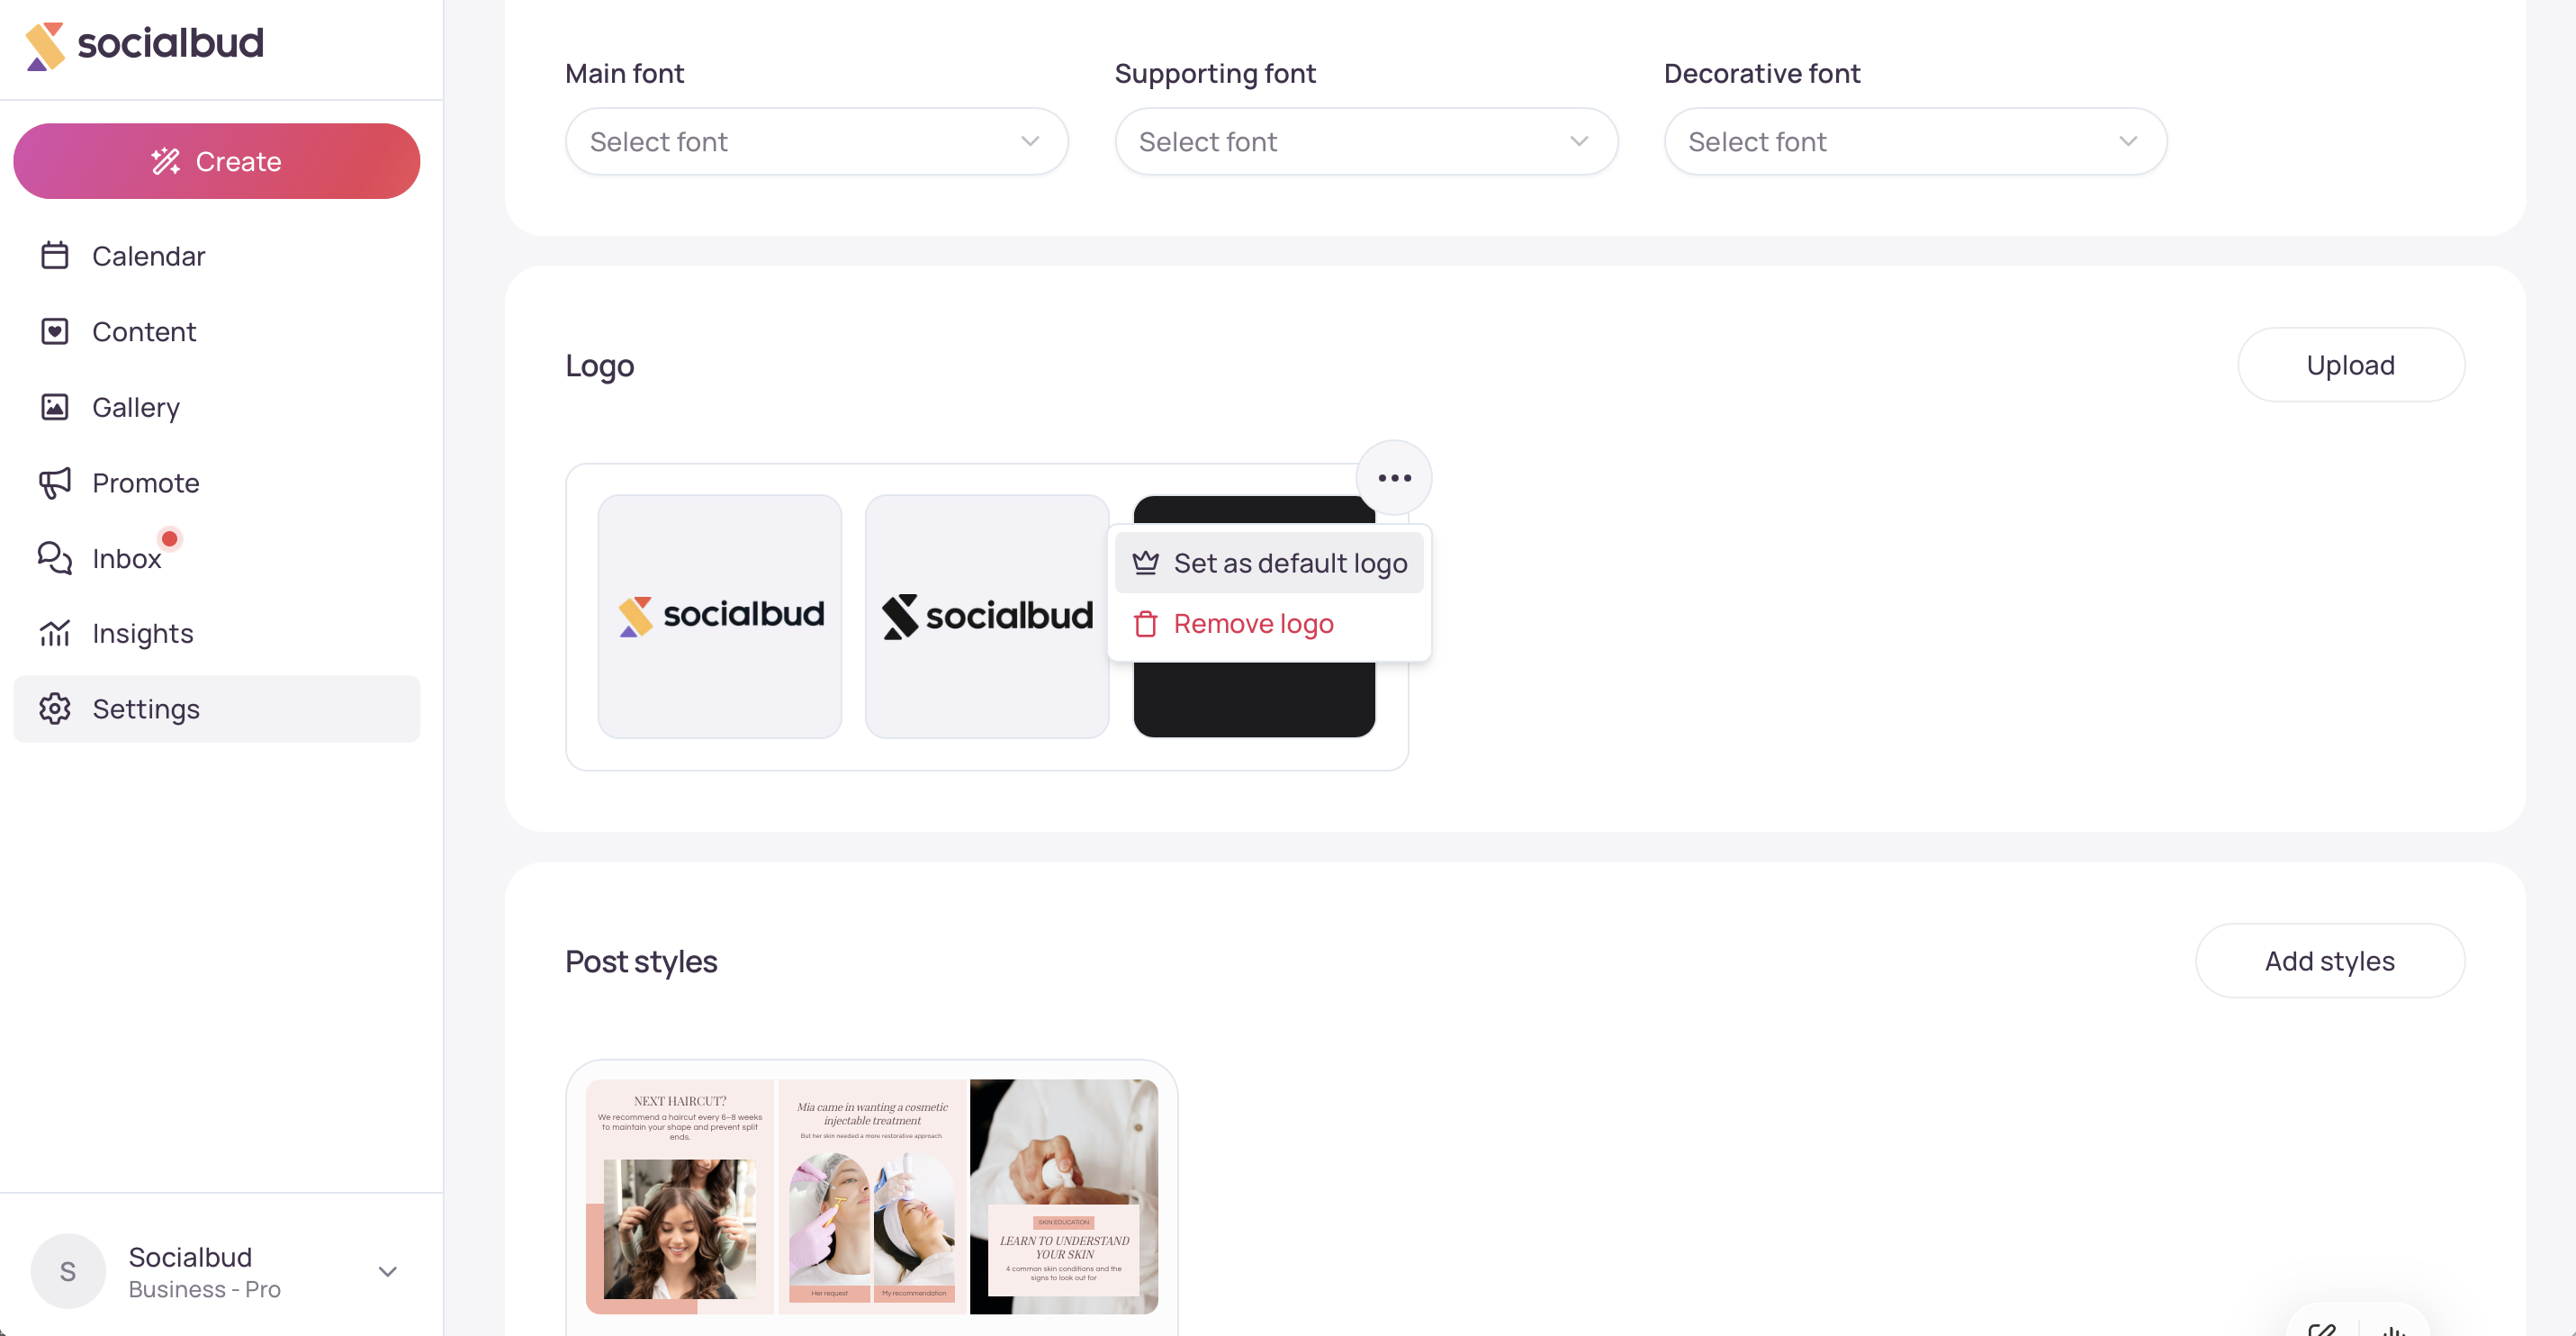

Remove the whole logo: ⋯ → Remove logo (on touch, you may confirm with Delete logo).
Remove one optimized variant: use the trash control on that variant card (or Delete variant on touch).
You can’t remove a logo or variant while an upload or optimization is still running.
Open the post from Calendar or Content → Post, then click Edit / Edit post to open the full visual editor.
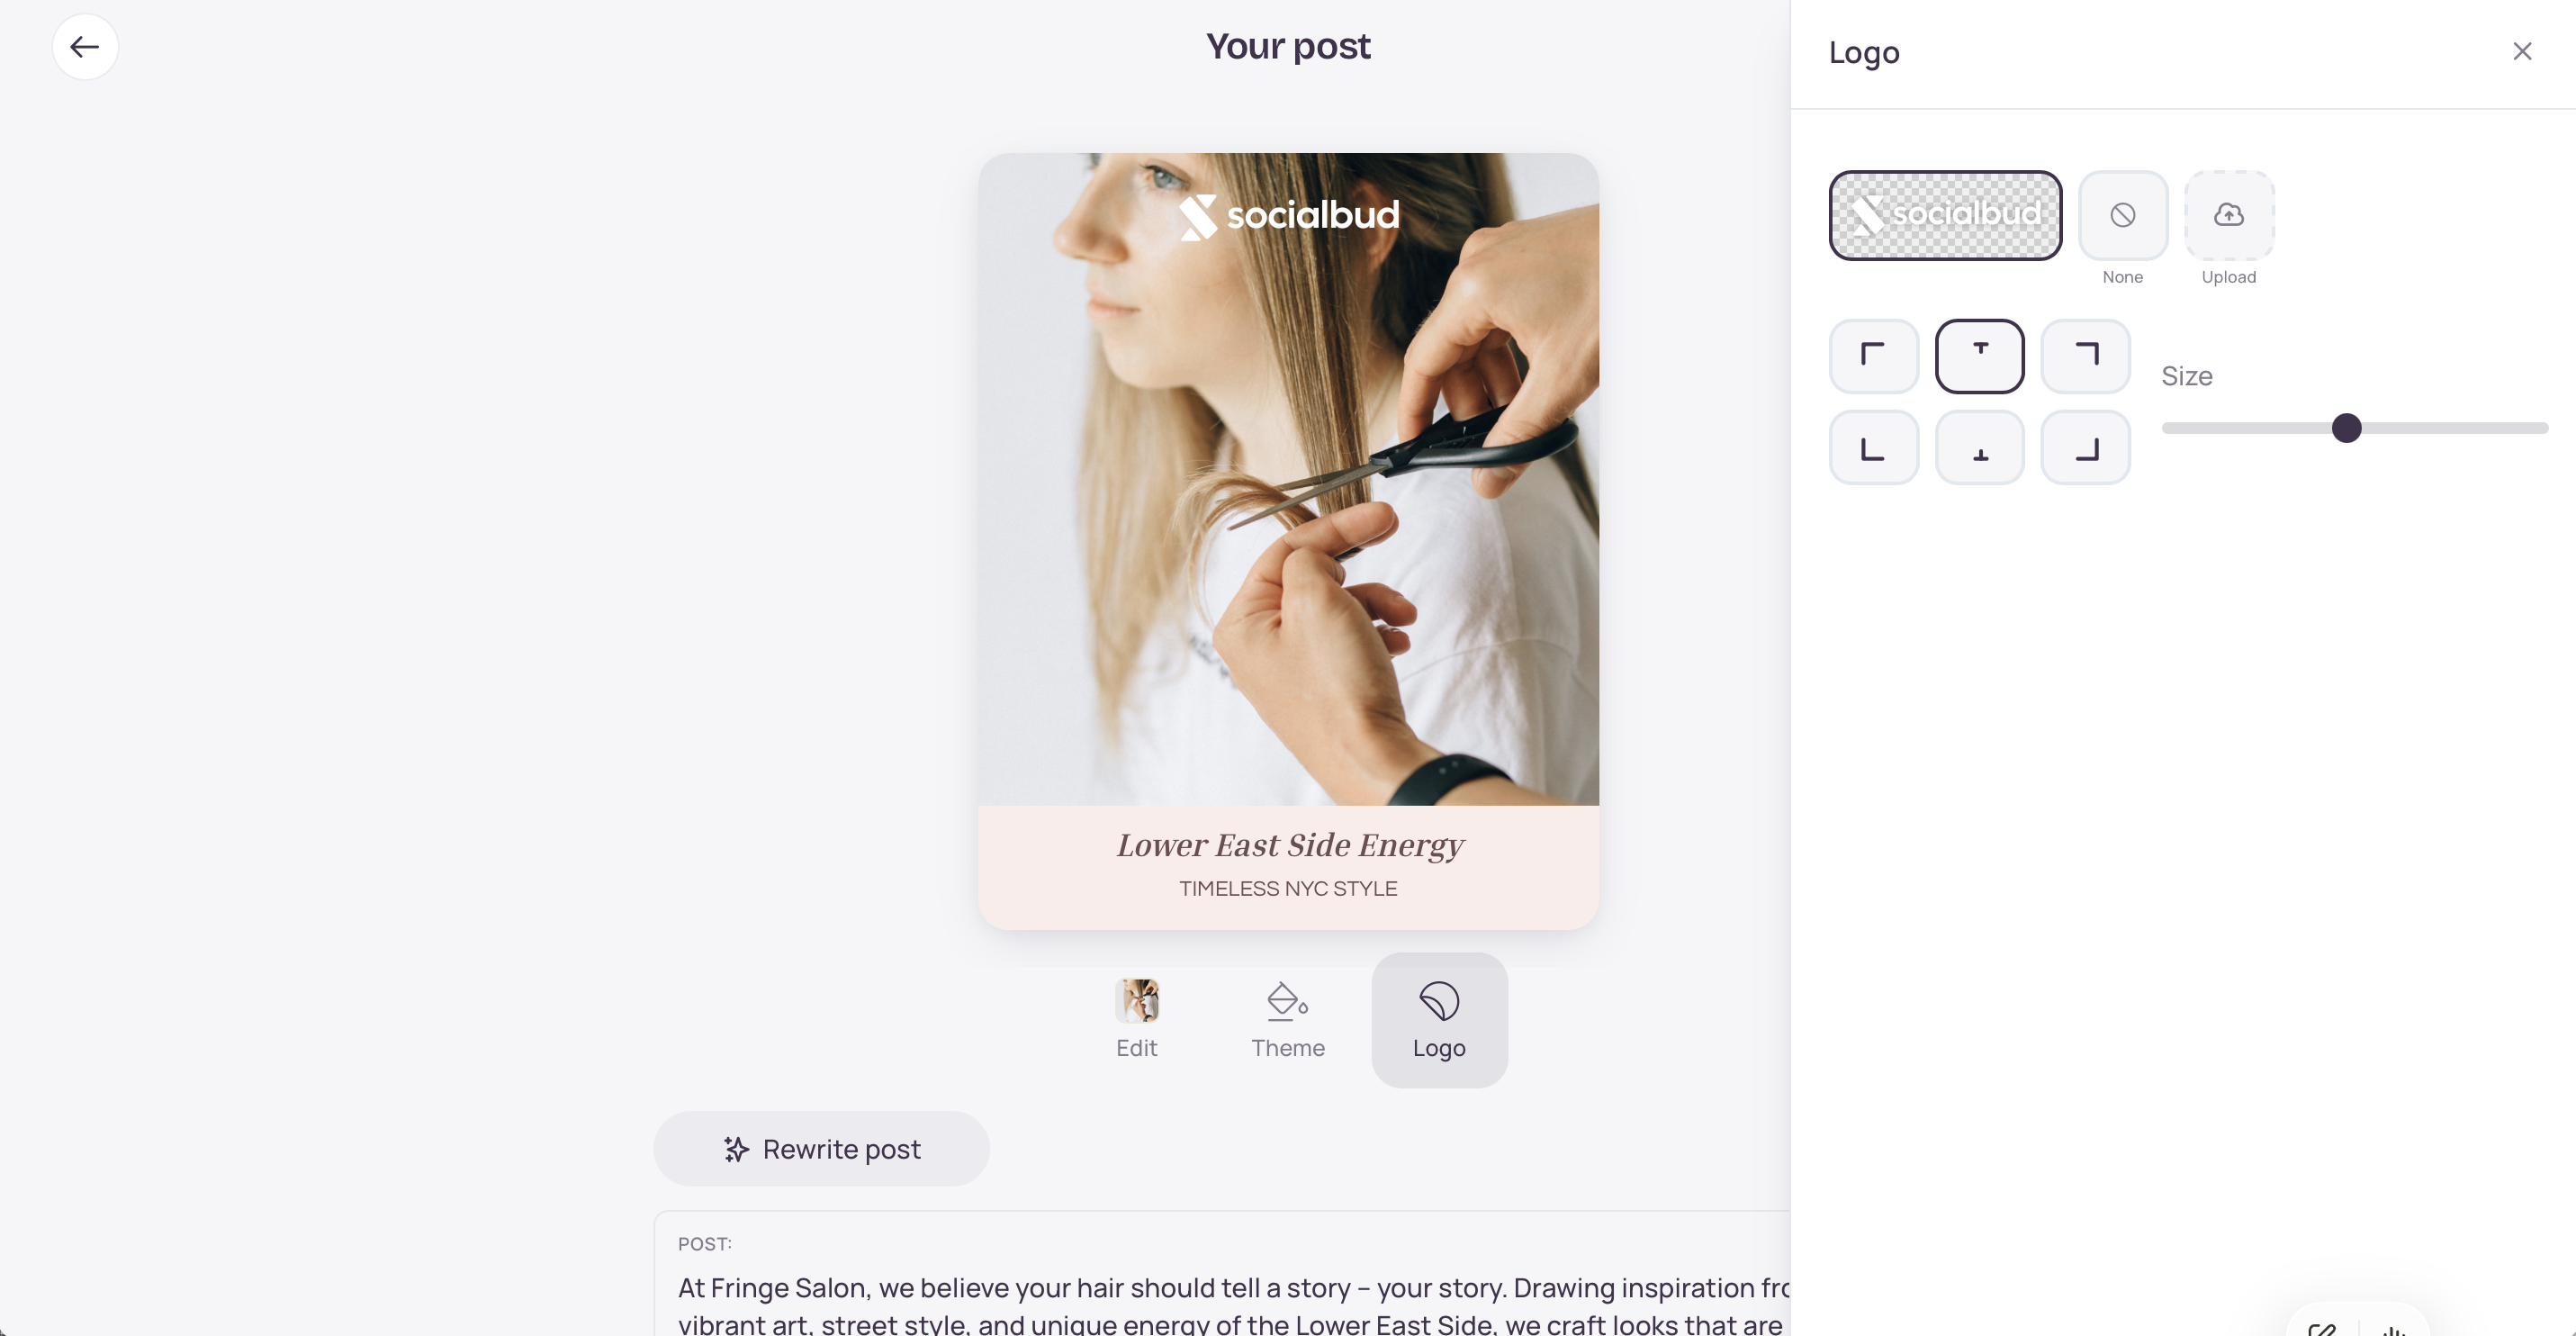
Select the Logo tool.
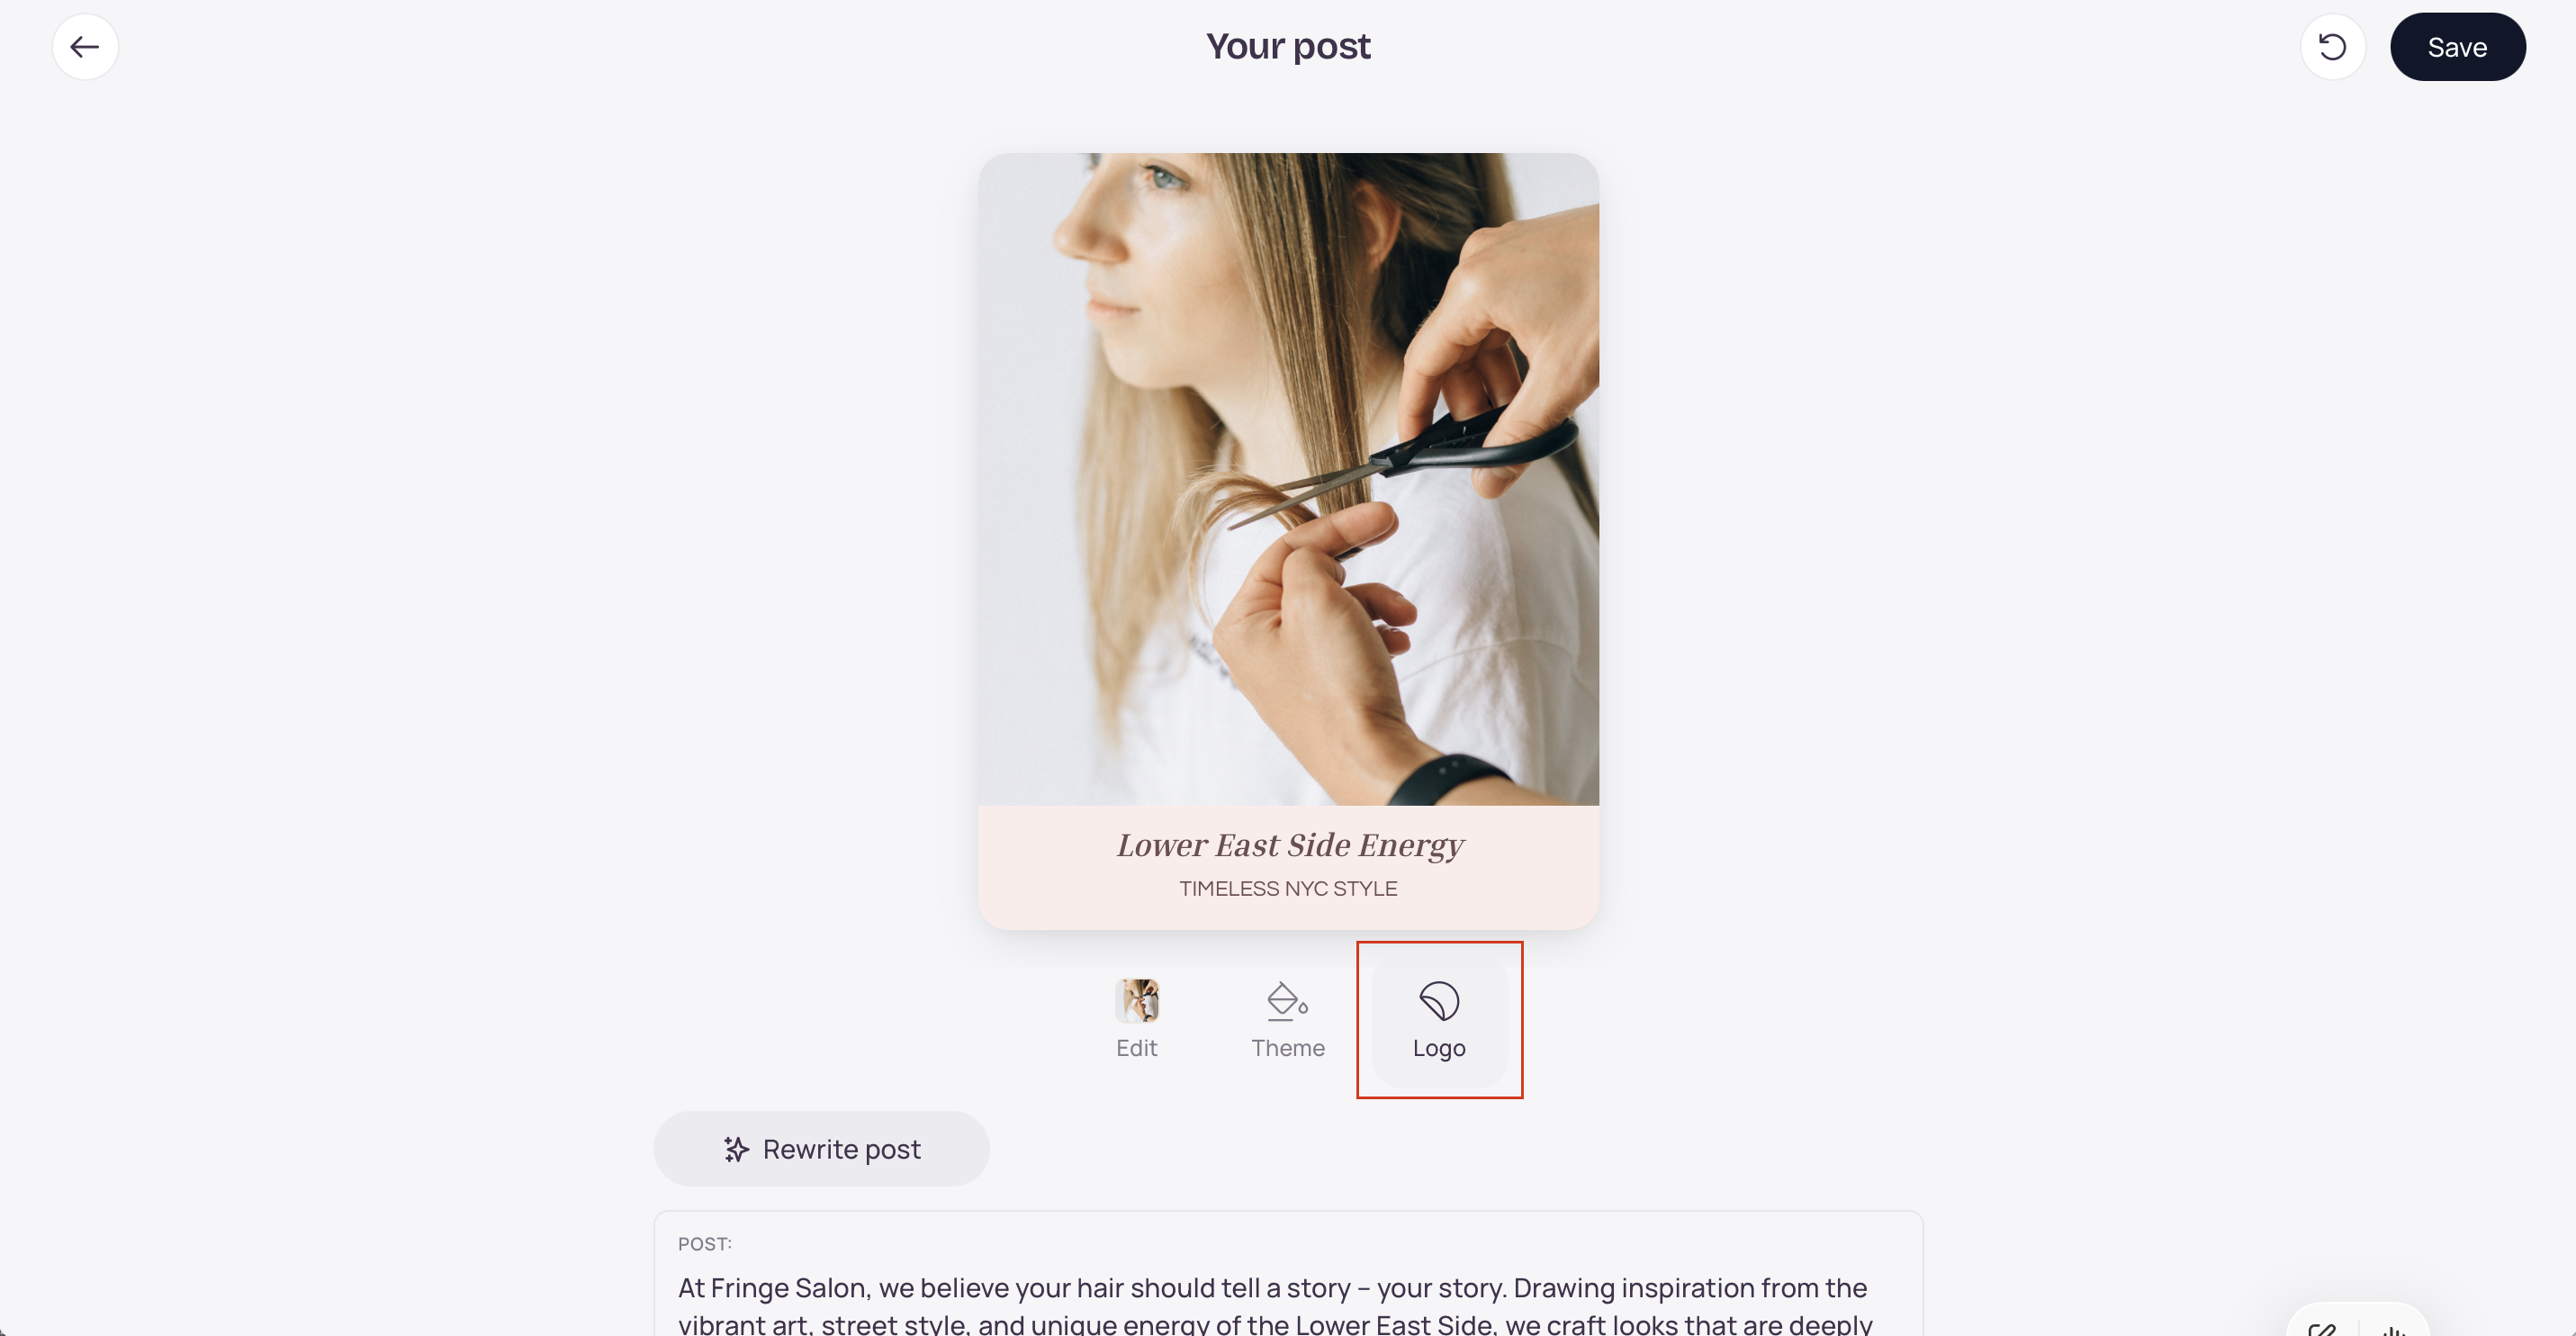
Use Choose logo to pick an uploaded logo or one of its optimized variants.
Or use Upload logo to add a new file from the editor (it is stored with your account logos).
Adjust position (corners and top/bottom center) and Size.
On multi-page (carousel) posts, turn on Apply on all pages if you want the same logo setup on every slide.
Use Show logo (when shown) to hide or show the logo without deleting it.
Click Save on the editor when you’re done.
[Insert screenshot: Edit post Logo panel with Choose logo, Upload logo, position, Size, and Apply on all pages]
Keep logos in Settings → Brand → Logo, not in Gallery → Media. Gallery images can be used as post backgrounds when Socialbud builds content for you; a logo stored there might be picked as a background by mistake.
Prefer a clear, high-resolution mark. Optimization works best when the logo is readable and not heavily cropped.
Use black or white variants when the post background is busy or low-contrast so the mark stays readable.
The Default logo is what auto-generated posts prefer. Set it intentionally if you keep several brand marks.
Optimized variants are PNG files prepared for design use; you can still keep and select the original upload when that looks better on a given post.
Optimize isn’t showing — Variants are already complete for that logo, or optimization isn’t available in this context. Upload a new file if you need a fresh set.
Logo optimization failed / timed out — Try Optimize again. Large or unusual files can take longer; if it keeps failing, contact support.
Upload failed / file too large — Use an image under 10 MB in a supported format (PNG, JPEG, WebP, GIF, SVG, HEIC/HEIF).
Can’t remove a logo — Finish or wait out any in-progress upload or Optimizing… state, then try again.
I don’t see Add → Add Logo in the editor — That old menu is gone. Use the Logo tool (Choose logo / Upload logo) instead.
Auto-generated posts have no logo — Set a Default logo under Settings → Brand, and make sure the template supports a logo placement.
Is the logo the same as Gallery media?
No. Logos are managed under Settings → Brand. The Gallery is for photos, videos, and other post media.
Do I have to optimize every logo?
No. You can place the original upload on a post. Optimize is recommended when you need transparent, black, or white versions for different backgrounds.
Can I upload more than one logo?
Yes. Upload several brand marks, then Set as default logo on the one auto-generated posts should use, and pick others per post in the editor.

