You can edit any post in the same editor, no matter where you open it from.
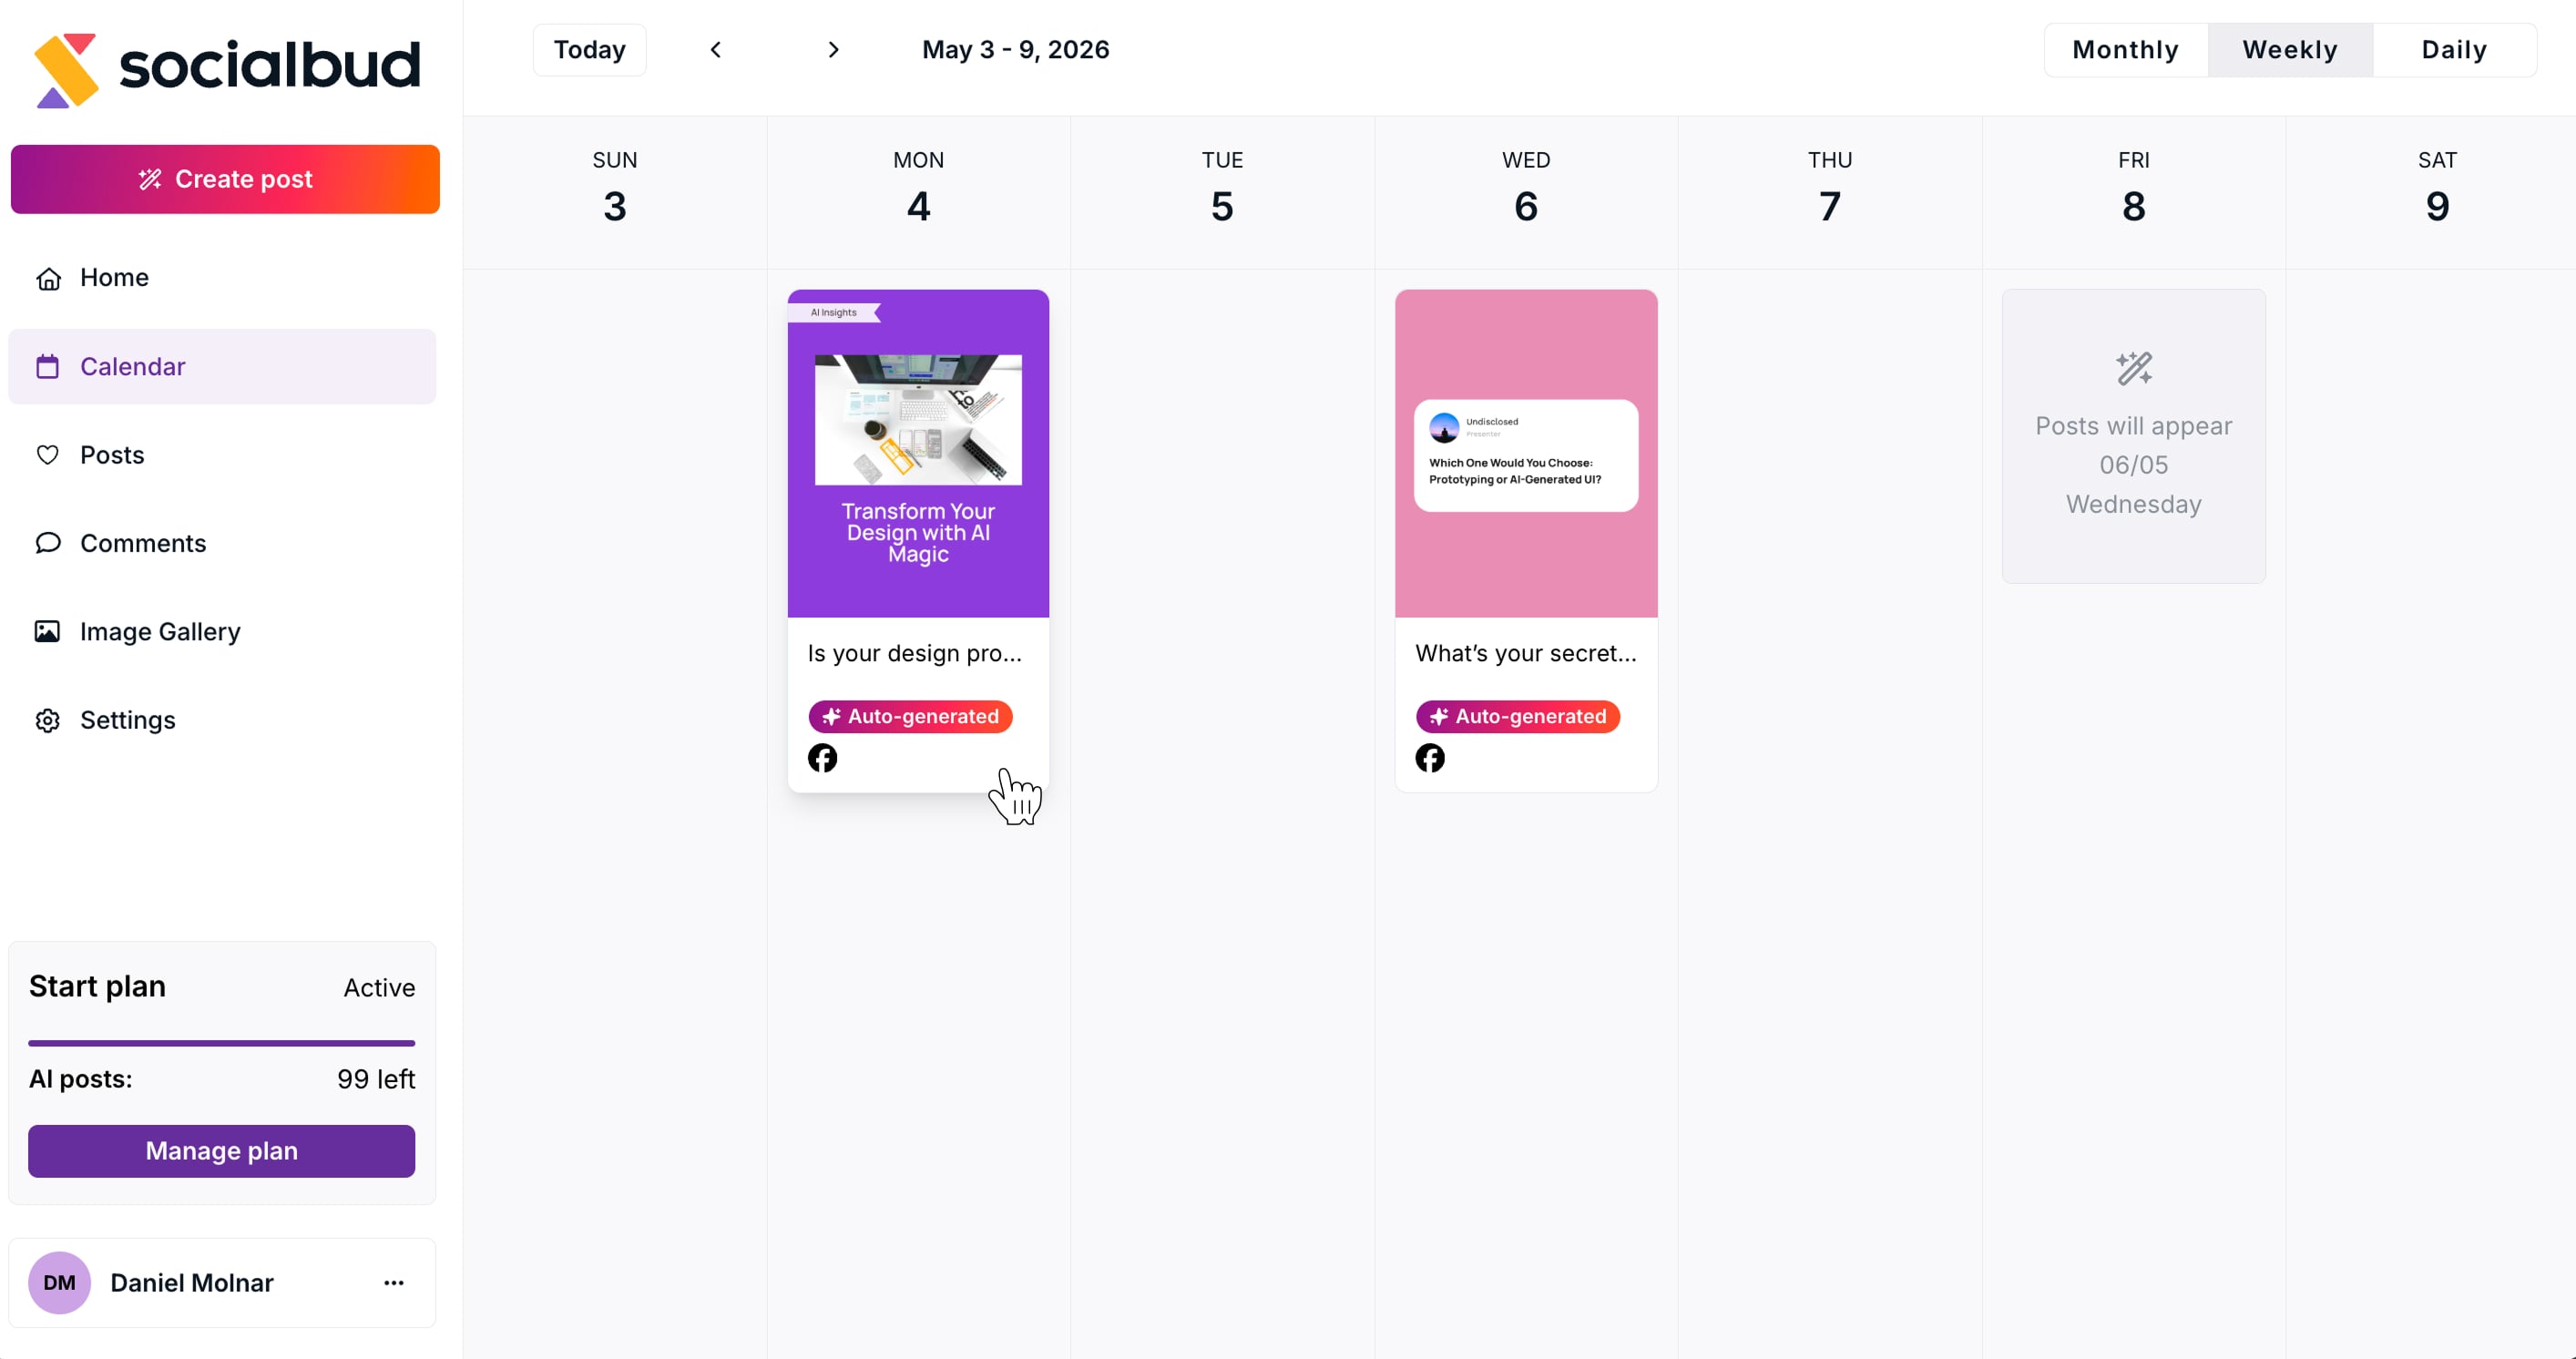
There are two ways to open a post:
From the Calendar → click on a post
From the Posts section → click on a post
Both will open the same editor with the same features.
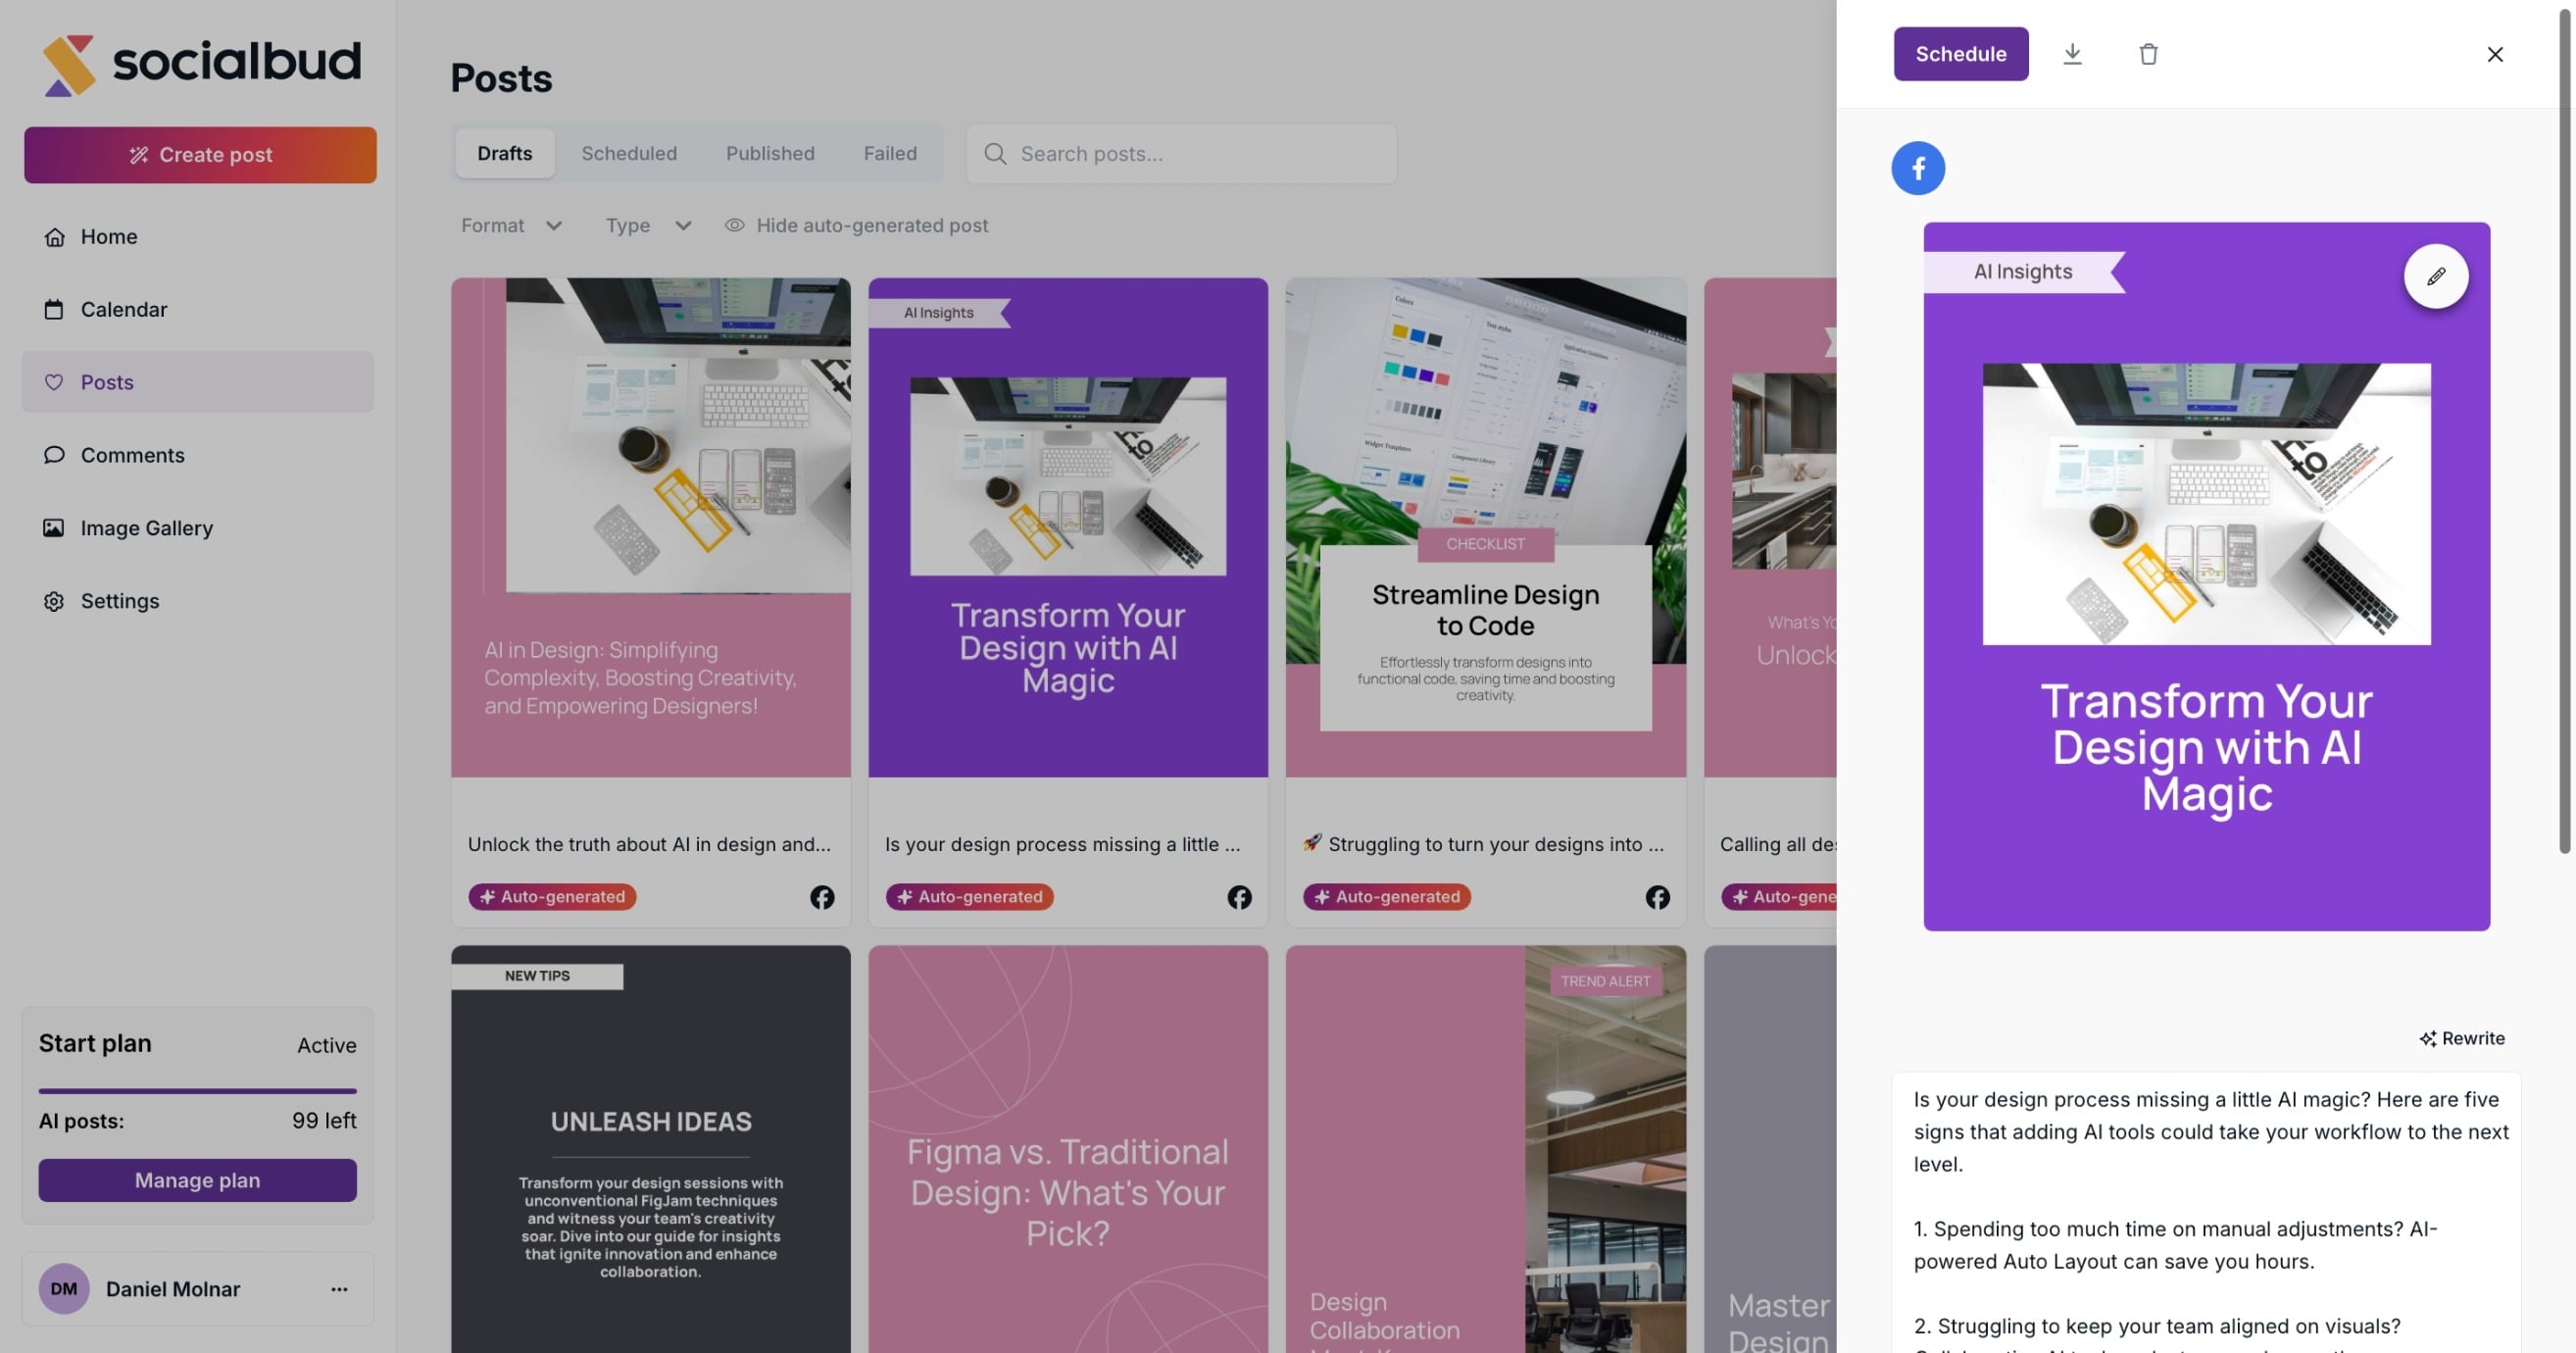
On desktop, the editor opens as a panel on the right side
On mobile, it opens in full screen
The layout may look different, but everything works the same.
You can open the post editor from:
Calendar view → click on a post
Posts section → click on a post

Both actions open the exact same editor.
Once the post editor is open, you can manage everything related to the post.
On this screen, you can:
Schedule the post
Download the visual
Delete the post
Edit the post visual
Edit or rewrite the caption (manually or with AI)
At the top of the editor, you’ll find:
Schedule → publish the post at a selected time
Download visual → download the post image
Delete → remove the post
Close (X) → exit the editor
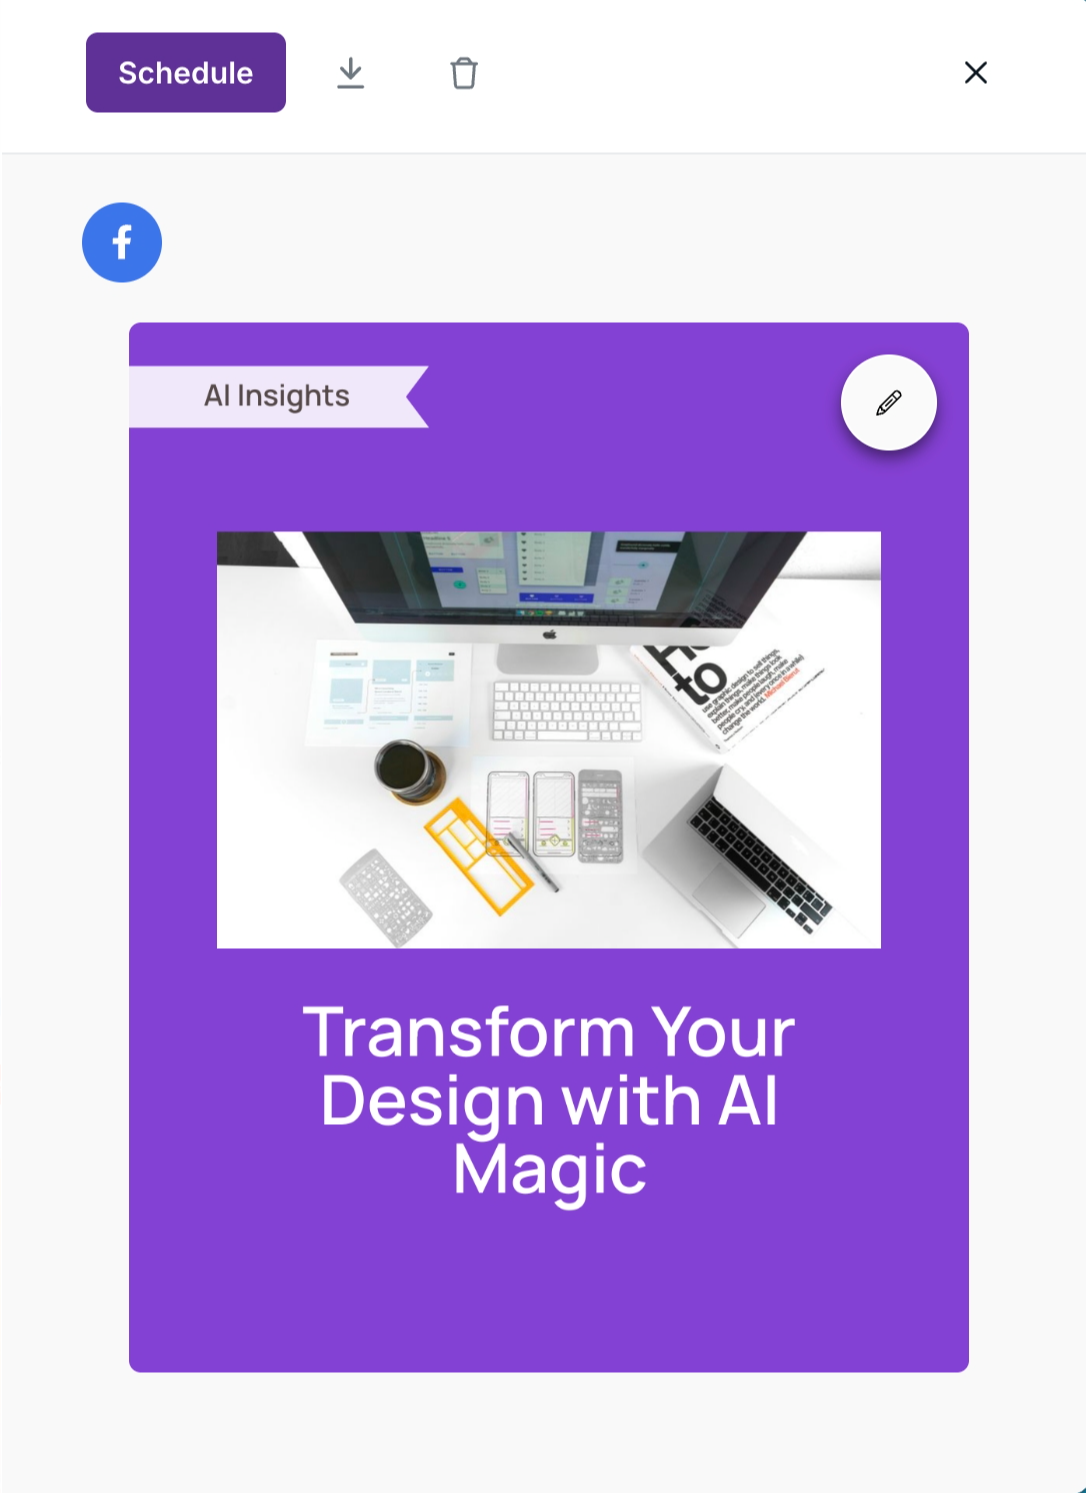
To edit the design:
Click the pencil icon on the visual preview
This opens the visual editor.
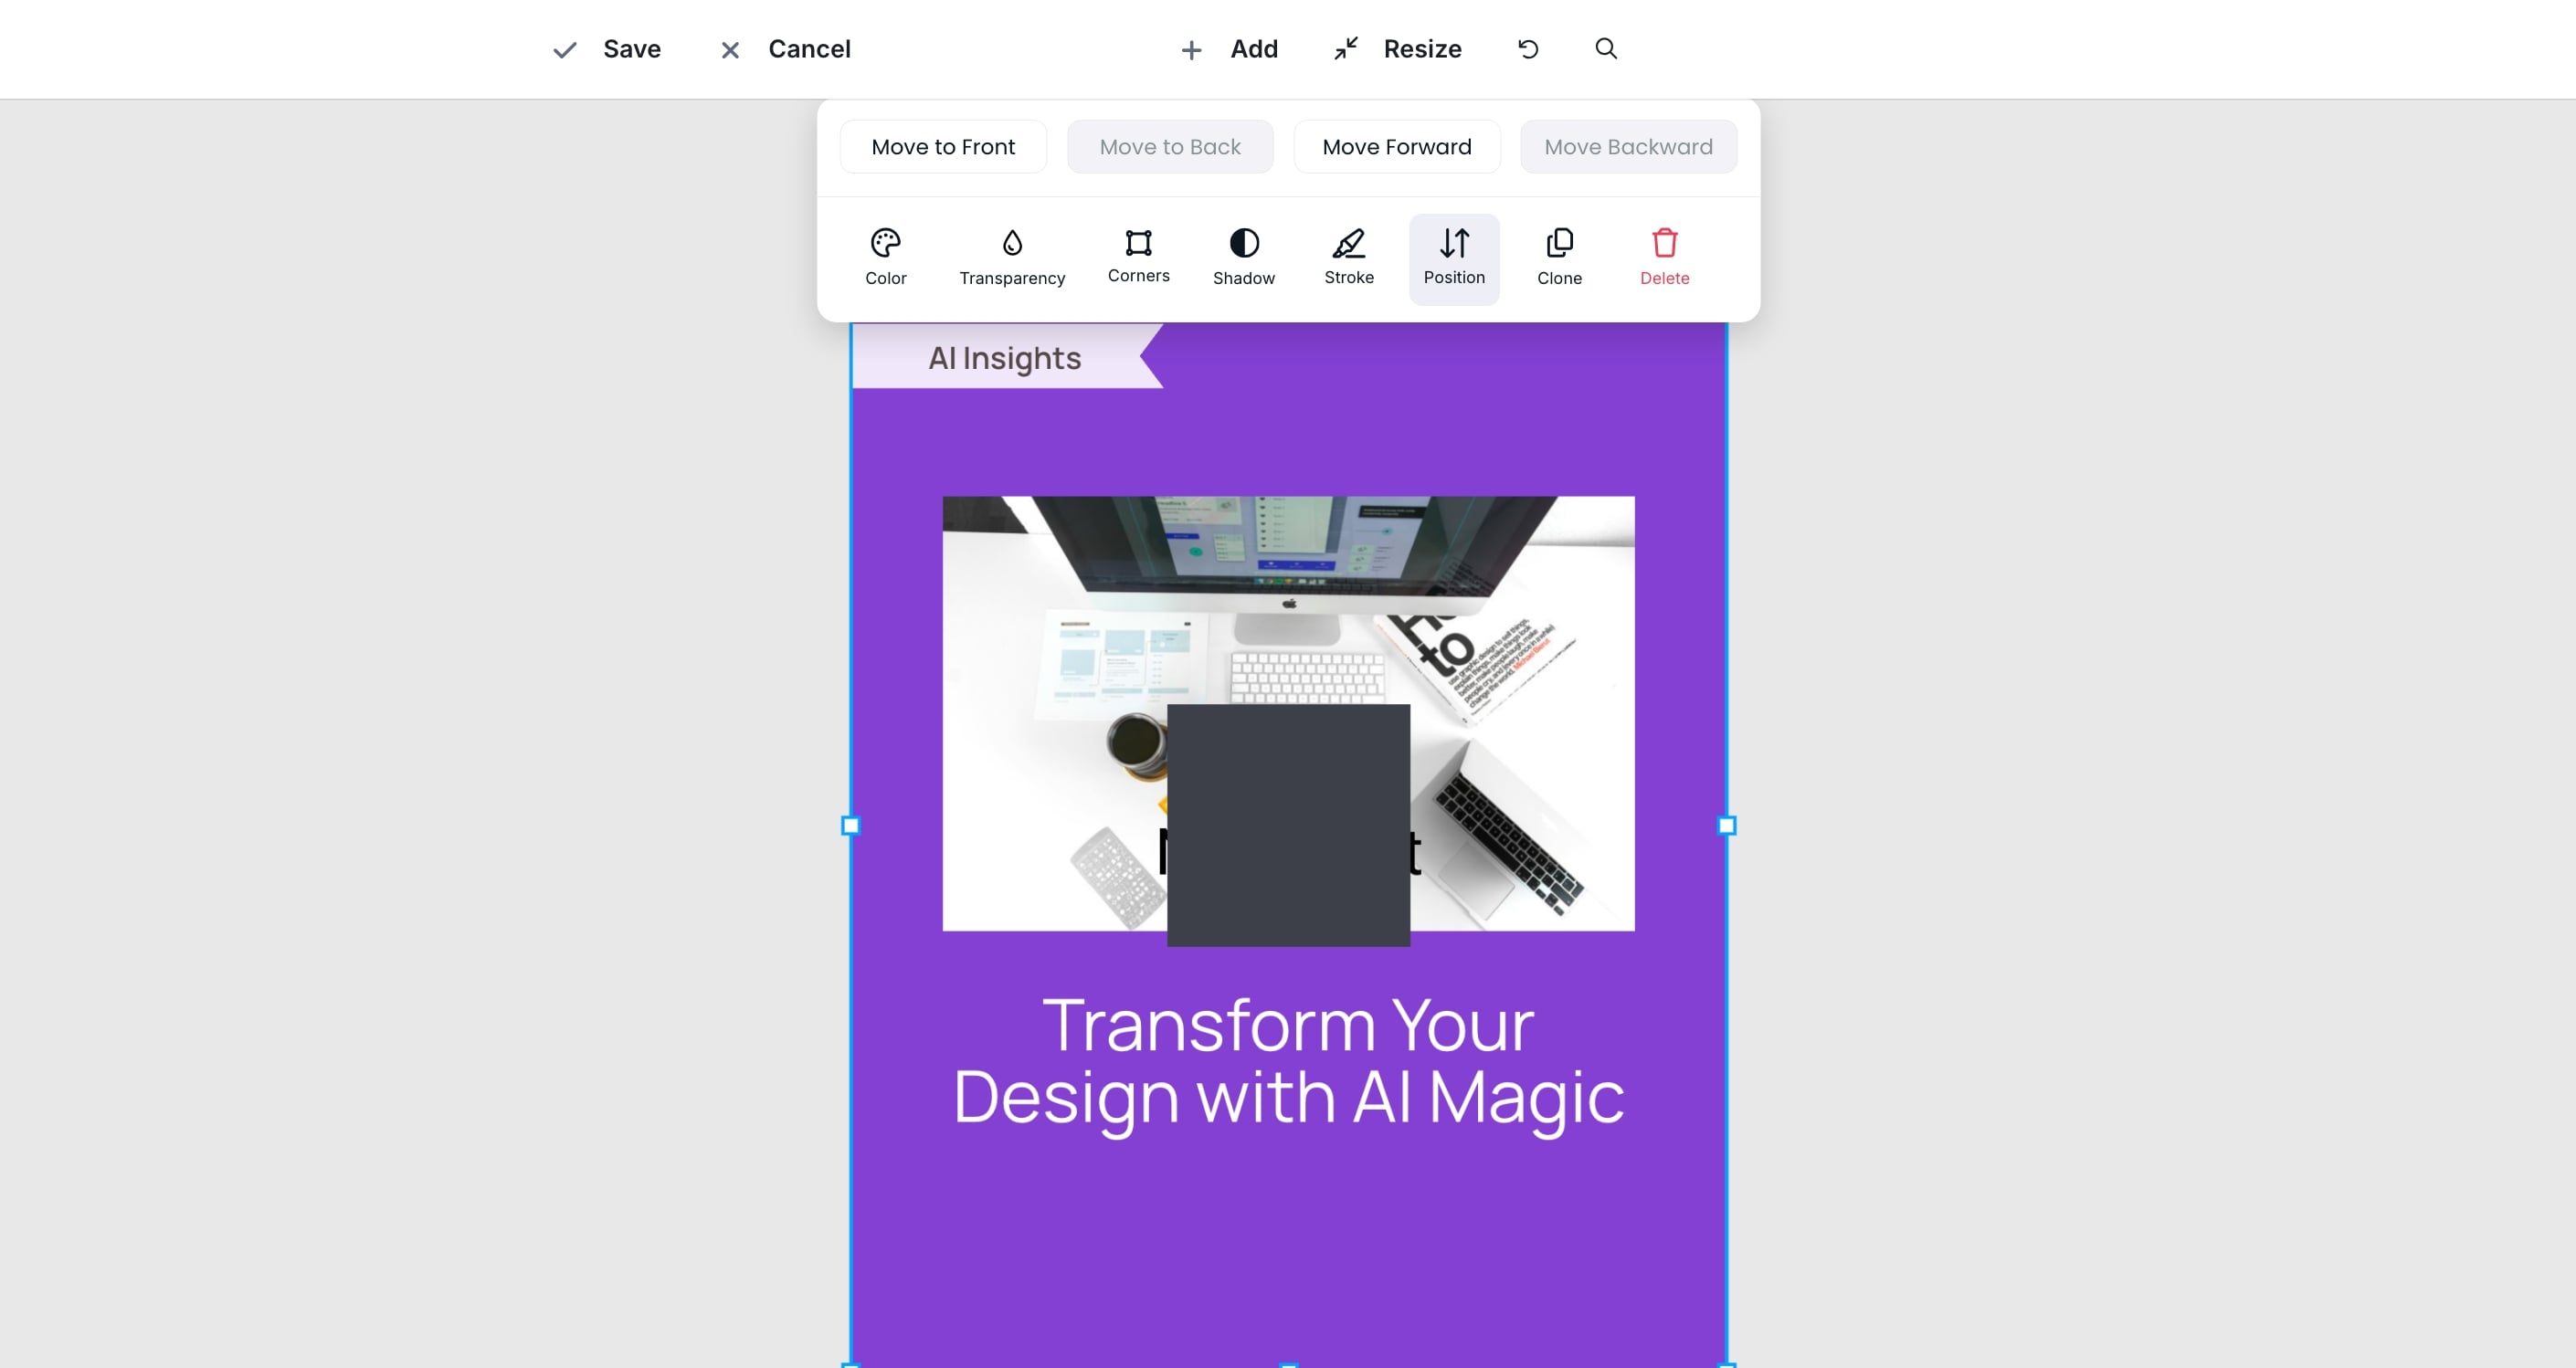
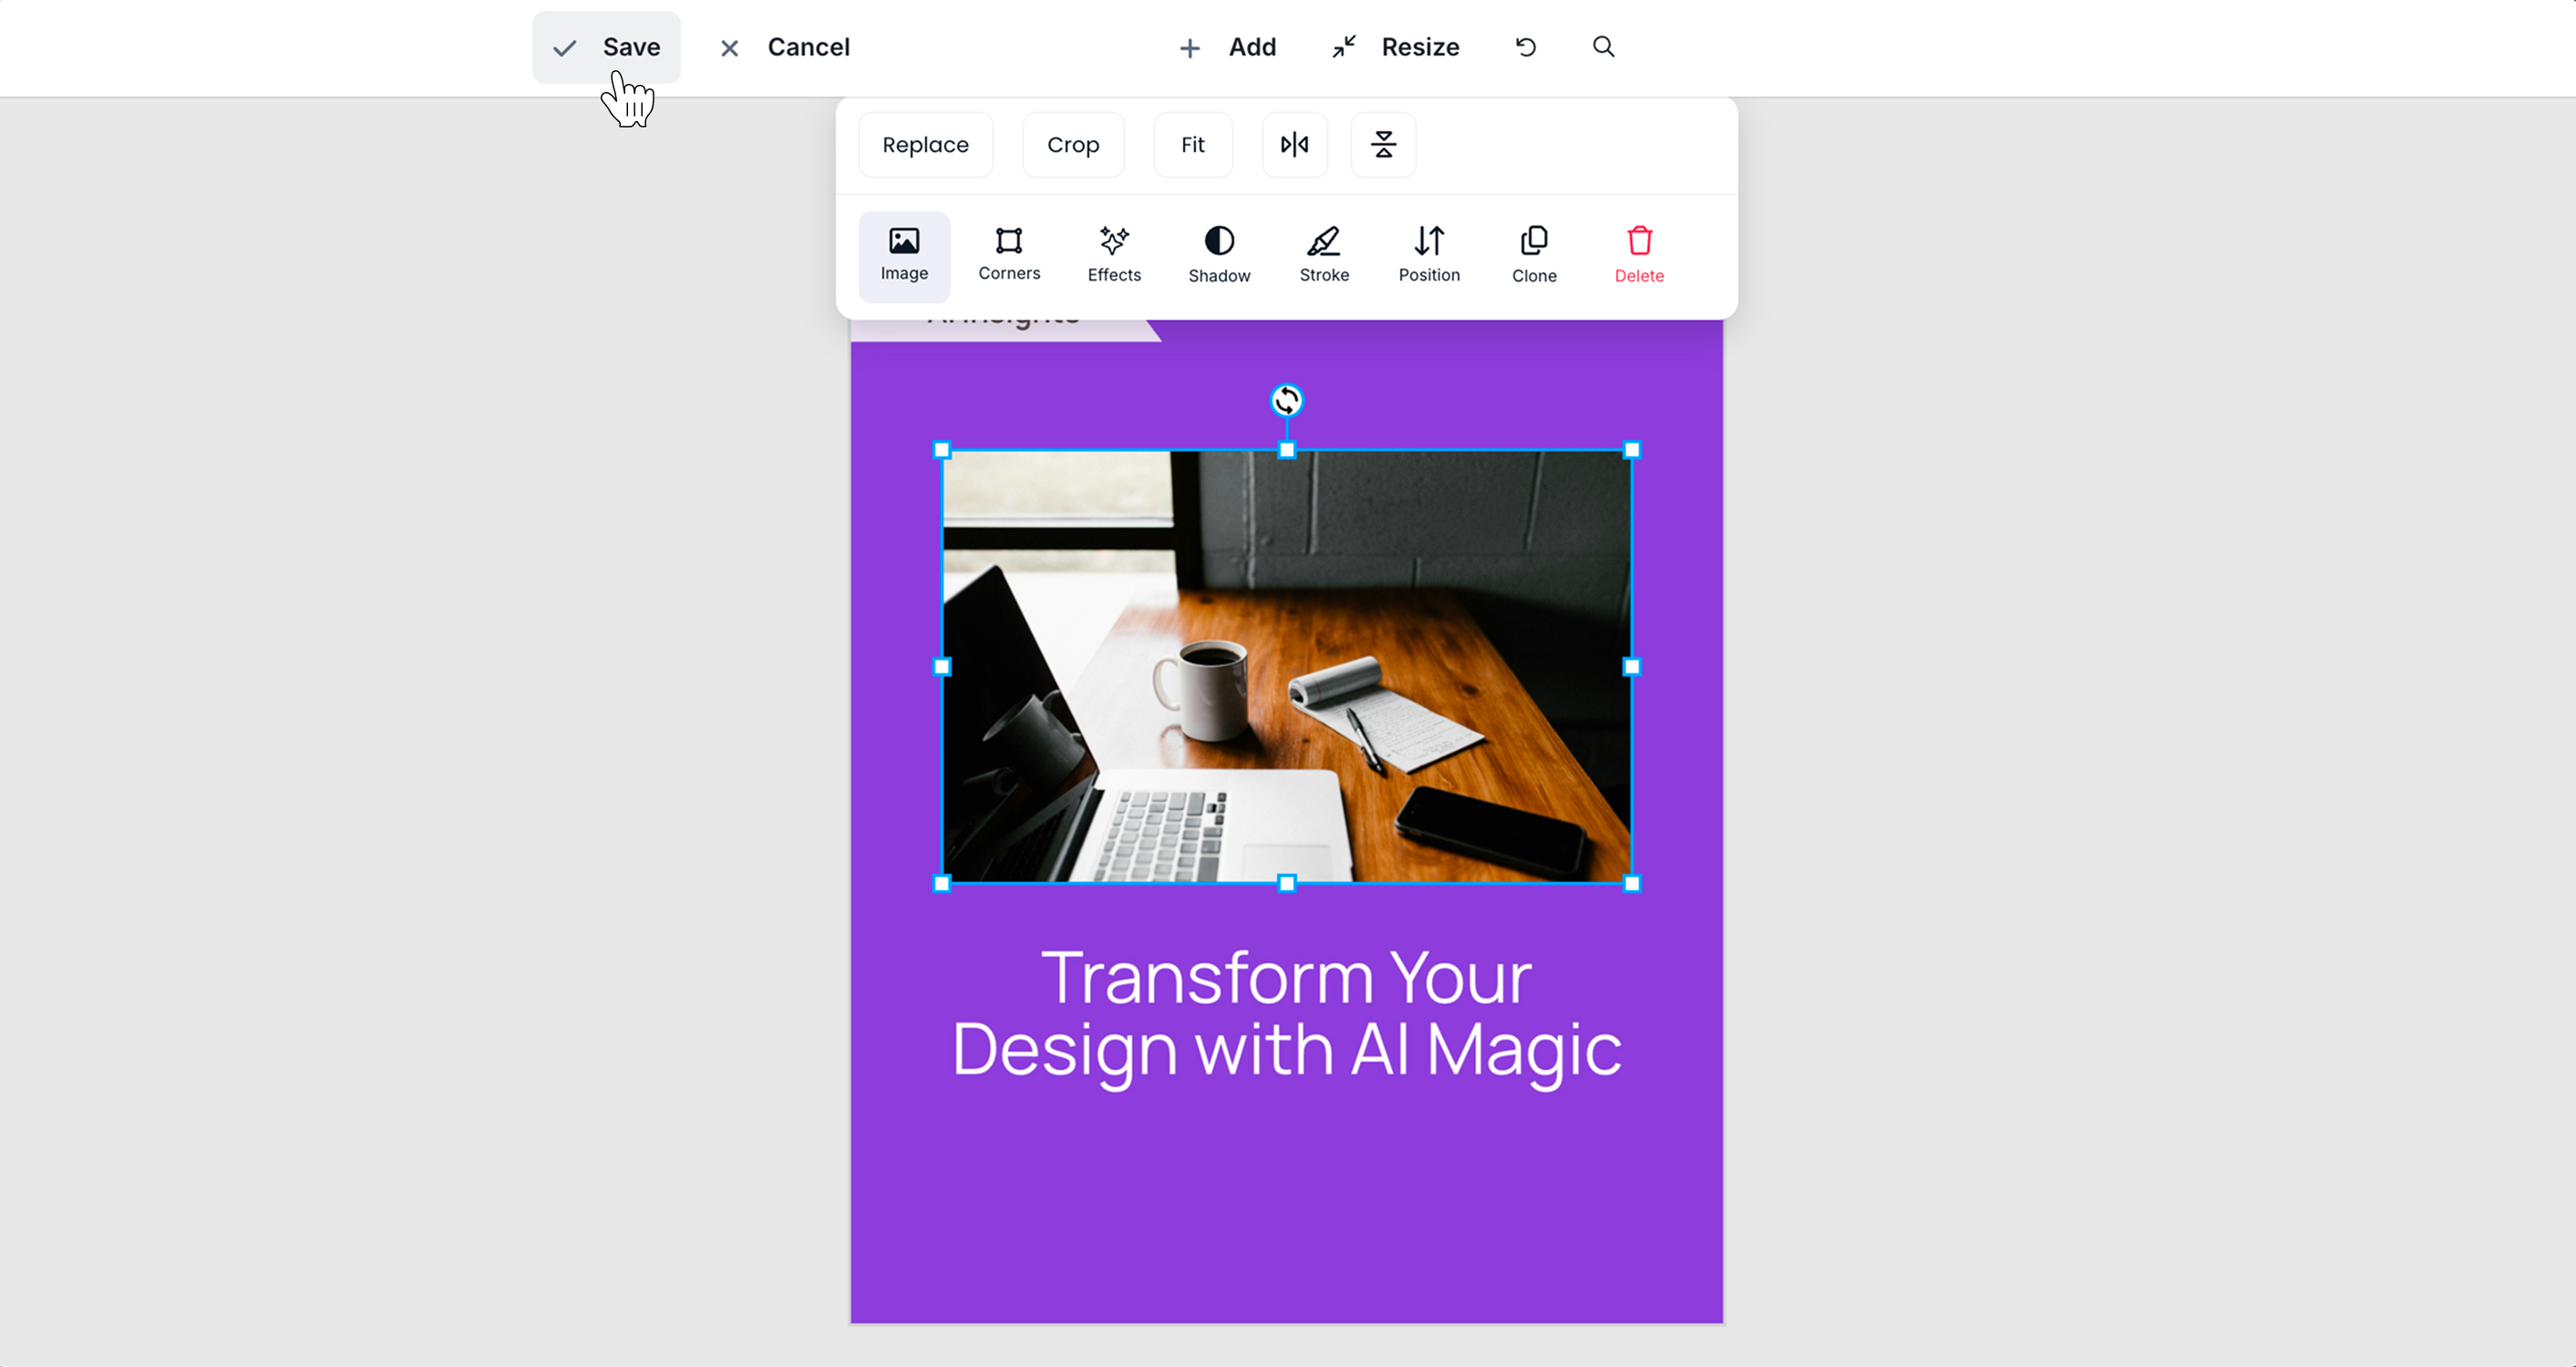
At the top:
Save / Cancel → apply or discard changes
Add → insert elements
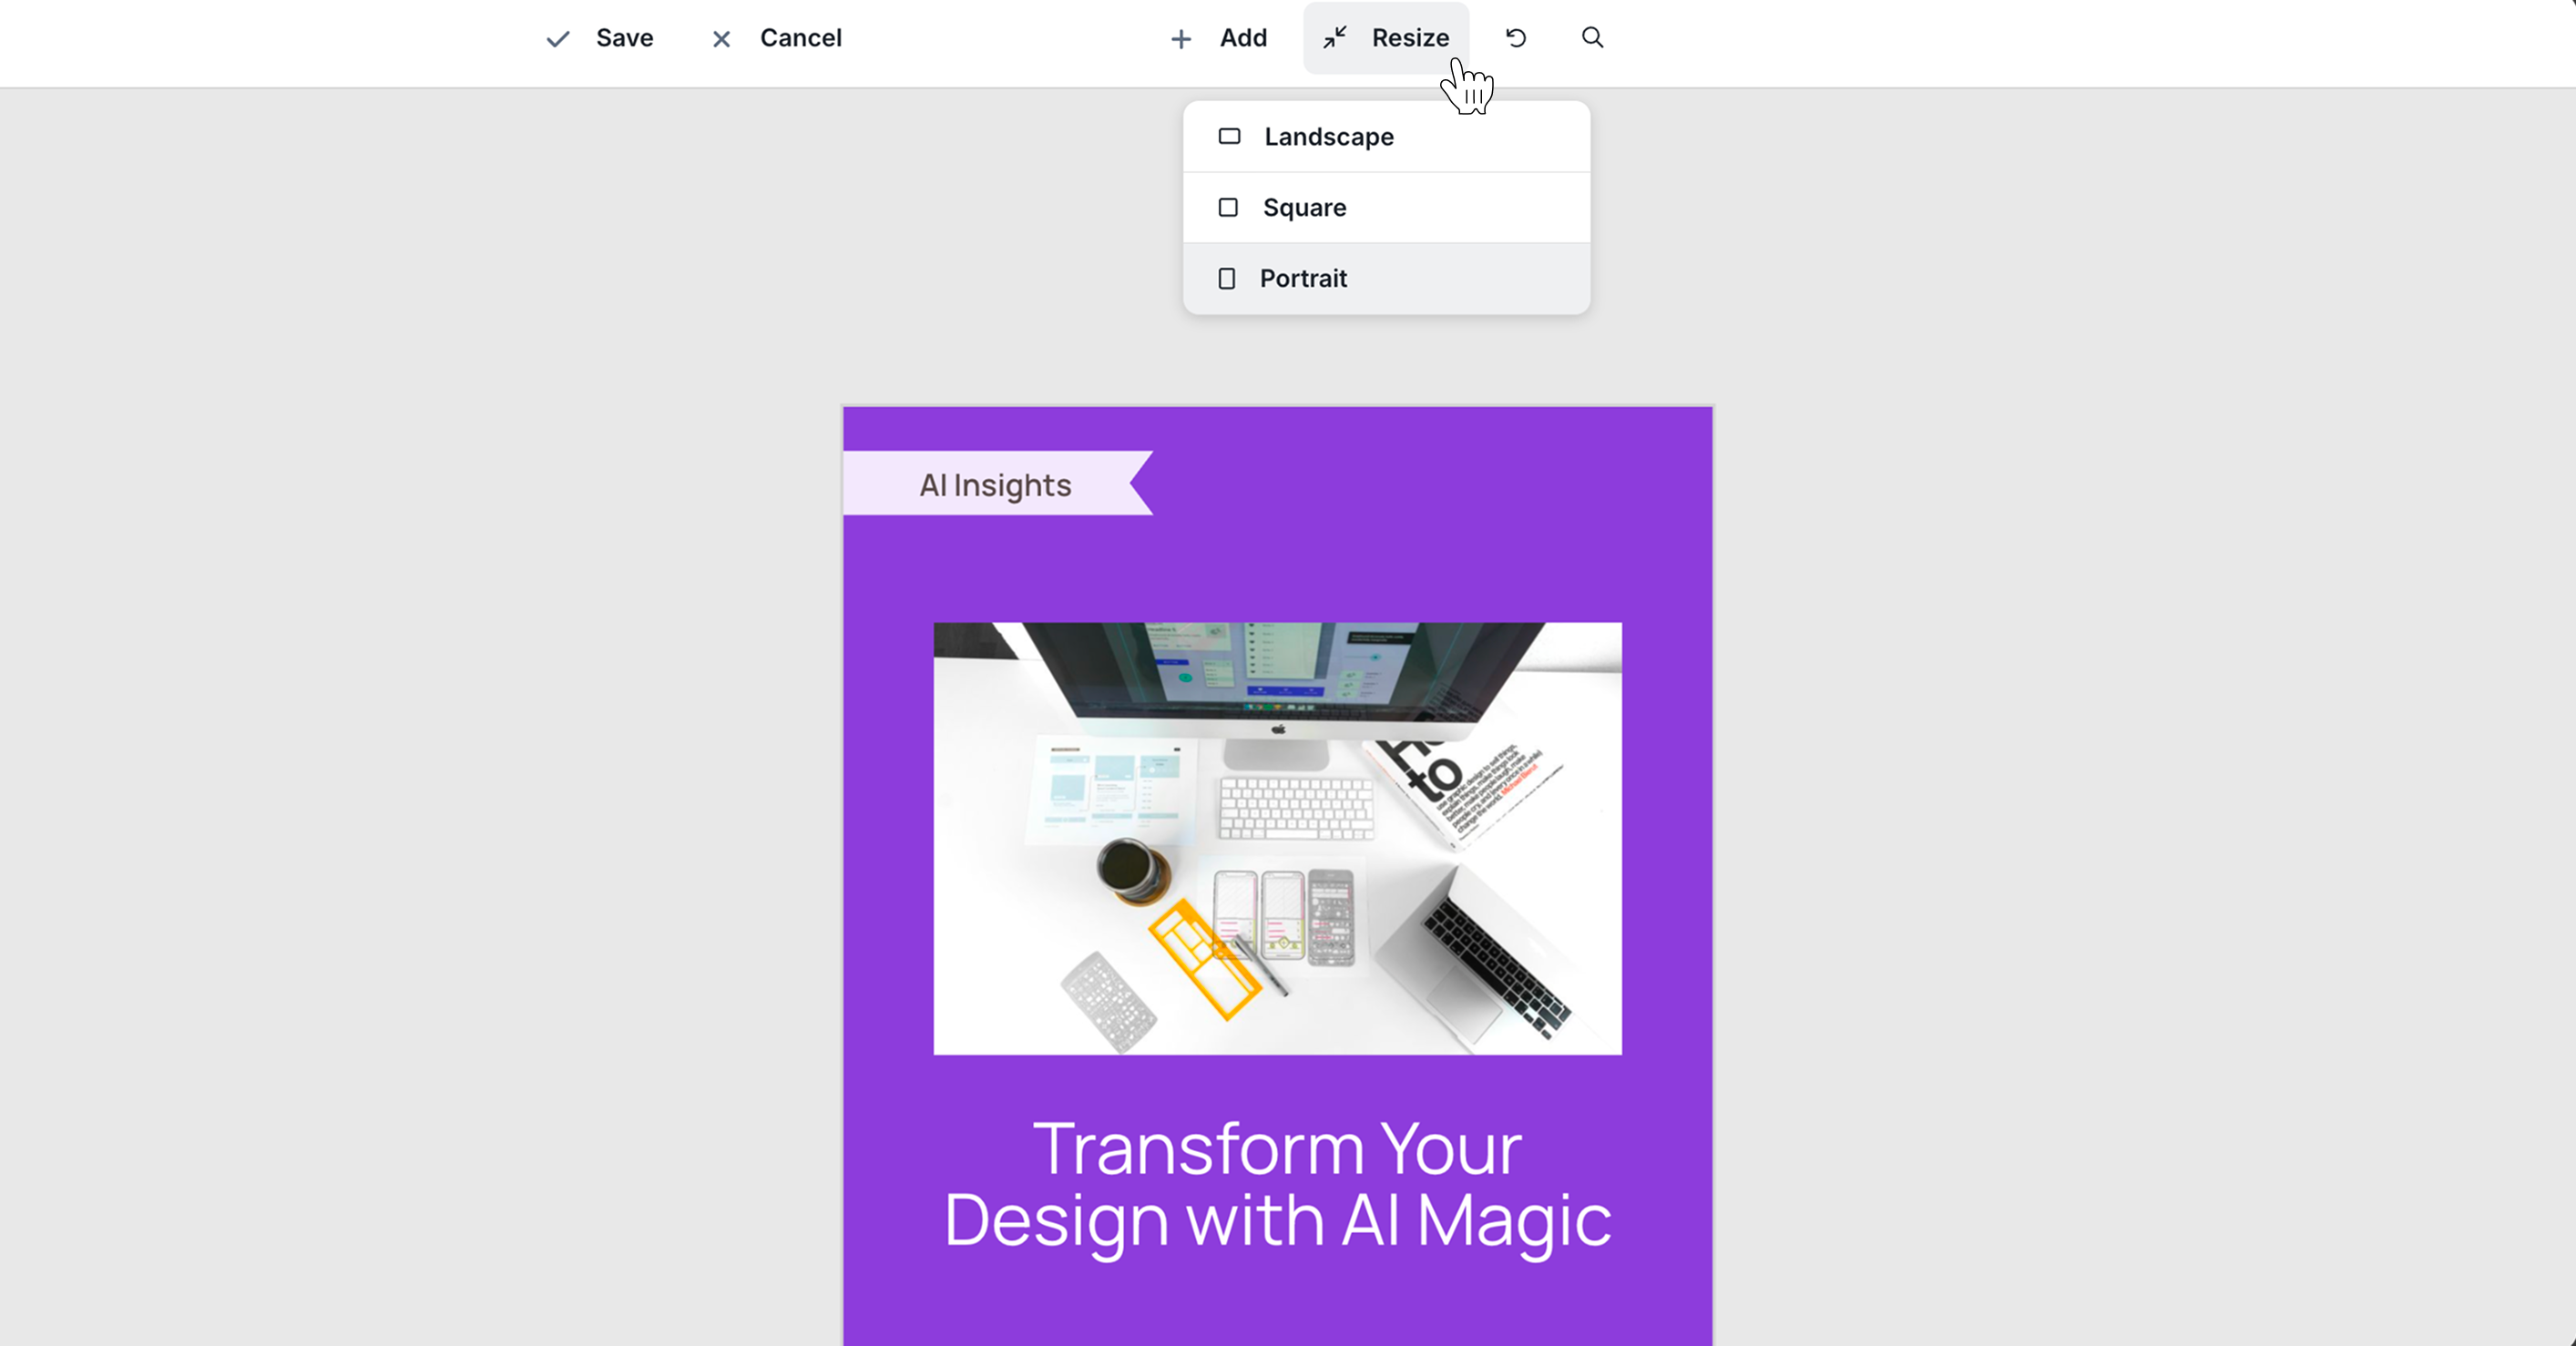
Resize → change format (landscape, square, portrait)
Undo → revert previous actions
Zoom → adjust canvas view (not saved)

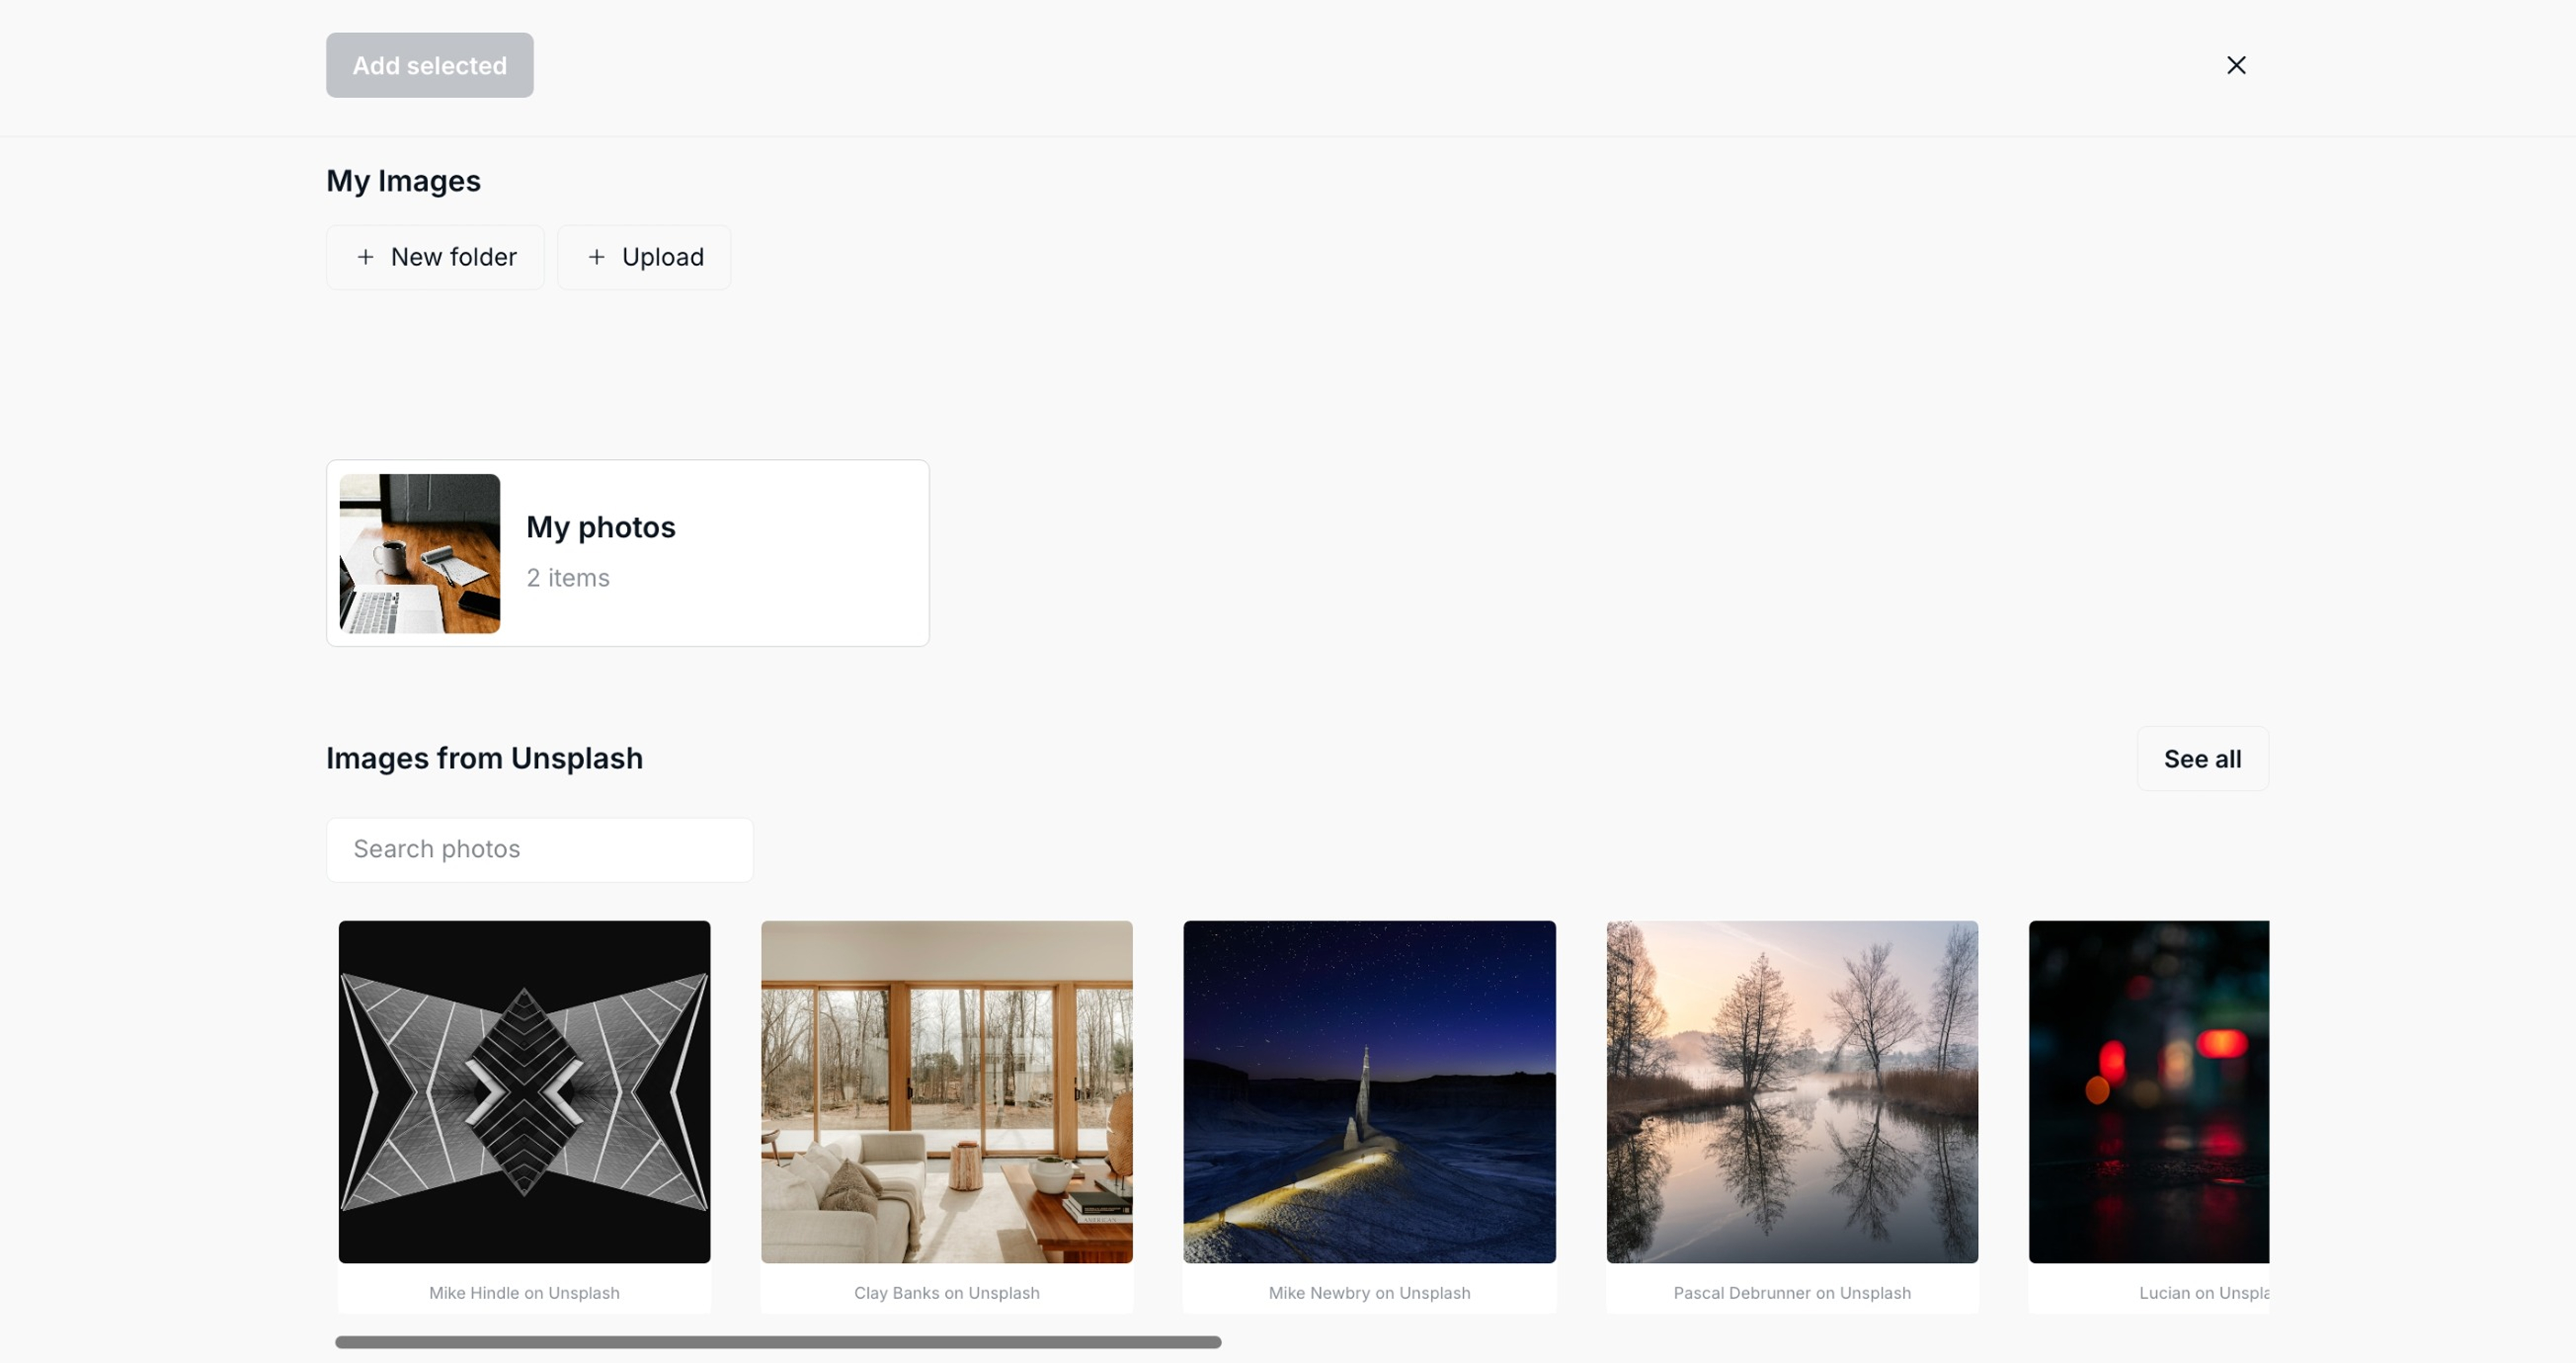
Using the Add menu, you can insert:
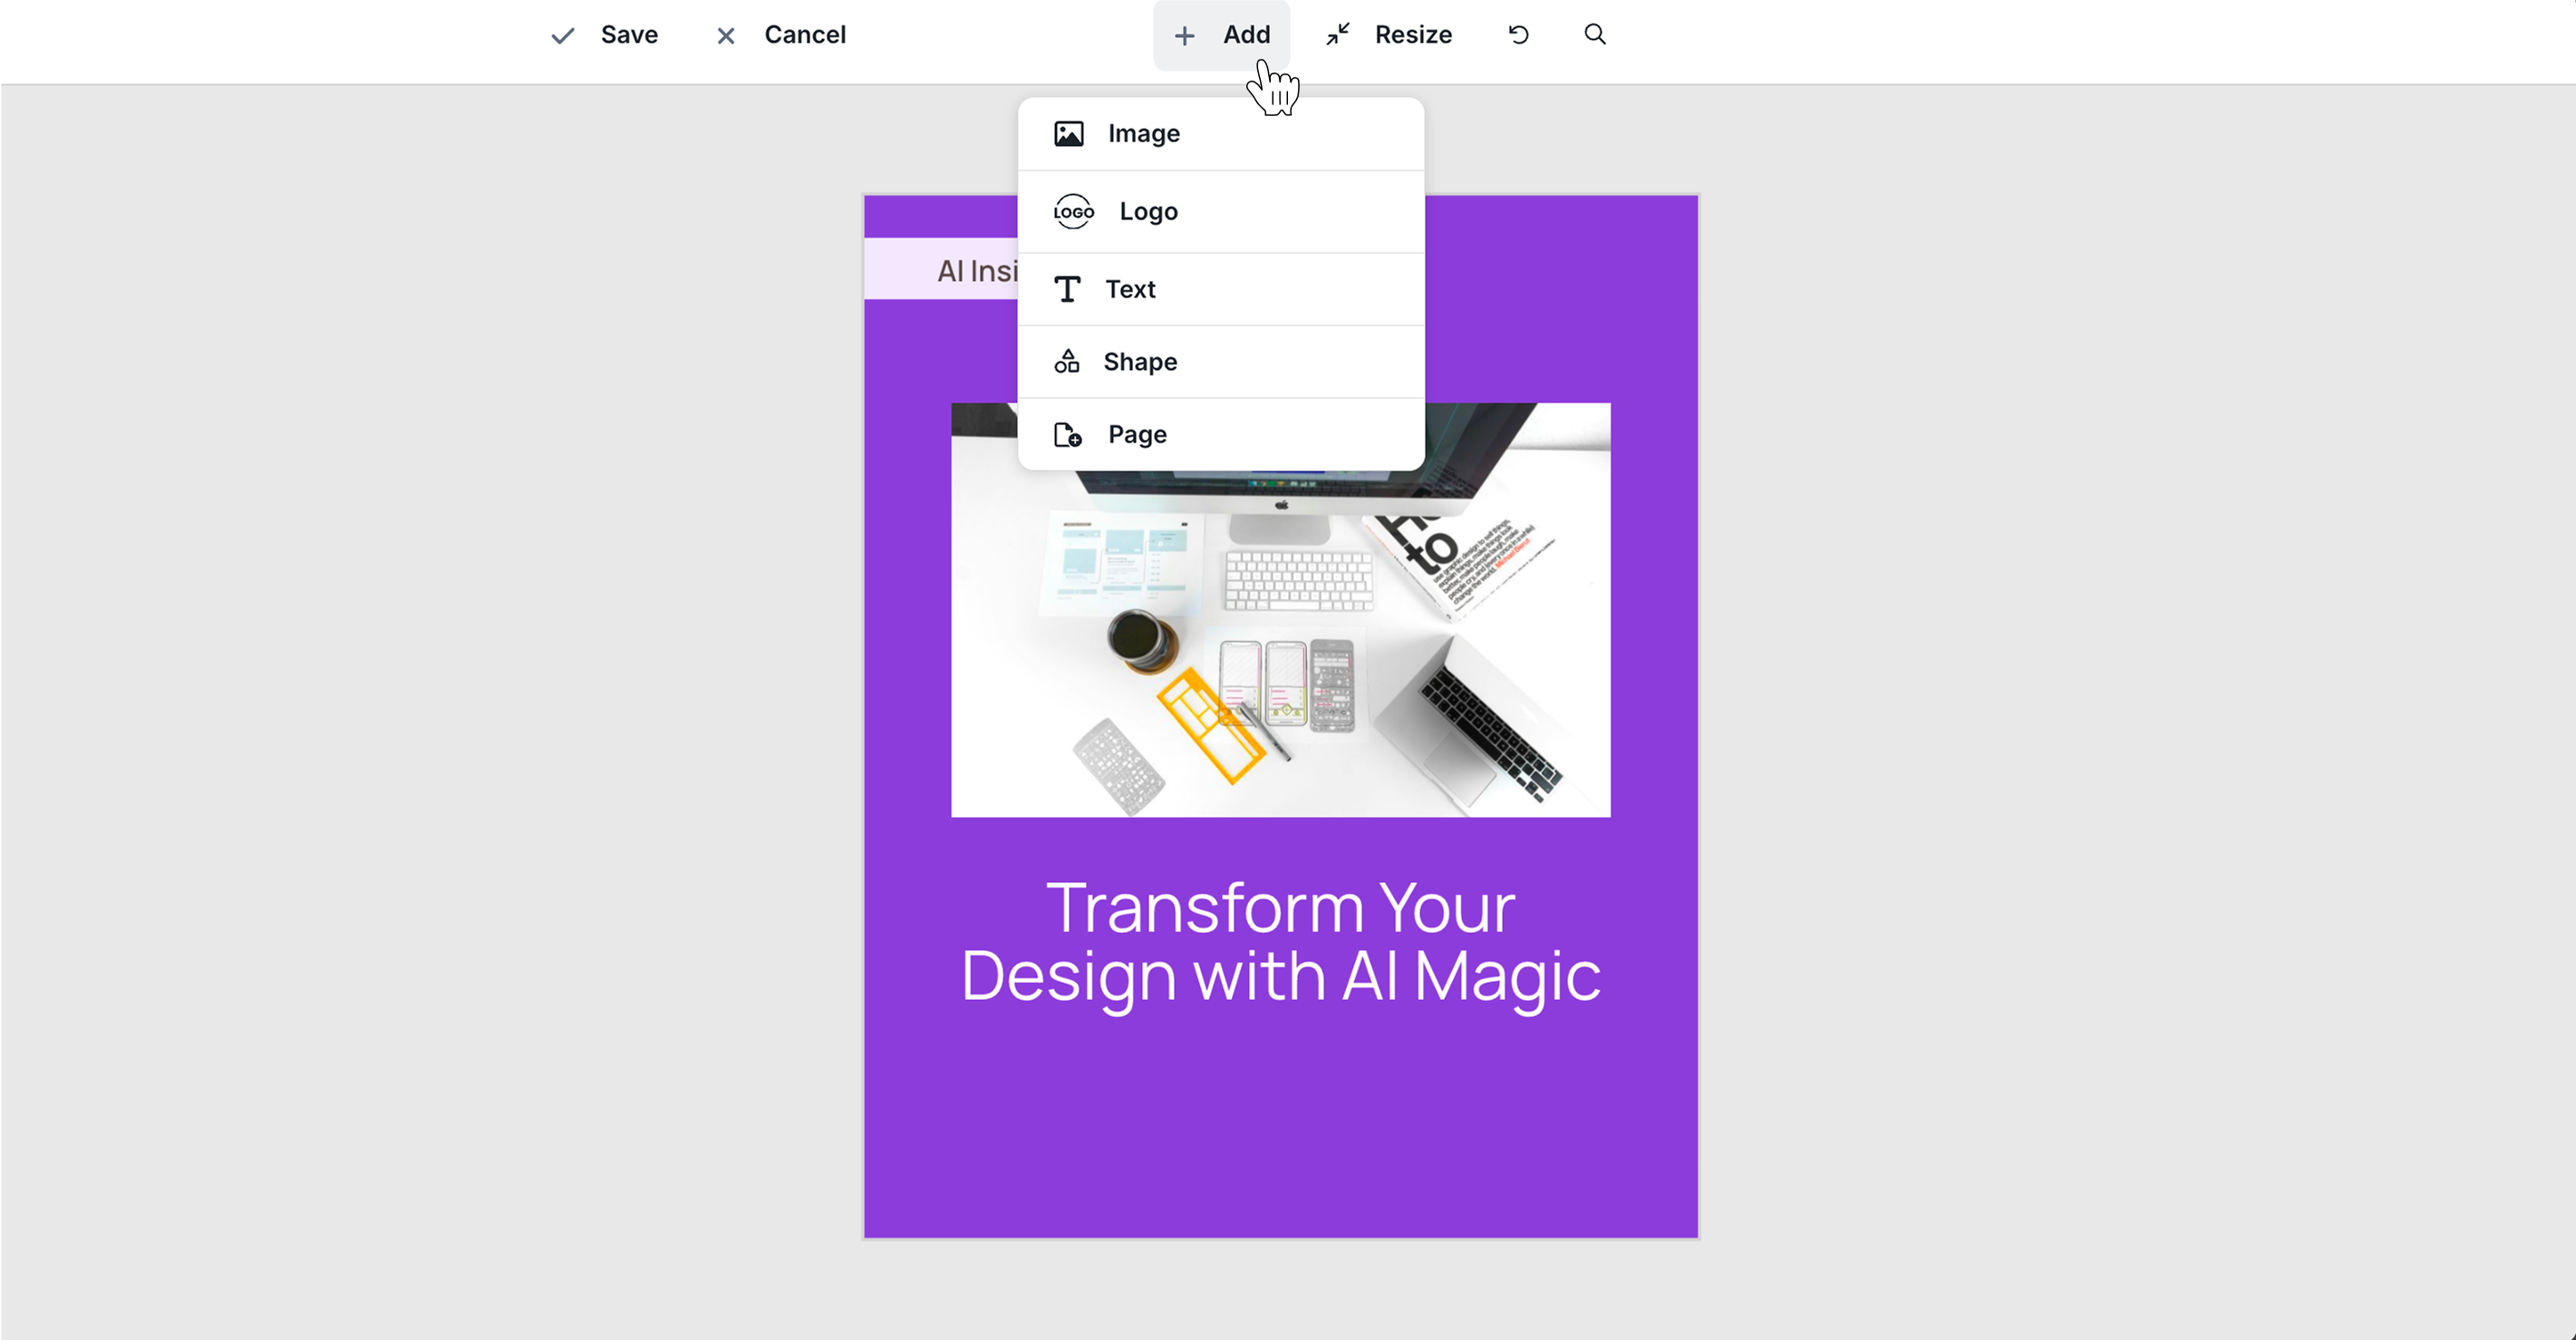
Image
Upload new images
Browse your files and folders
Search images from Unsplash
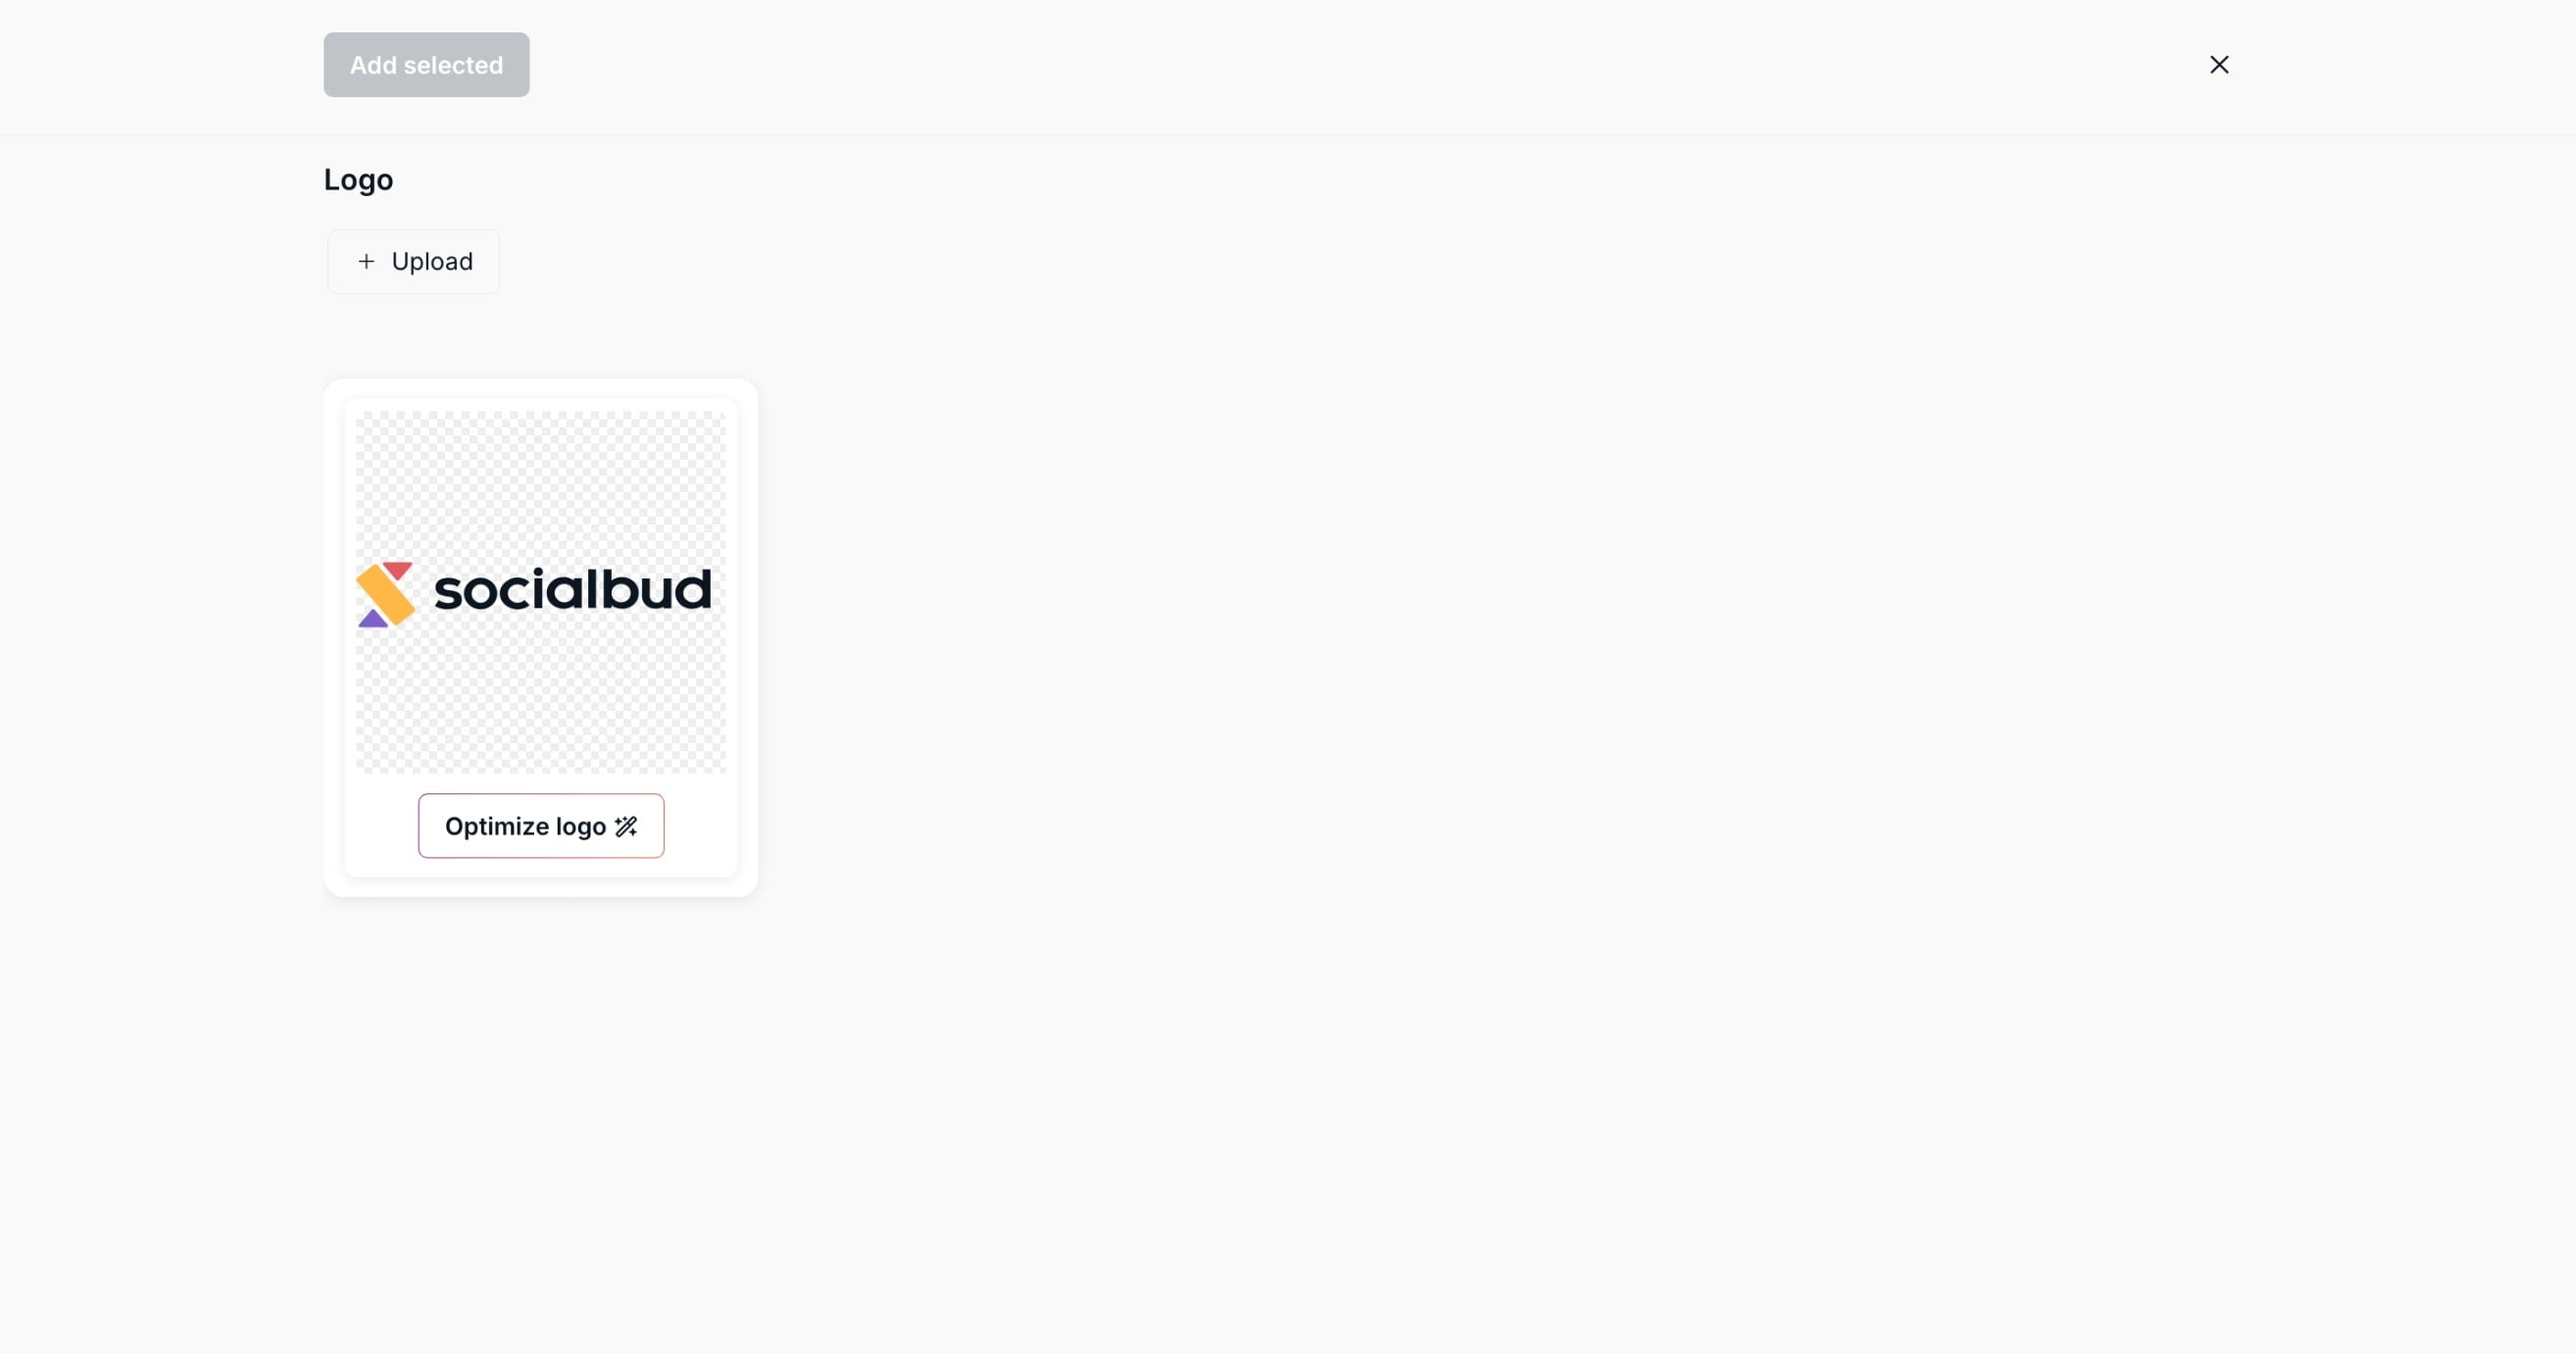
Logo
Select from uploaded logos
Upload a new logo
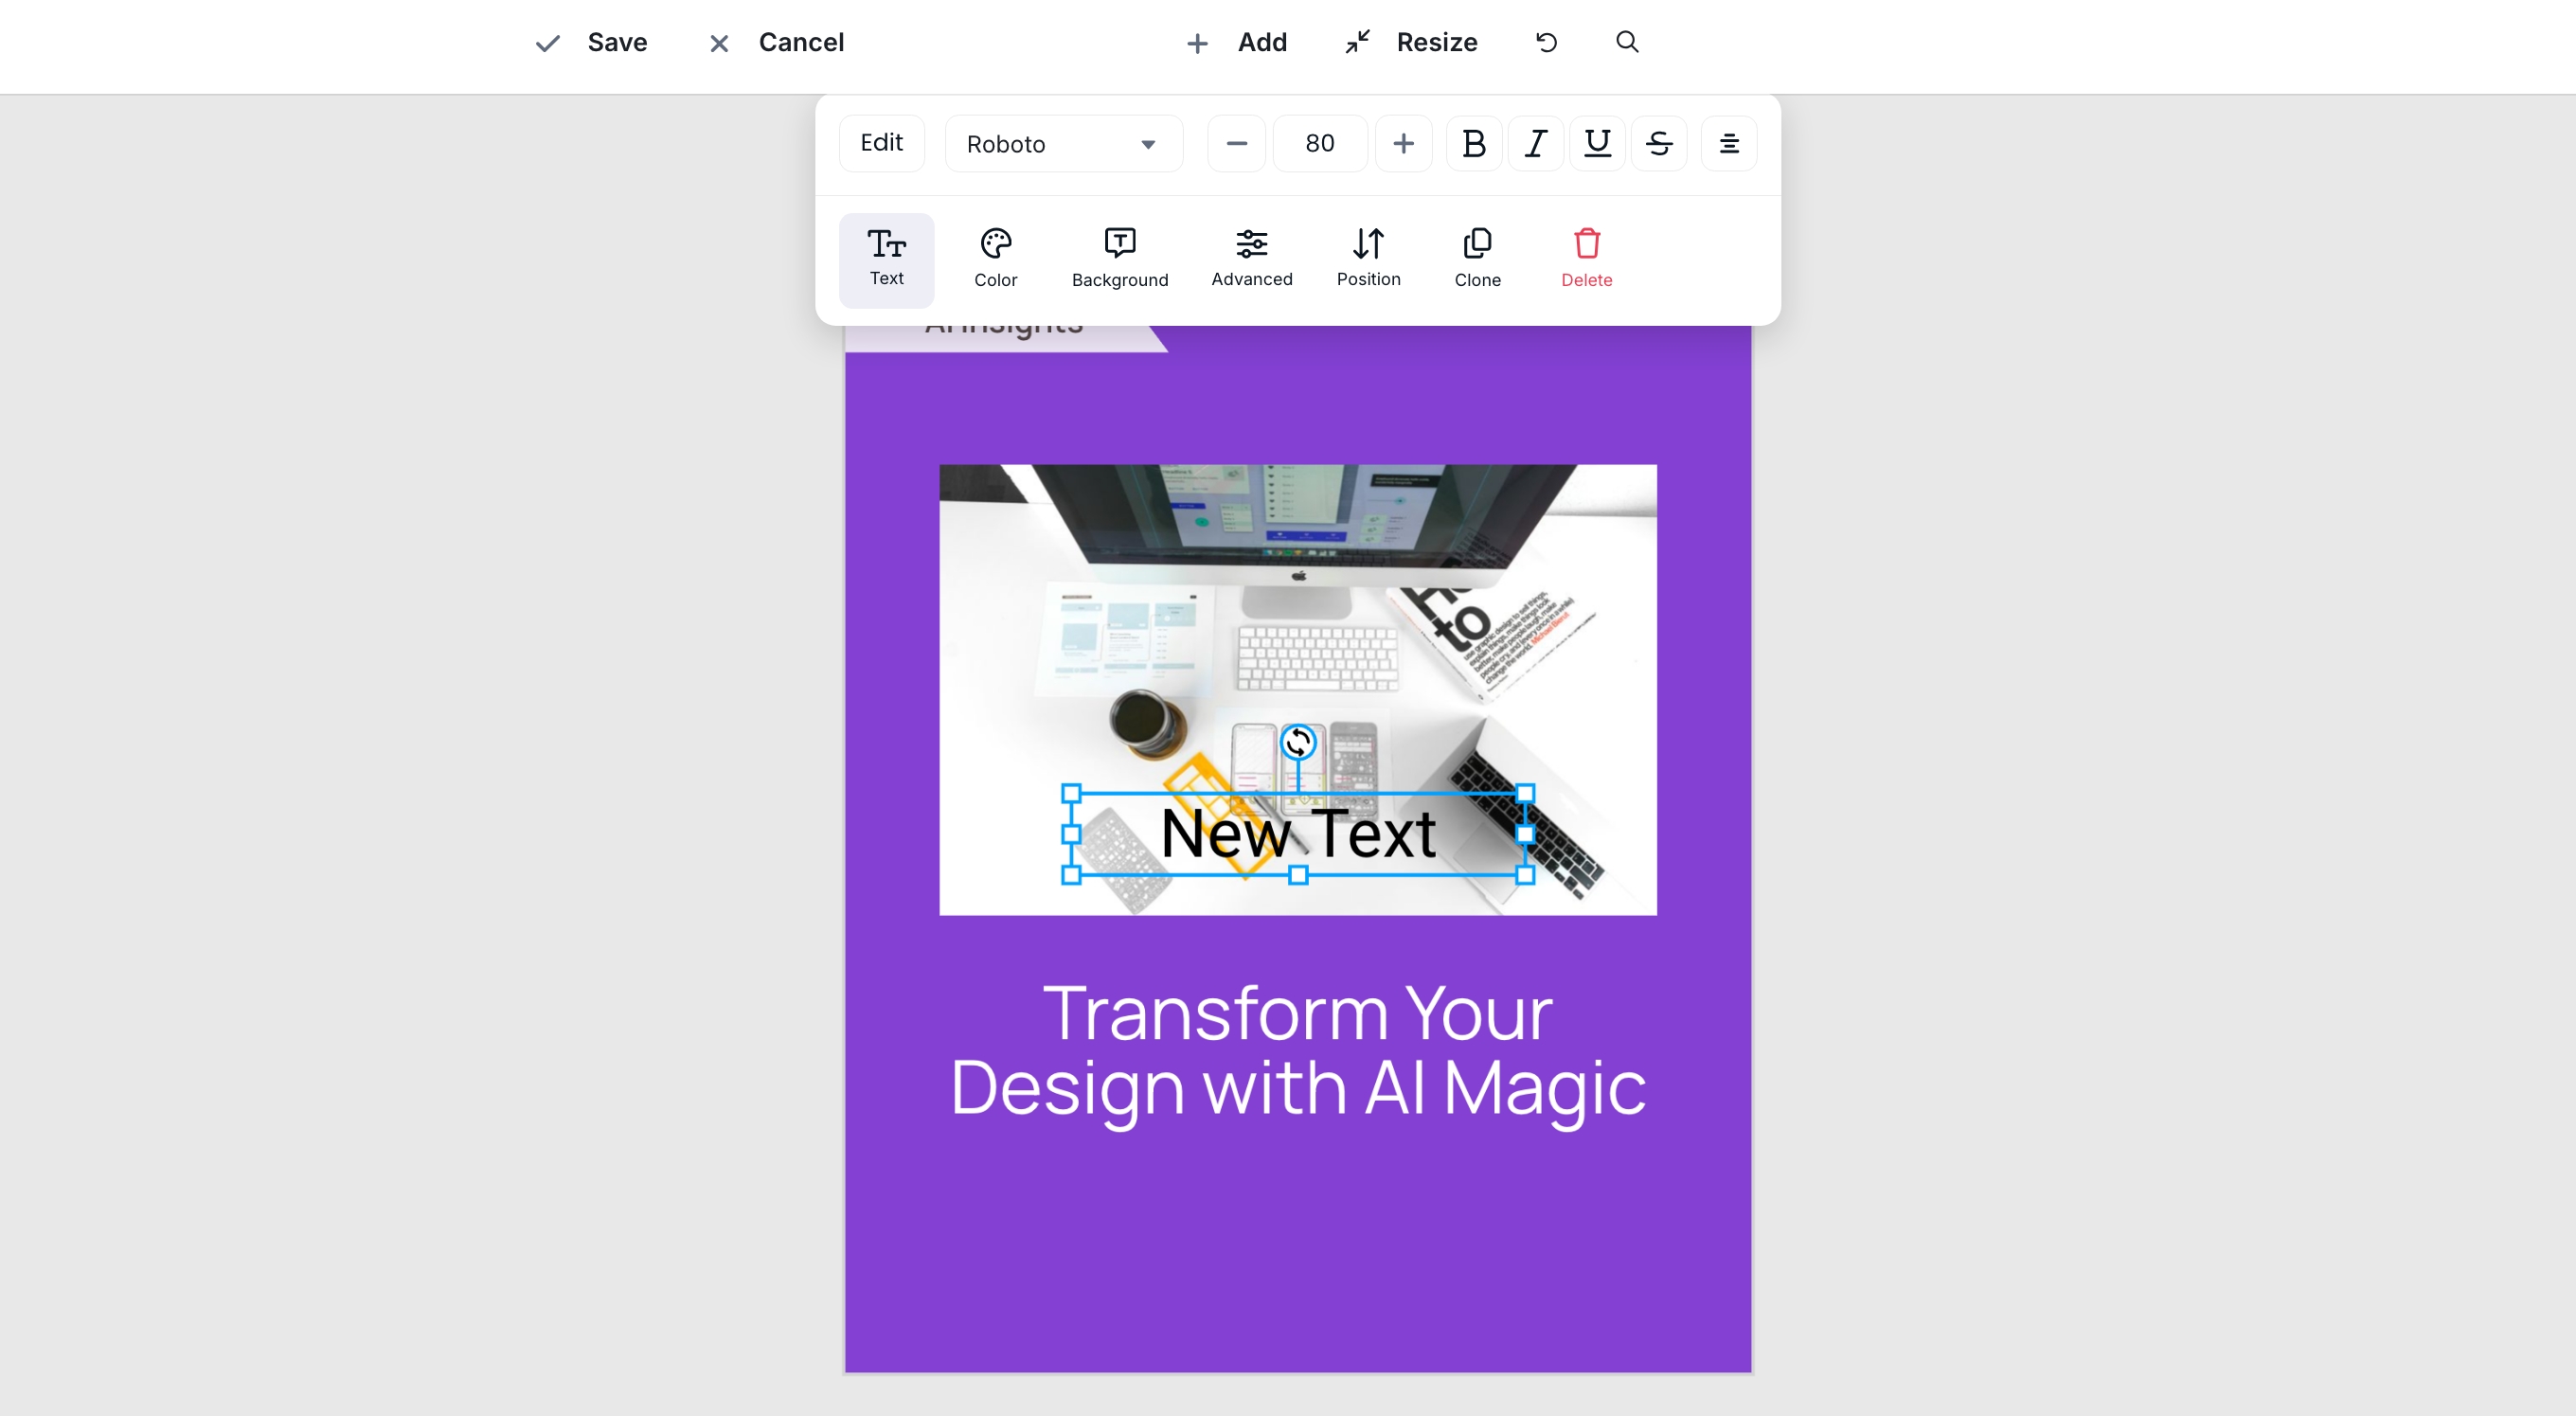
Text
Font family and size
Bold, italic, underline, strikethrough
Alignment (left, center, right)
Color and background
Advanced options (opacity, line height, letter spacing)
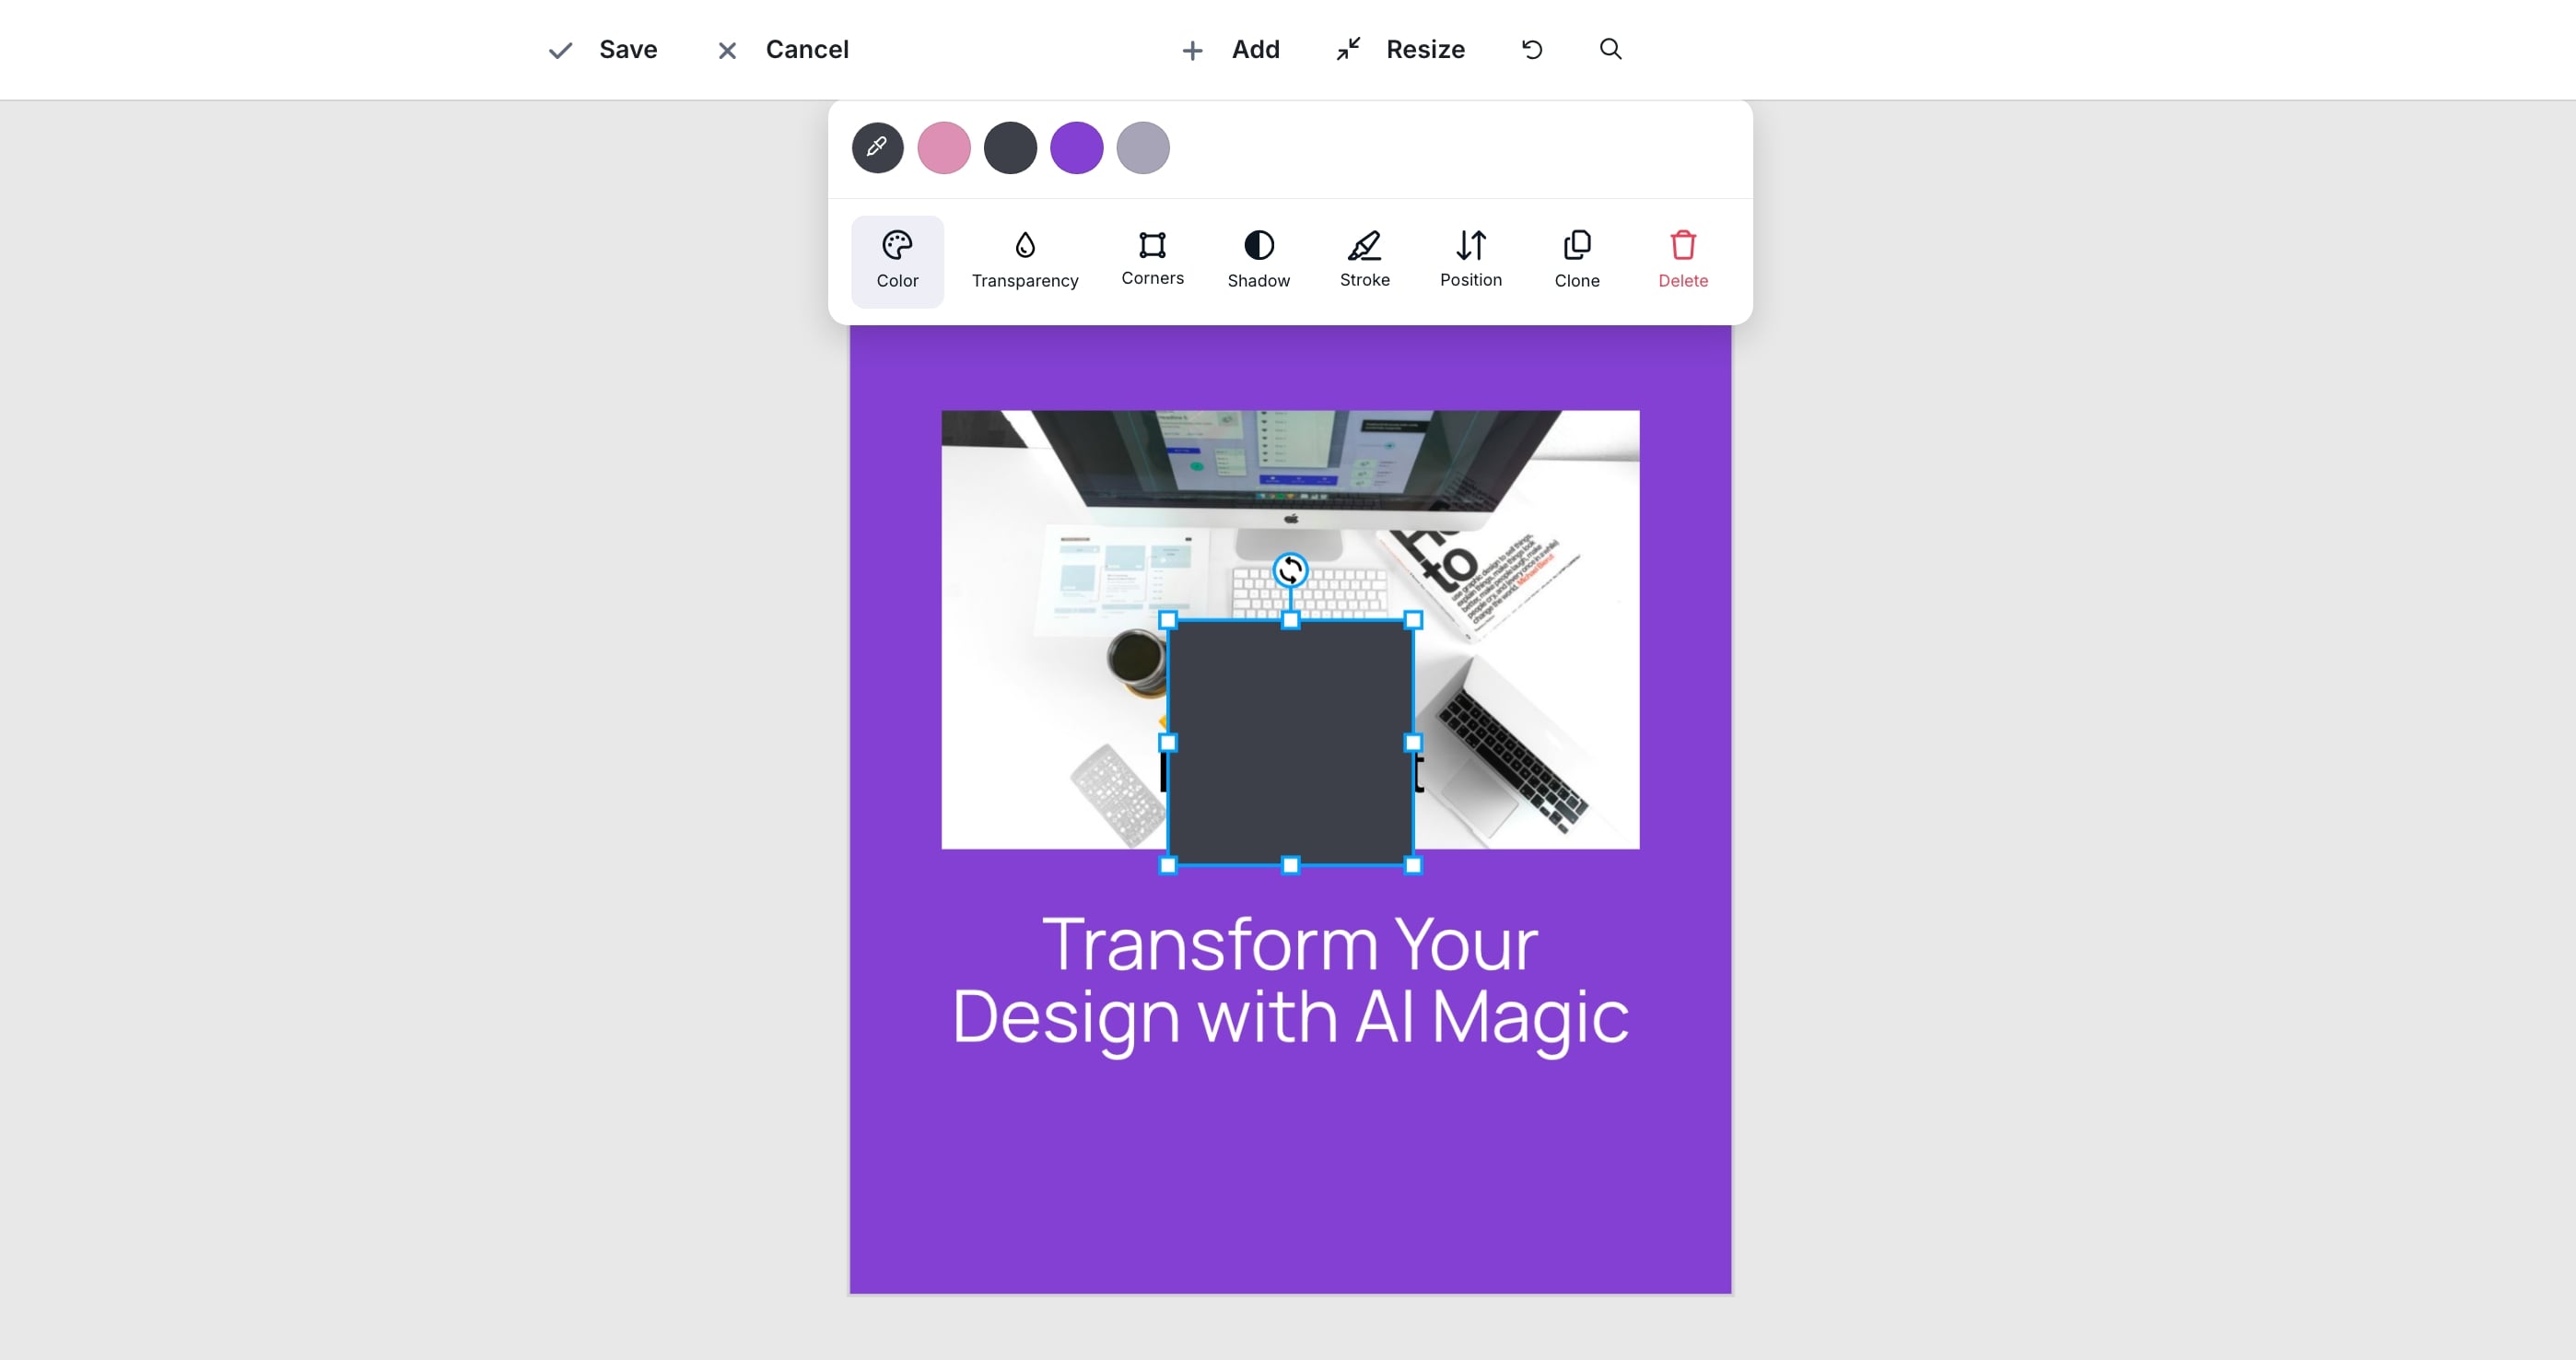
Shape
Choose from available shapes
Adjust color, opacity, corner radius
Add shadow
Set stroke (color and width)
Page
Adds a new slide to the post
Turns the post into a carousel
Supported on Facebook, Instagram, and LinkedIn (not supported on Twitter/X)
For any selected element, you can:
Move forward or backward
Bring to front or send to back
Duplicate
Delete
Changing format updates the canvas size
The layout does not adjust automatically
You may need to reposition elements manually
Below the visual, you can edit the caption.
Click into the caption field
Type and edit freely
Click the Rewrite button
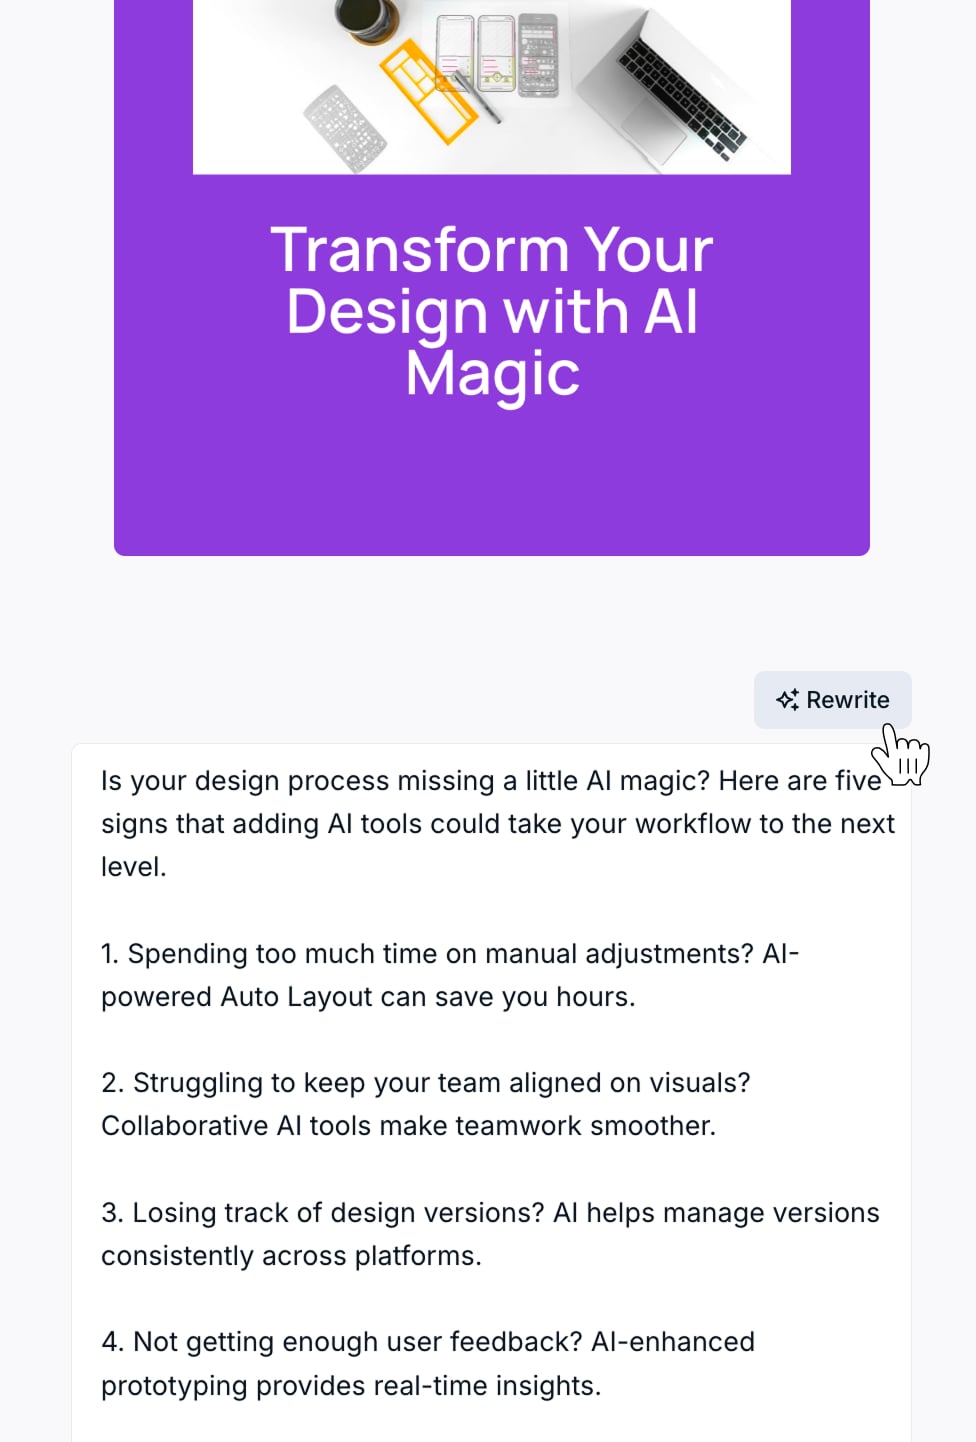
Socialbud generates a new version of your caption
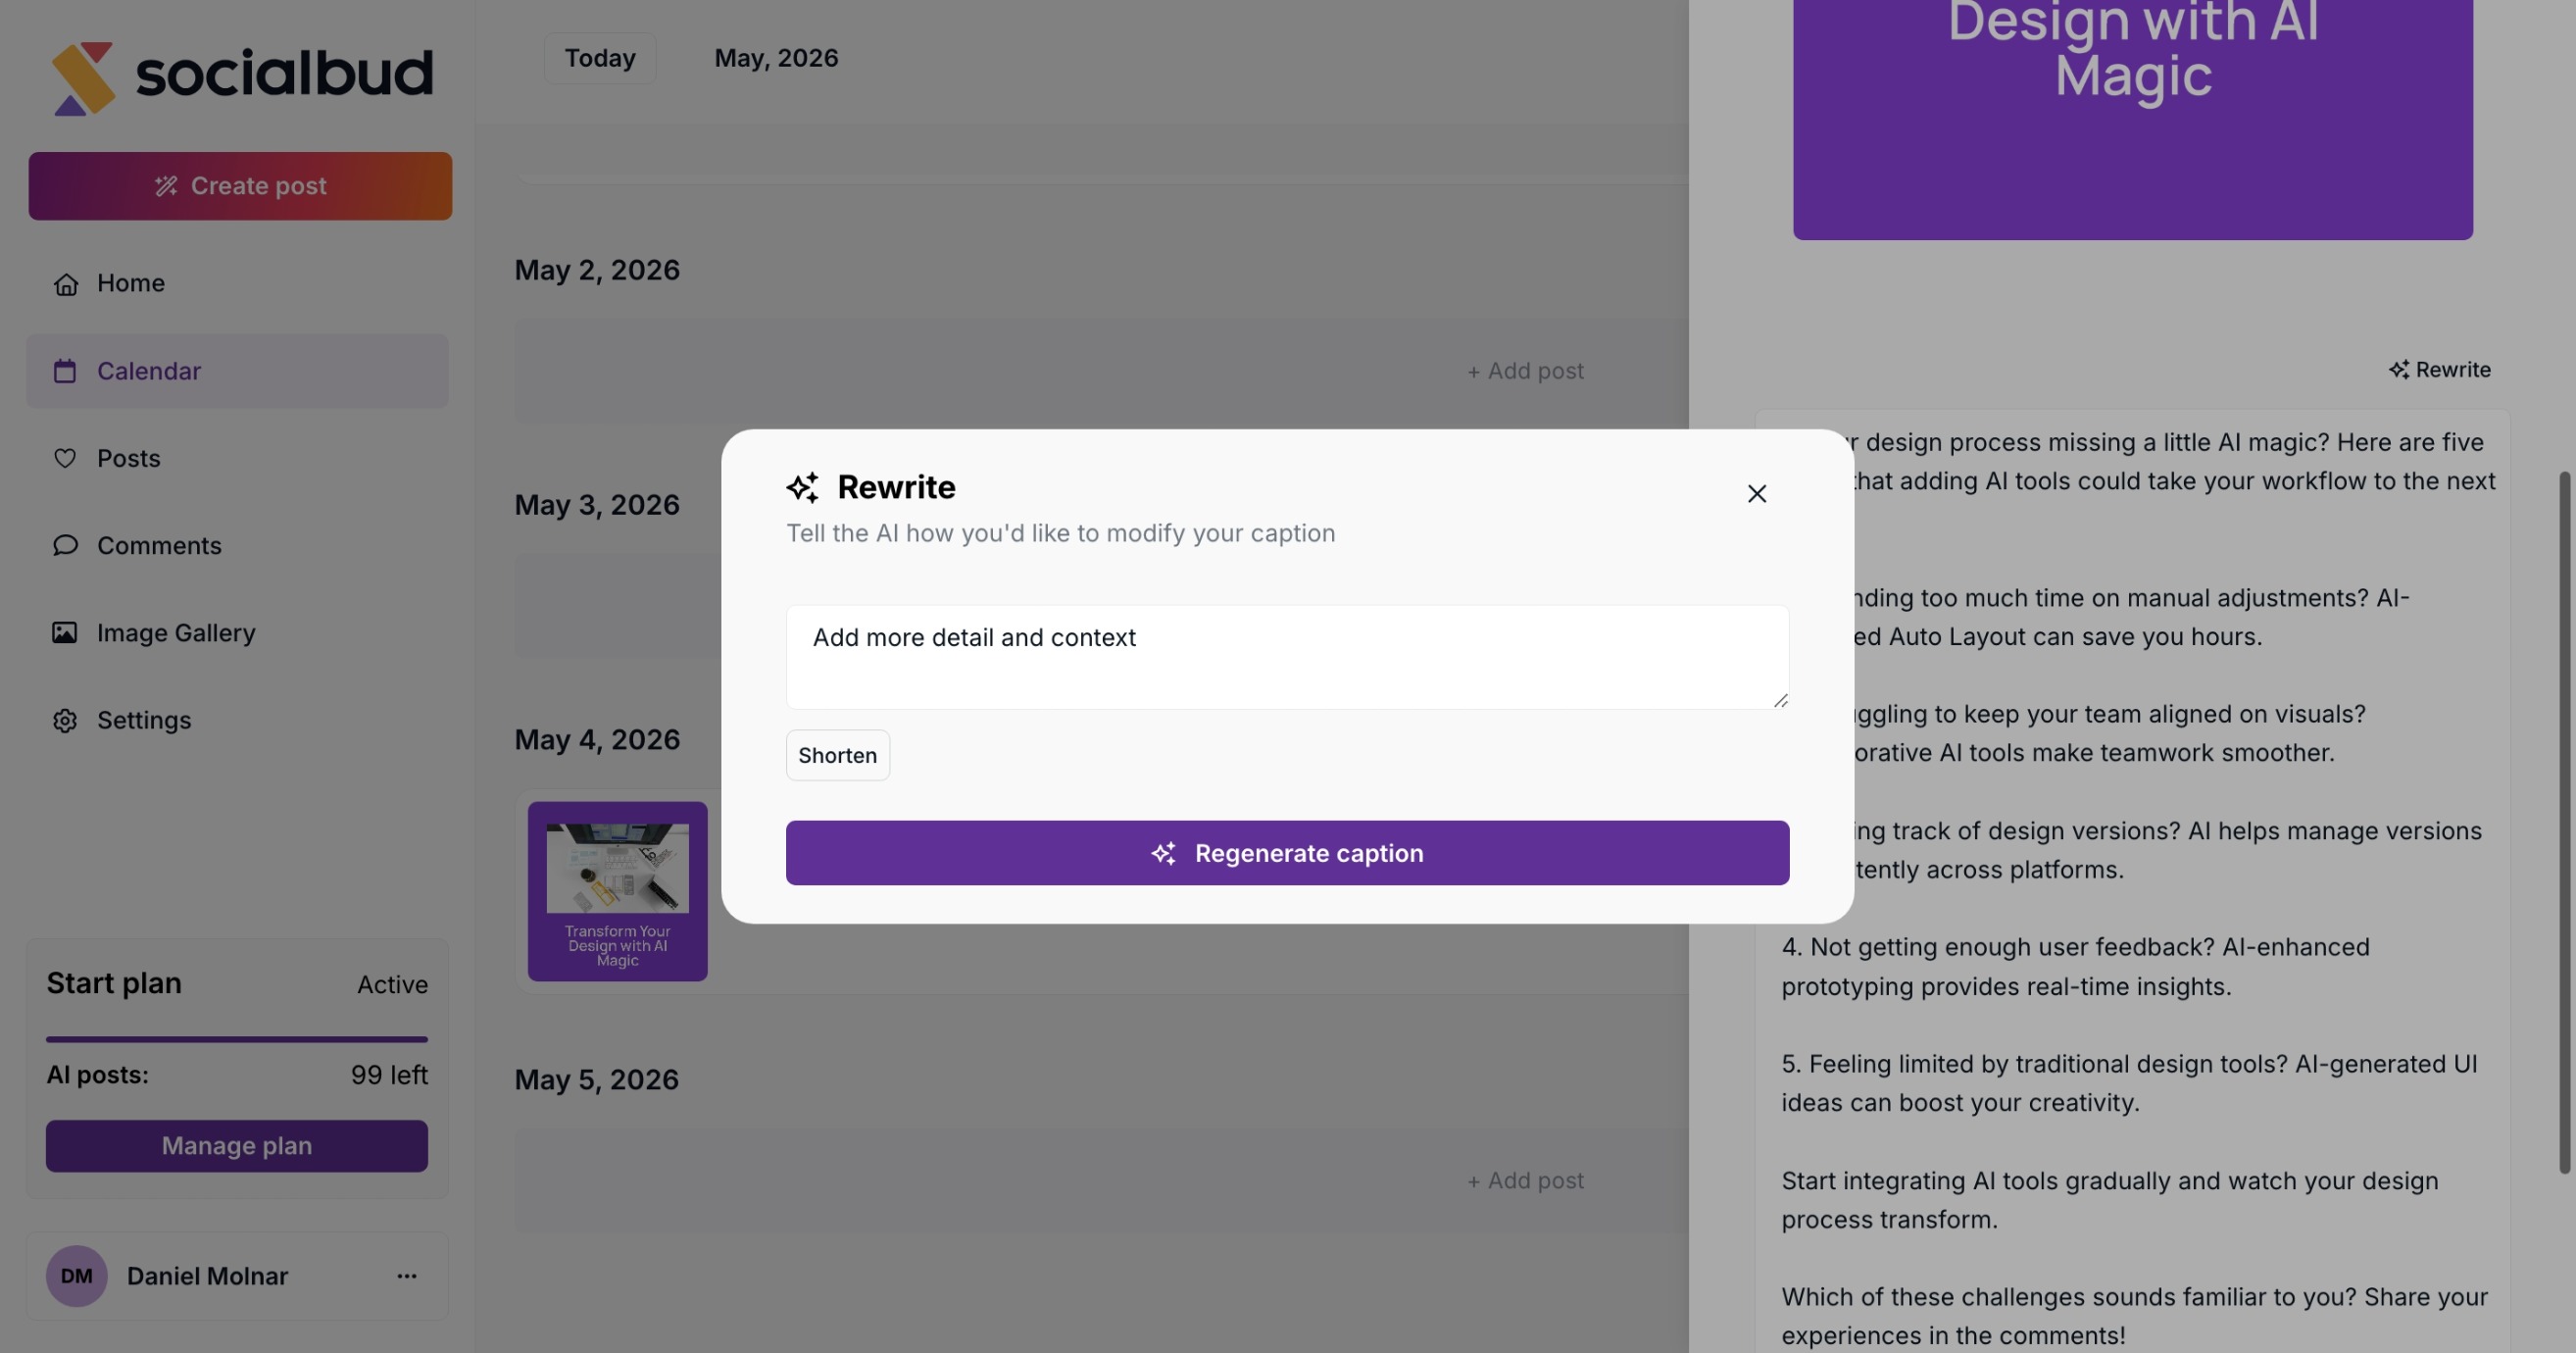
You can:
Use the generated version as-is
Edit it further manually
Click Save in the visual editor to apply design changes
Caption changes are saved as you update them
Note:
Zoom level is only for preview and is not saved
Calendar → click post = Posts → click post
Both open the same post editor
Desktop drawer and mobile full-screen editor are the same
All editing actions follow the same flow regardless of entry point

